
Original do-it-yourself bracelets: 9 workshops
Every year, do-it-yourself jewelry becomes more and more popular. This is not surprising, because you can realize any of your ideas and create the most suitable products. That is why we picked up several workshops, among which you will definitely find something interesting.


Rope bracelet
Sometimes, even the most beautiful jewelry can be made literally from improvised materials. In this case, the base will be the simplest rope.

For work, we need:
- rope;
- golden wire;
- small diameter brass tube;
- pliers;
- lighter;
- nippers;
- paper;
- centimeter.

Cut off a piece of rope of the required length. We measure 1 cm on the tube, make a mark and cut it off. Fold the rope in half and put on the tube in the middle. 
Using a lighter, we process the edges of the rope. 
Cut the wire of short length and bend the edge, as shown in the photo. We fix it on a bent rope, wrap it several times and fix the second edge. 
We make a hook from the wire to secure the bracelet.

We fix this detail on the second edge of the bracelet. 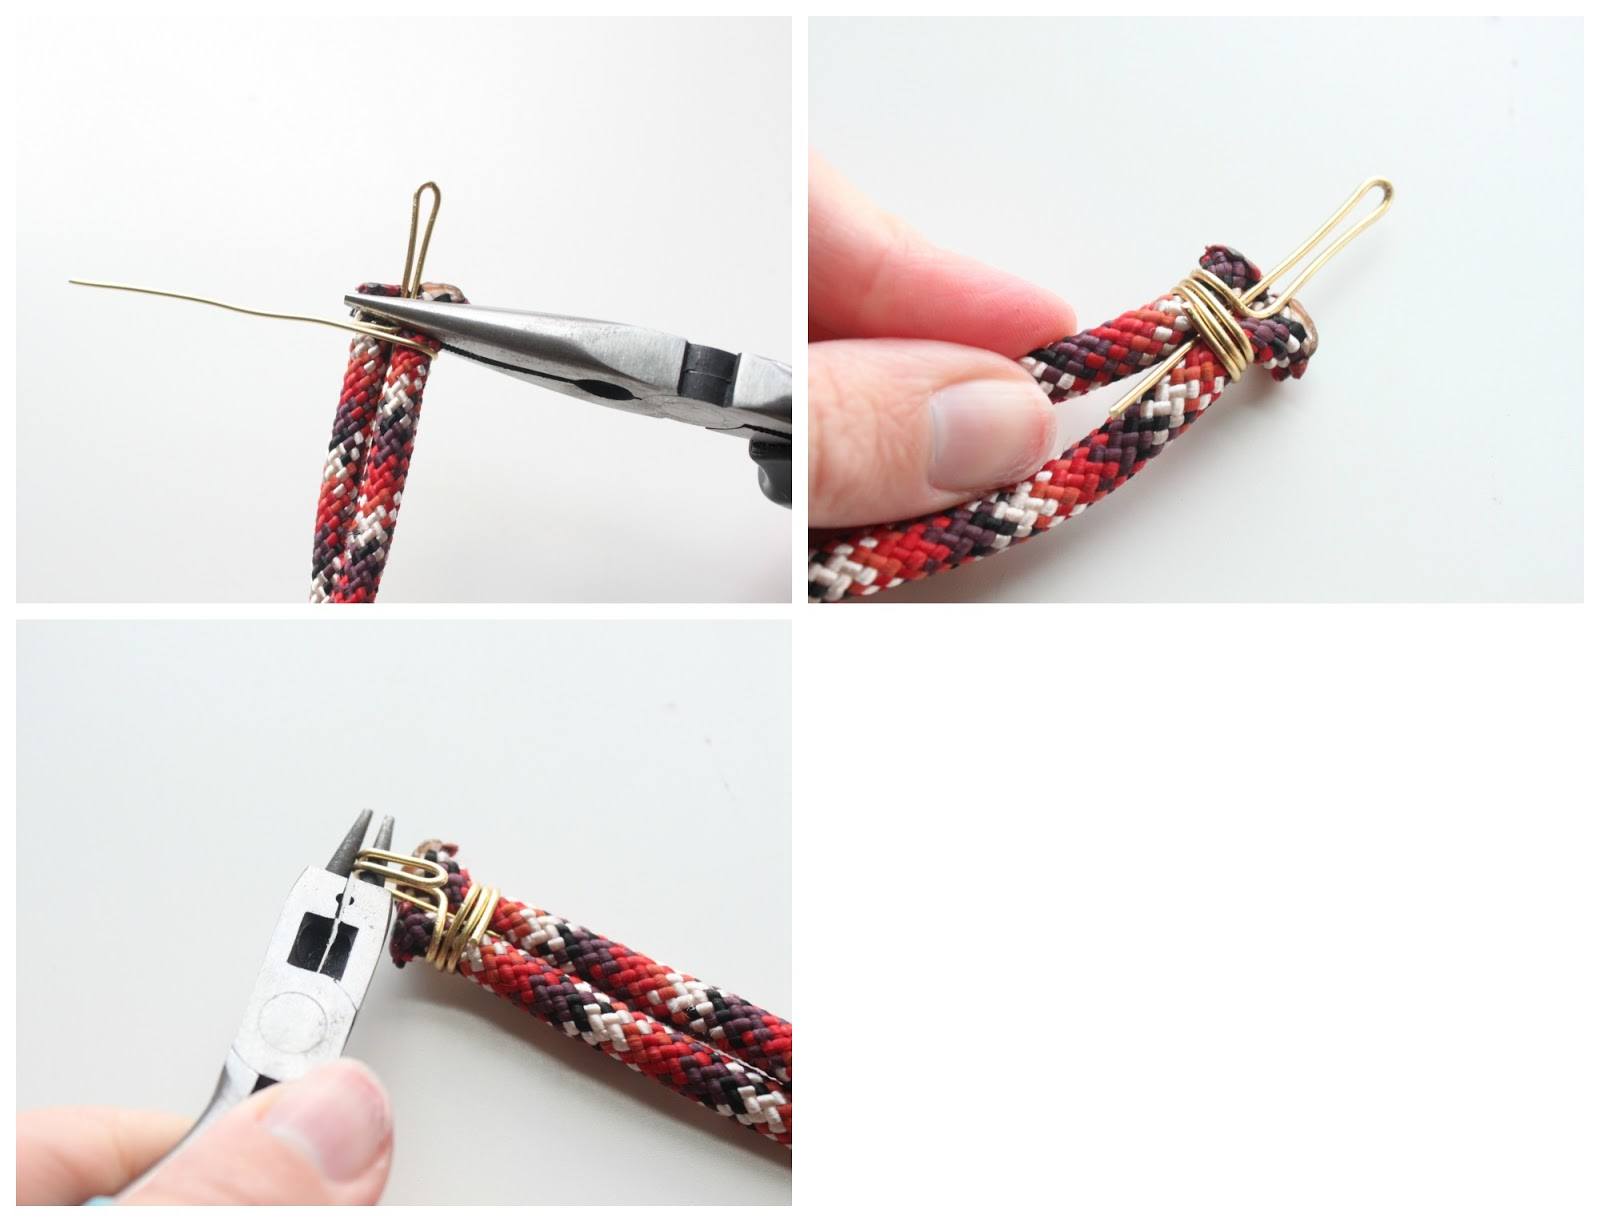
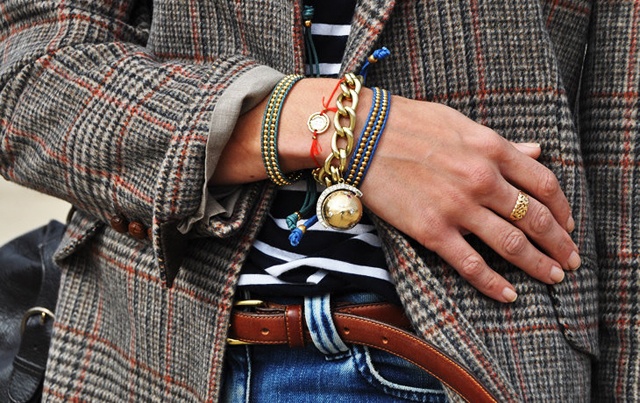
Stylish, original bracelet is ready!


Such a product looks good in different shades, so feel free to experiment. 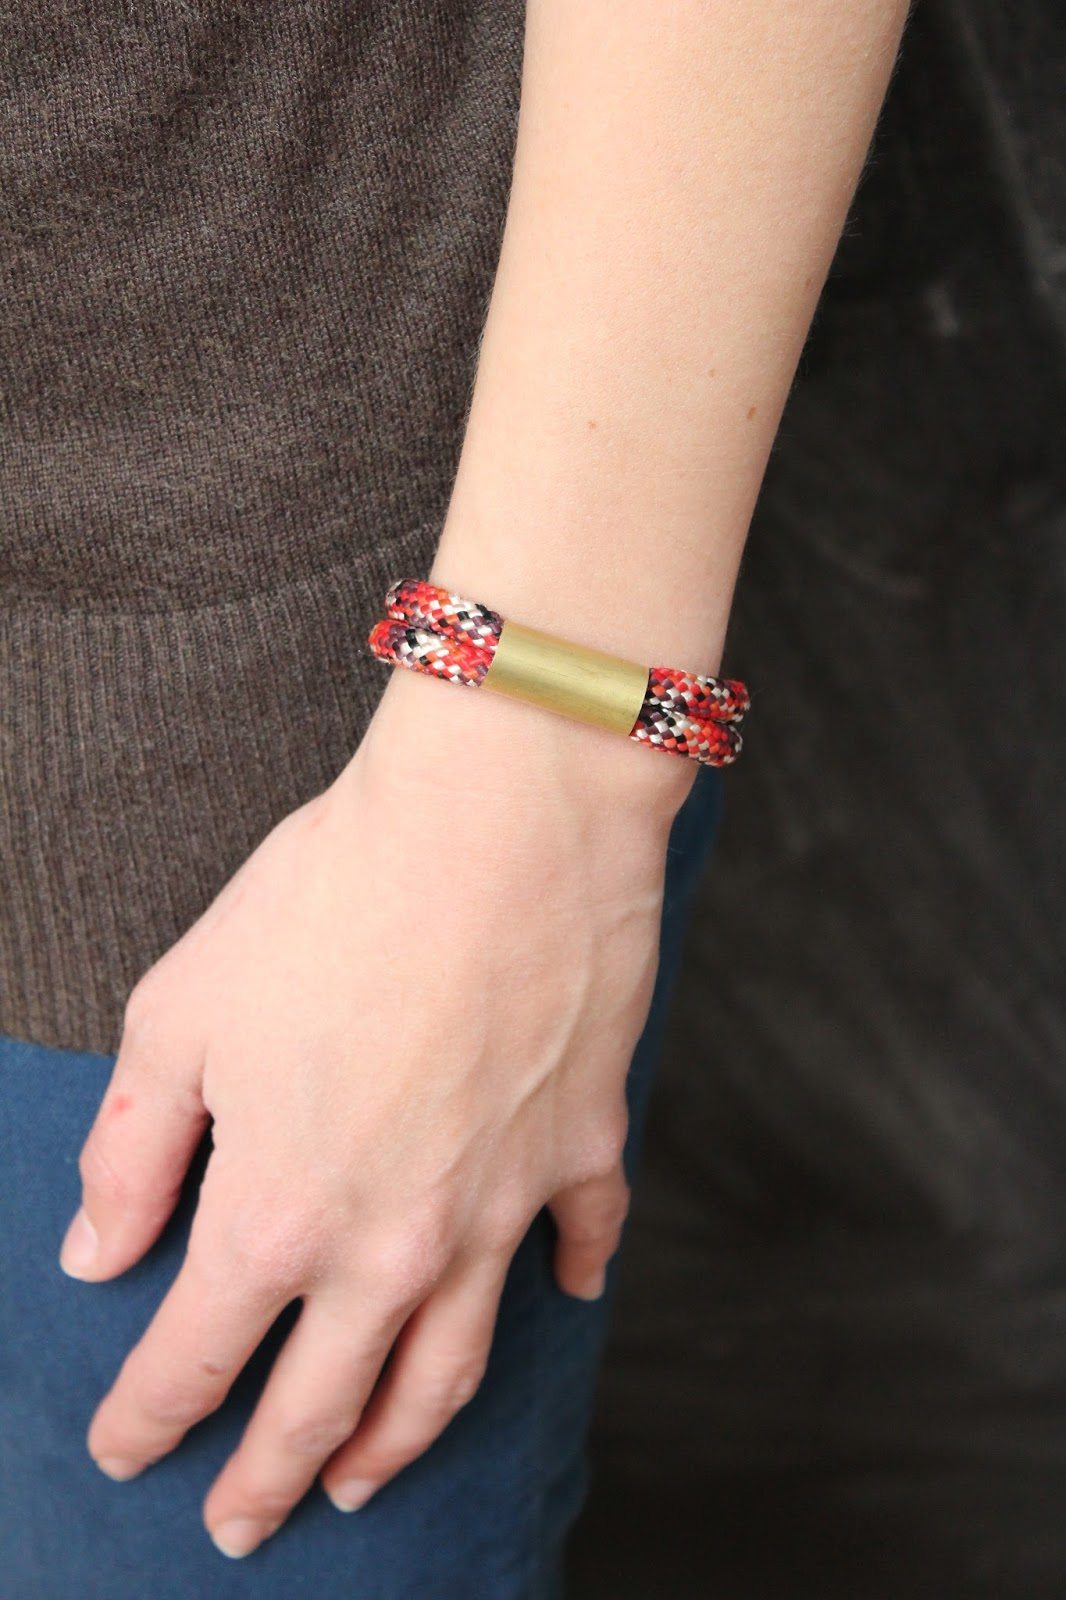

Stylish bracelet made of nuts

Prepare the following:
- cotton thread or twine;
- nuts - 18 pcs.;
- scissors.

Cut three threads of the same size and tie a knot on top. We twist the threads, like a simple braid weaving. We put a nut on one of the threads and thus weave it, as shown in the photo. 
Alternately add a few more nuts. 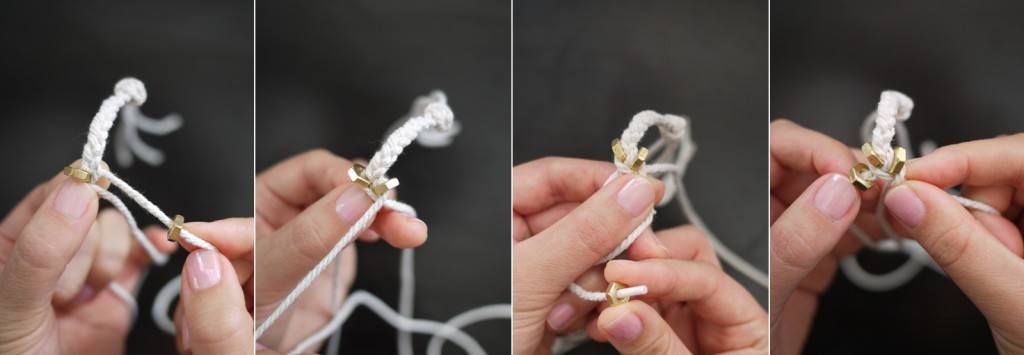
Repeat the same until all nuts are woven. After that, we do the usual weaving, as at the beginning of the bracelet. 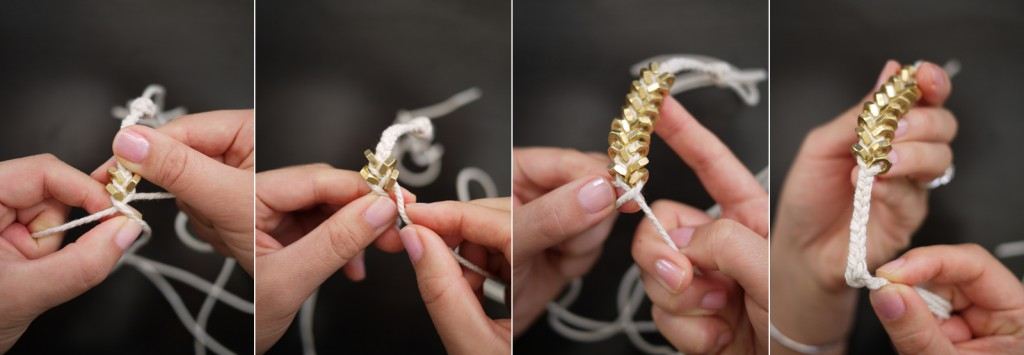
The length of the bracelet depends on your preference. In this case, it wraps around the wrist twice. 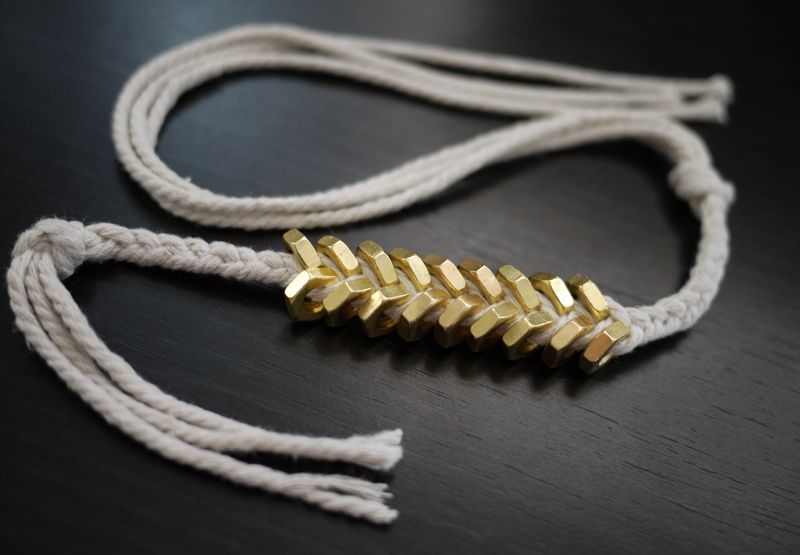

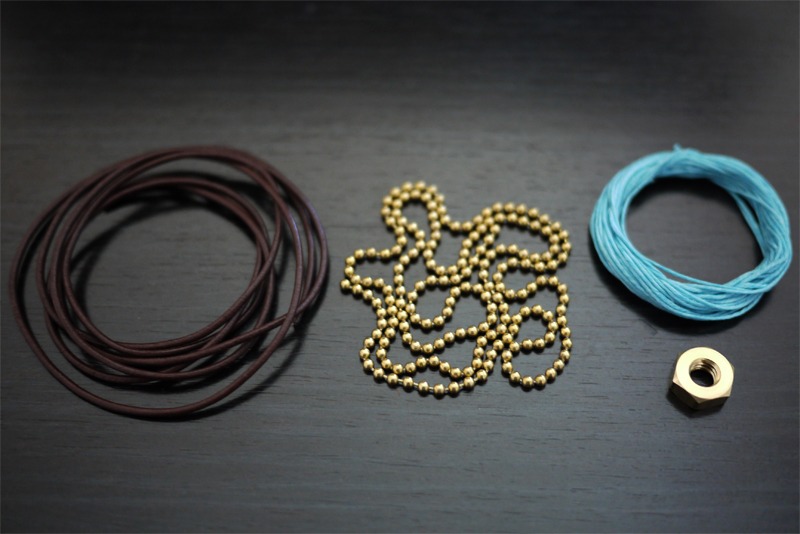
Do-it-yourself smart bracelet
Necessary materials:
- leather lace;
- chain with beads;
- nut;
- contrast thread;
- scissors.
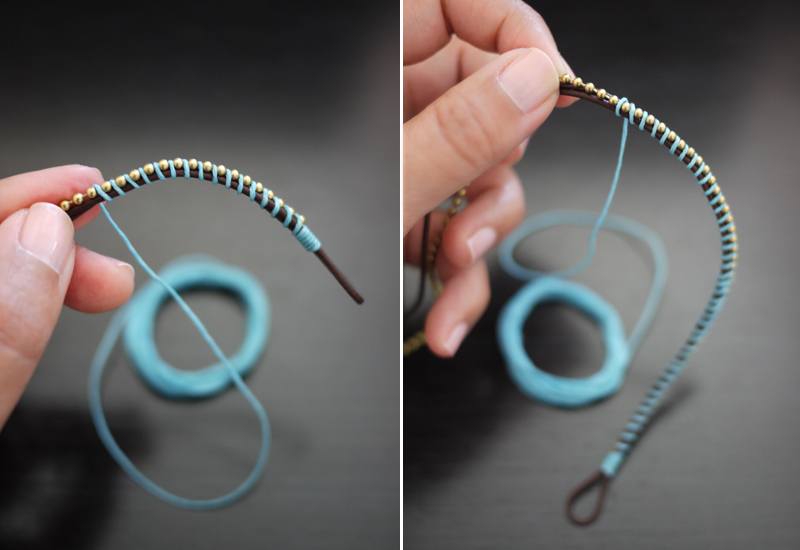
We bend the leather lace in half to make a loop, as in the photo. Wrap it with a contrasting thread several times and tie it if necessary.
On top of the lace we put a chain with beads and wrap it with a thread, as shown in the photo.
When the bracelet has the required length, we wrap the leather lace several times with a thread and tie it for reliability. The lace is also tied in a knot.
Put on the hex nut and tie the second knot.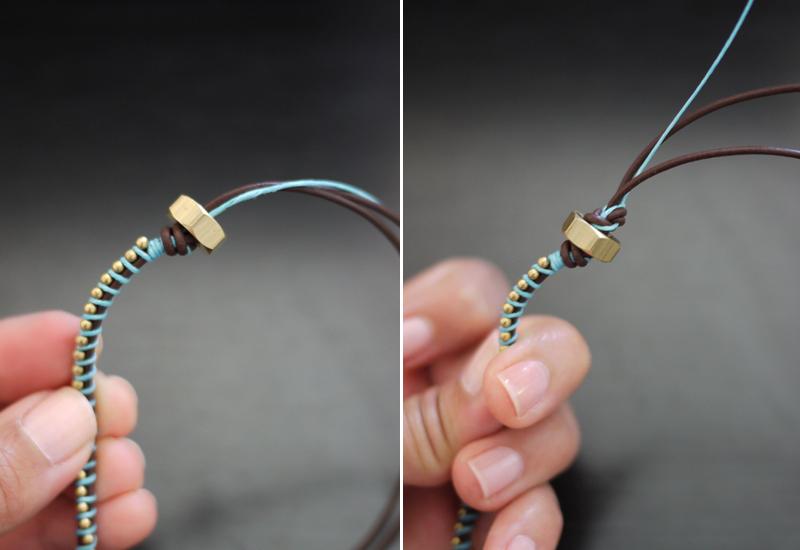
Trim the excess part of the thread and lace. Stylish bracelet is ready!
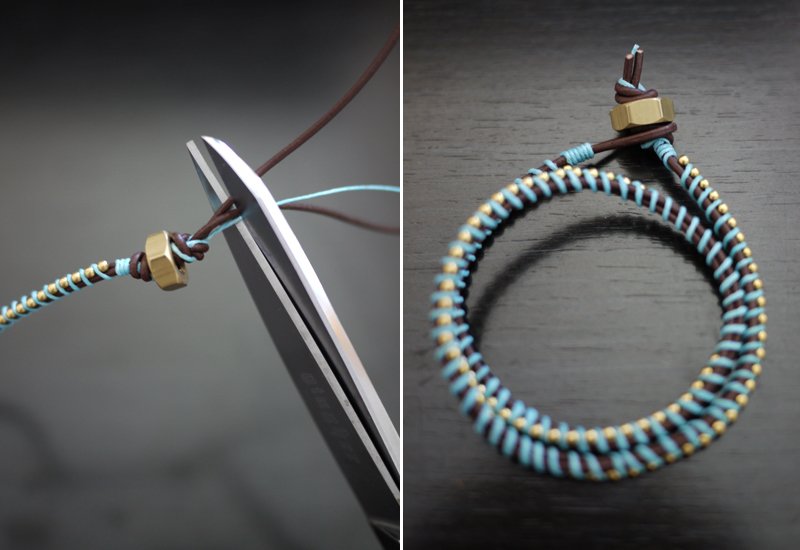
In fact, such products can be completely different. Instead of a ribbon with beads, you can also use a ribbon with rhinestones. It looks no less attractive.

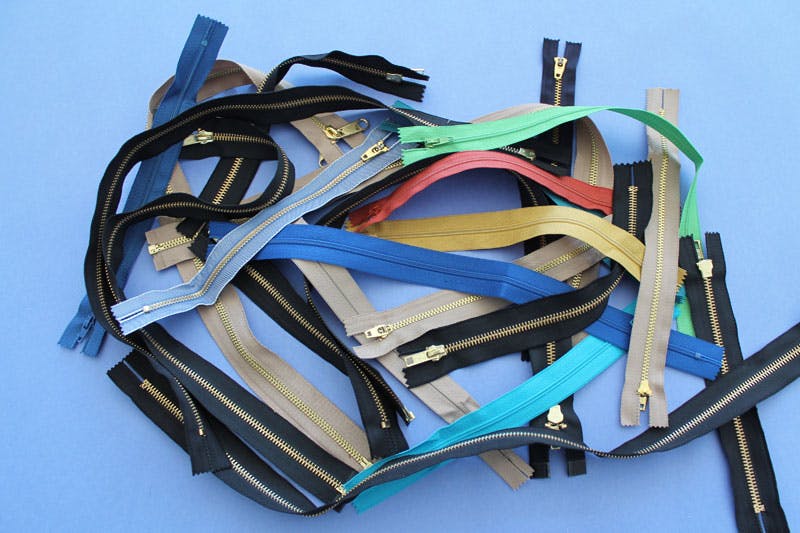
Zipper bracelets
Perhaps the easiest option that is perfect for beginners is lightning bracelets.

We will need:
- lightning;
- scissors;
- pliers;
- clasps for bracelets.
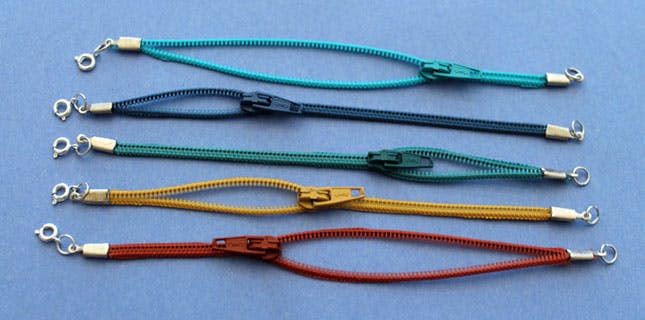
First, we cut off the excess tissue, leaving only a zipper. On each side we attach the clasp for the bracelet and press it with pliers.
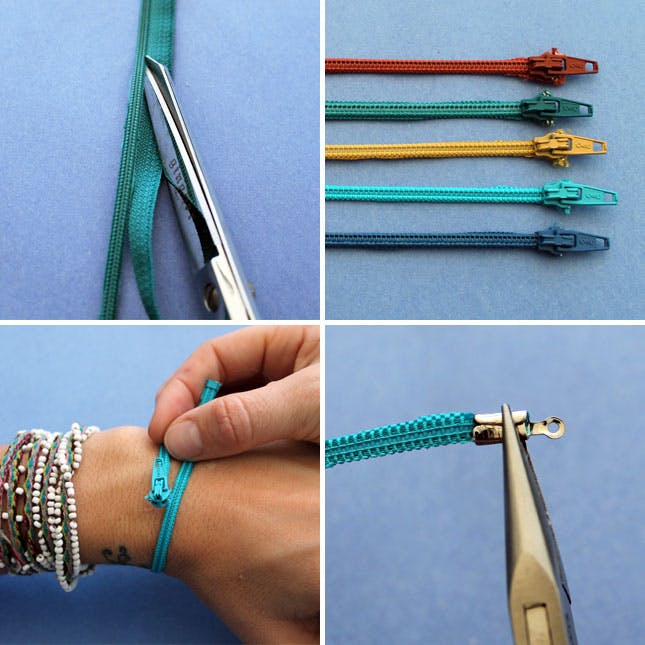
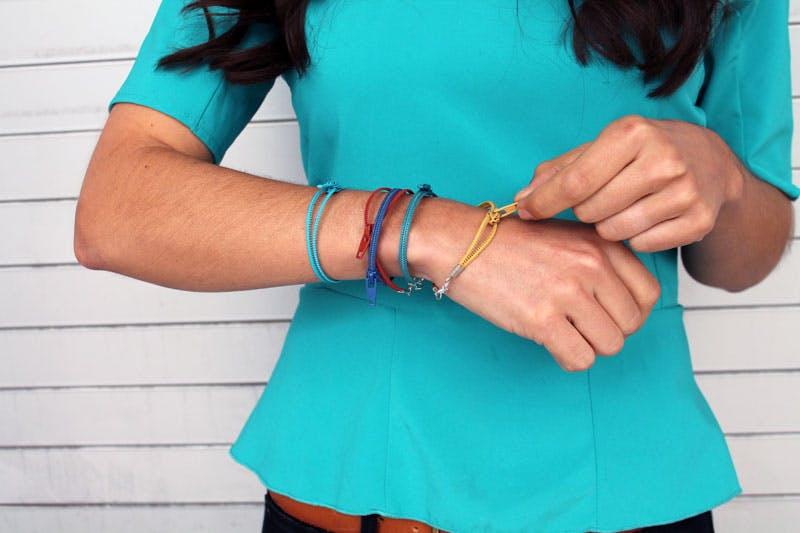
A simple but at the same time cute bracelet is ready.
For those who want to make a more complex option, we suggest making an unusual bracelet made of lightning. 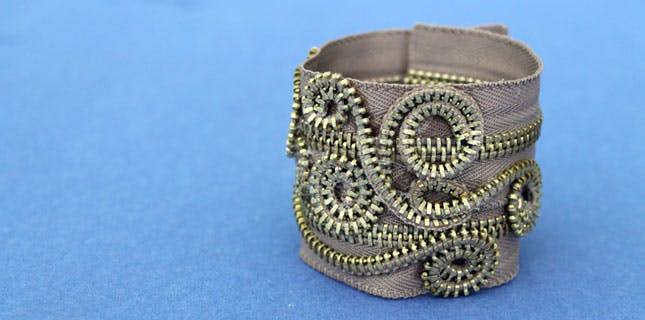
You will need the following:
- several lightnings of the same color;
- scissors;
- glue gun;
- Toothpicks
- pliers;
- clasp.
First, measure the required size of the bracelet and cut off the excess part.
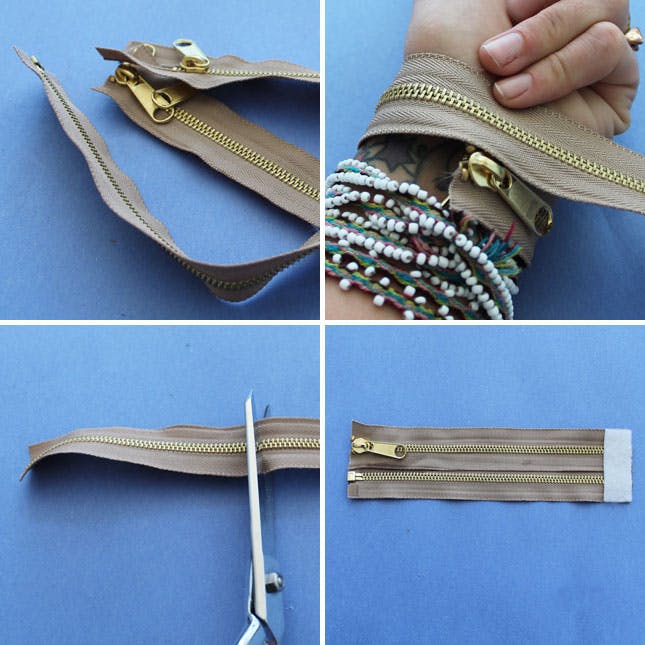
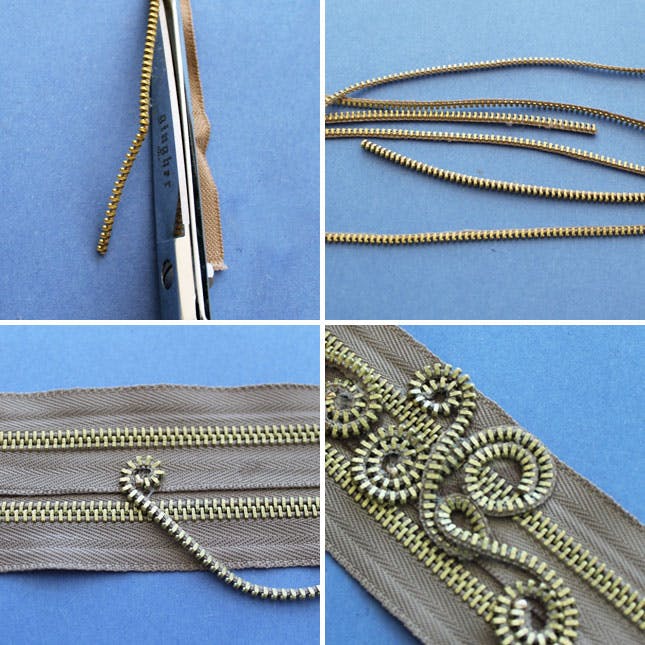
We cut off the excess fabric from three zippers and disconnect them. We spread the zippers in the form of a pattern and fix it with hot glue. Using a toothpick, remove the remaining glue.
We fasten the clasp to the bracelet with pliers.
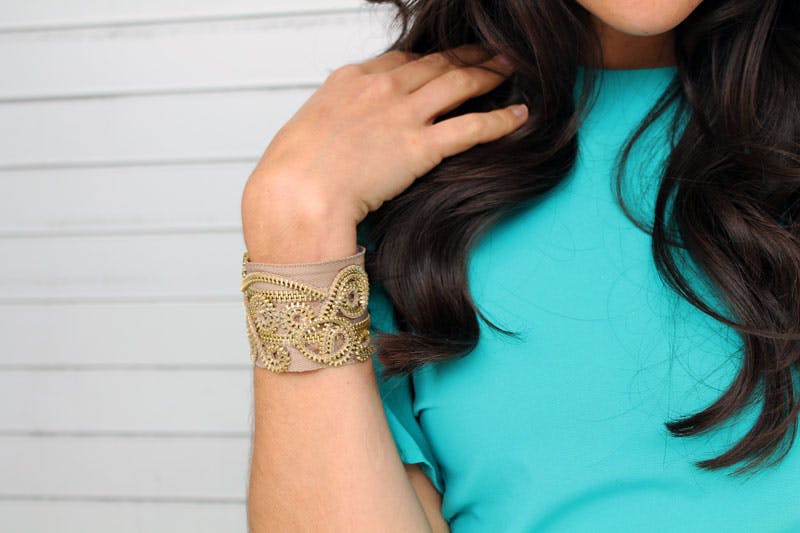
This decoration will be a stylish addition to each image. 
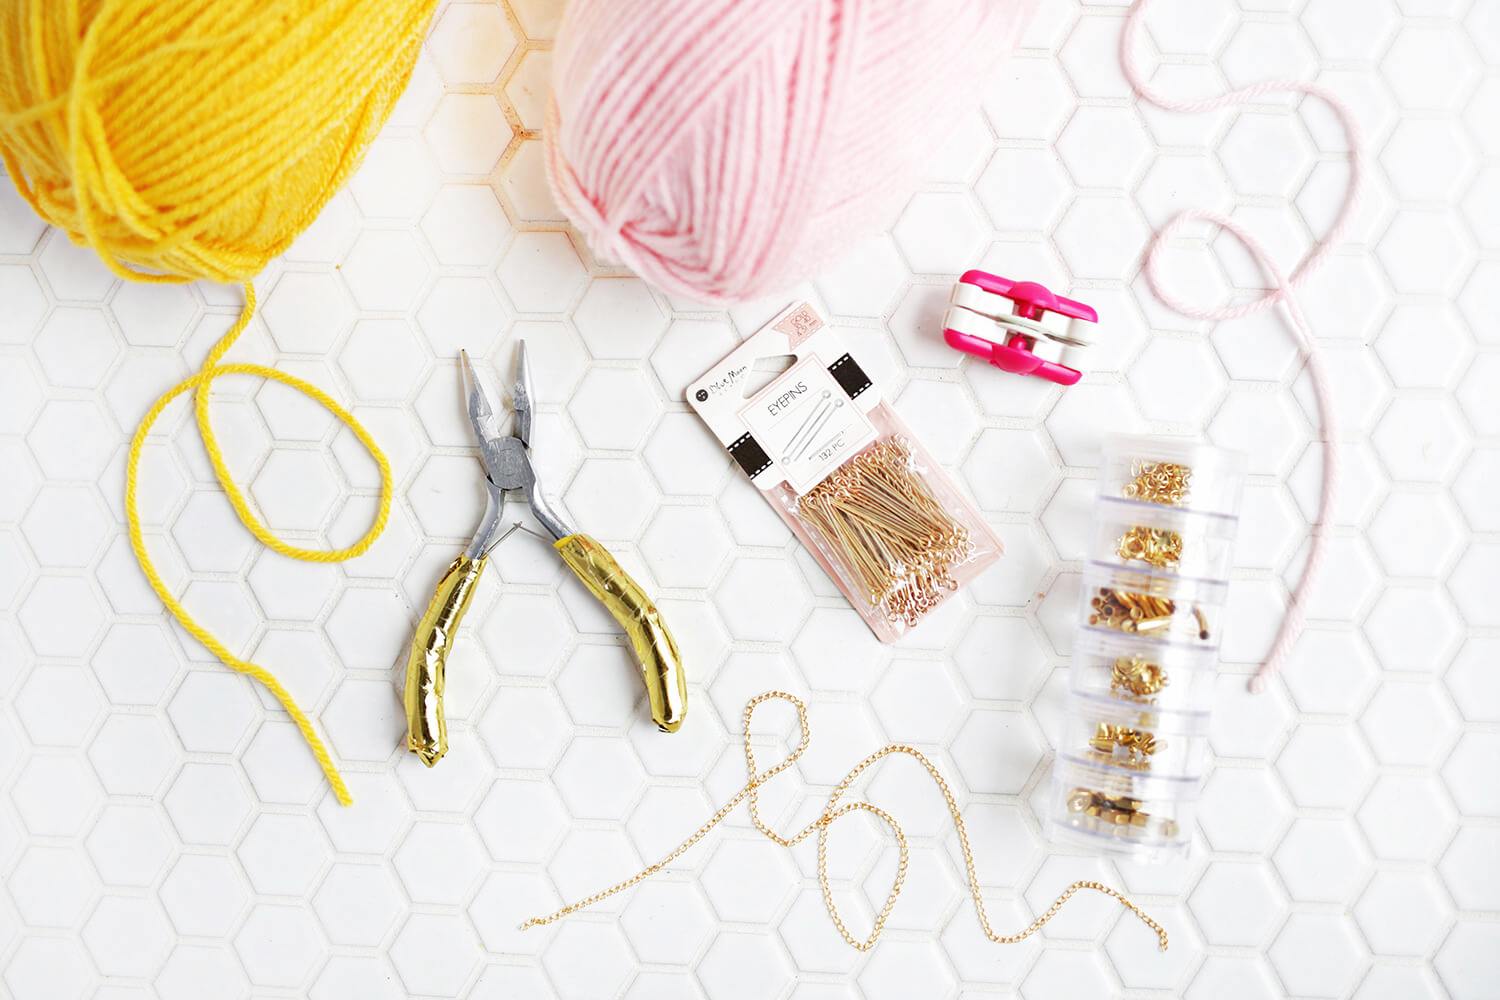
Pompom bracelet
Jewelry does not have to be concise or luxurious. In everyday life, you can safely put on something unusual or cute, tender. For example, a bracelet with pompons will definitely not be left without attention of others.
We will prepare such materials:
- yarn;
- a device for creating pompons;
- scissors;
- pins
- pliers;
- chain;
- rings;
- clasps for bracelets.
To start, we make pompons from threads of different colors. We use a special device for this.
Pass one pin through each pompom.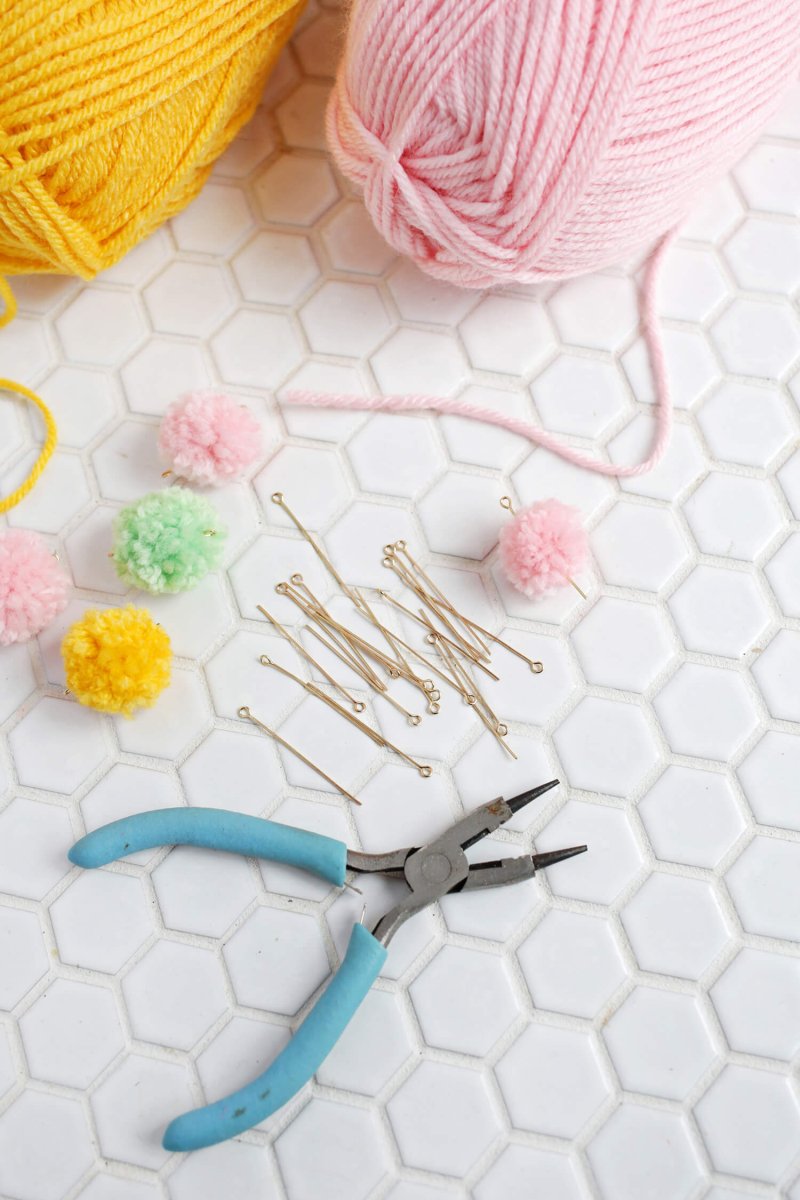 Cut off the excess part and bend the tip in the form of a ring. If necessary, attach additional rings. We connect the parts together using a chain.

We attach fasteners to the blank on each side. An original do-it-yourself bracelet is ready.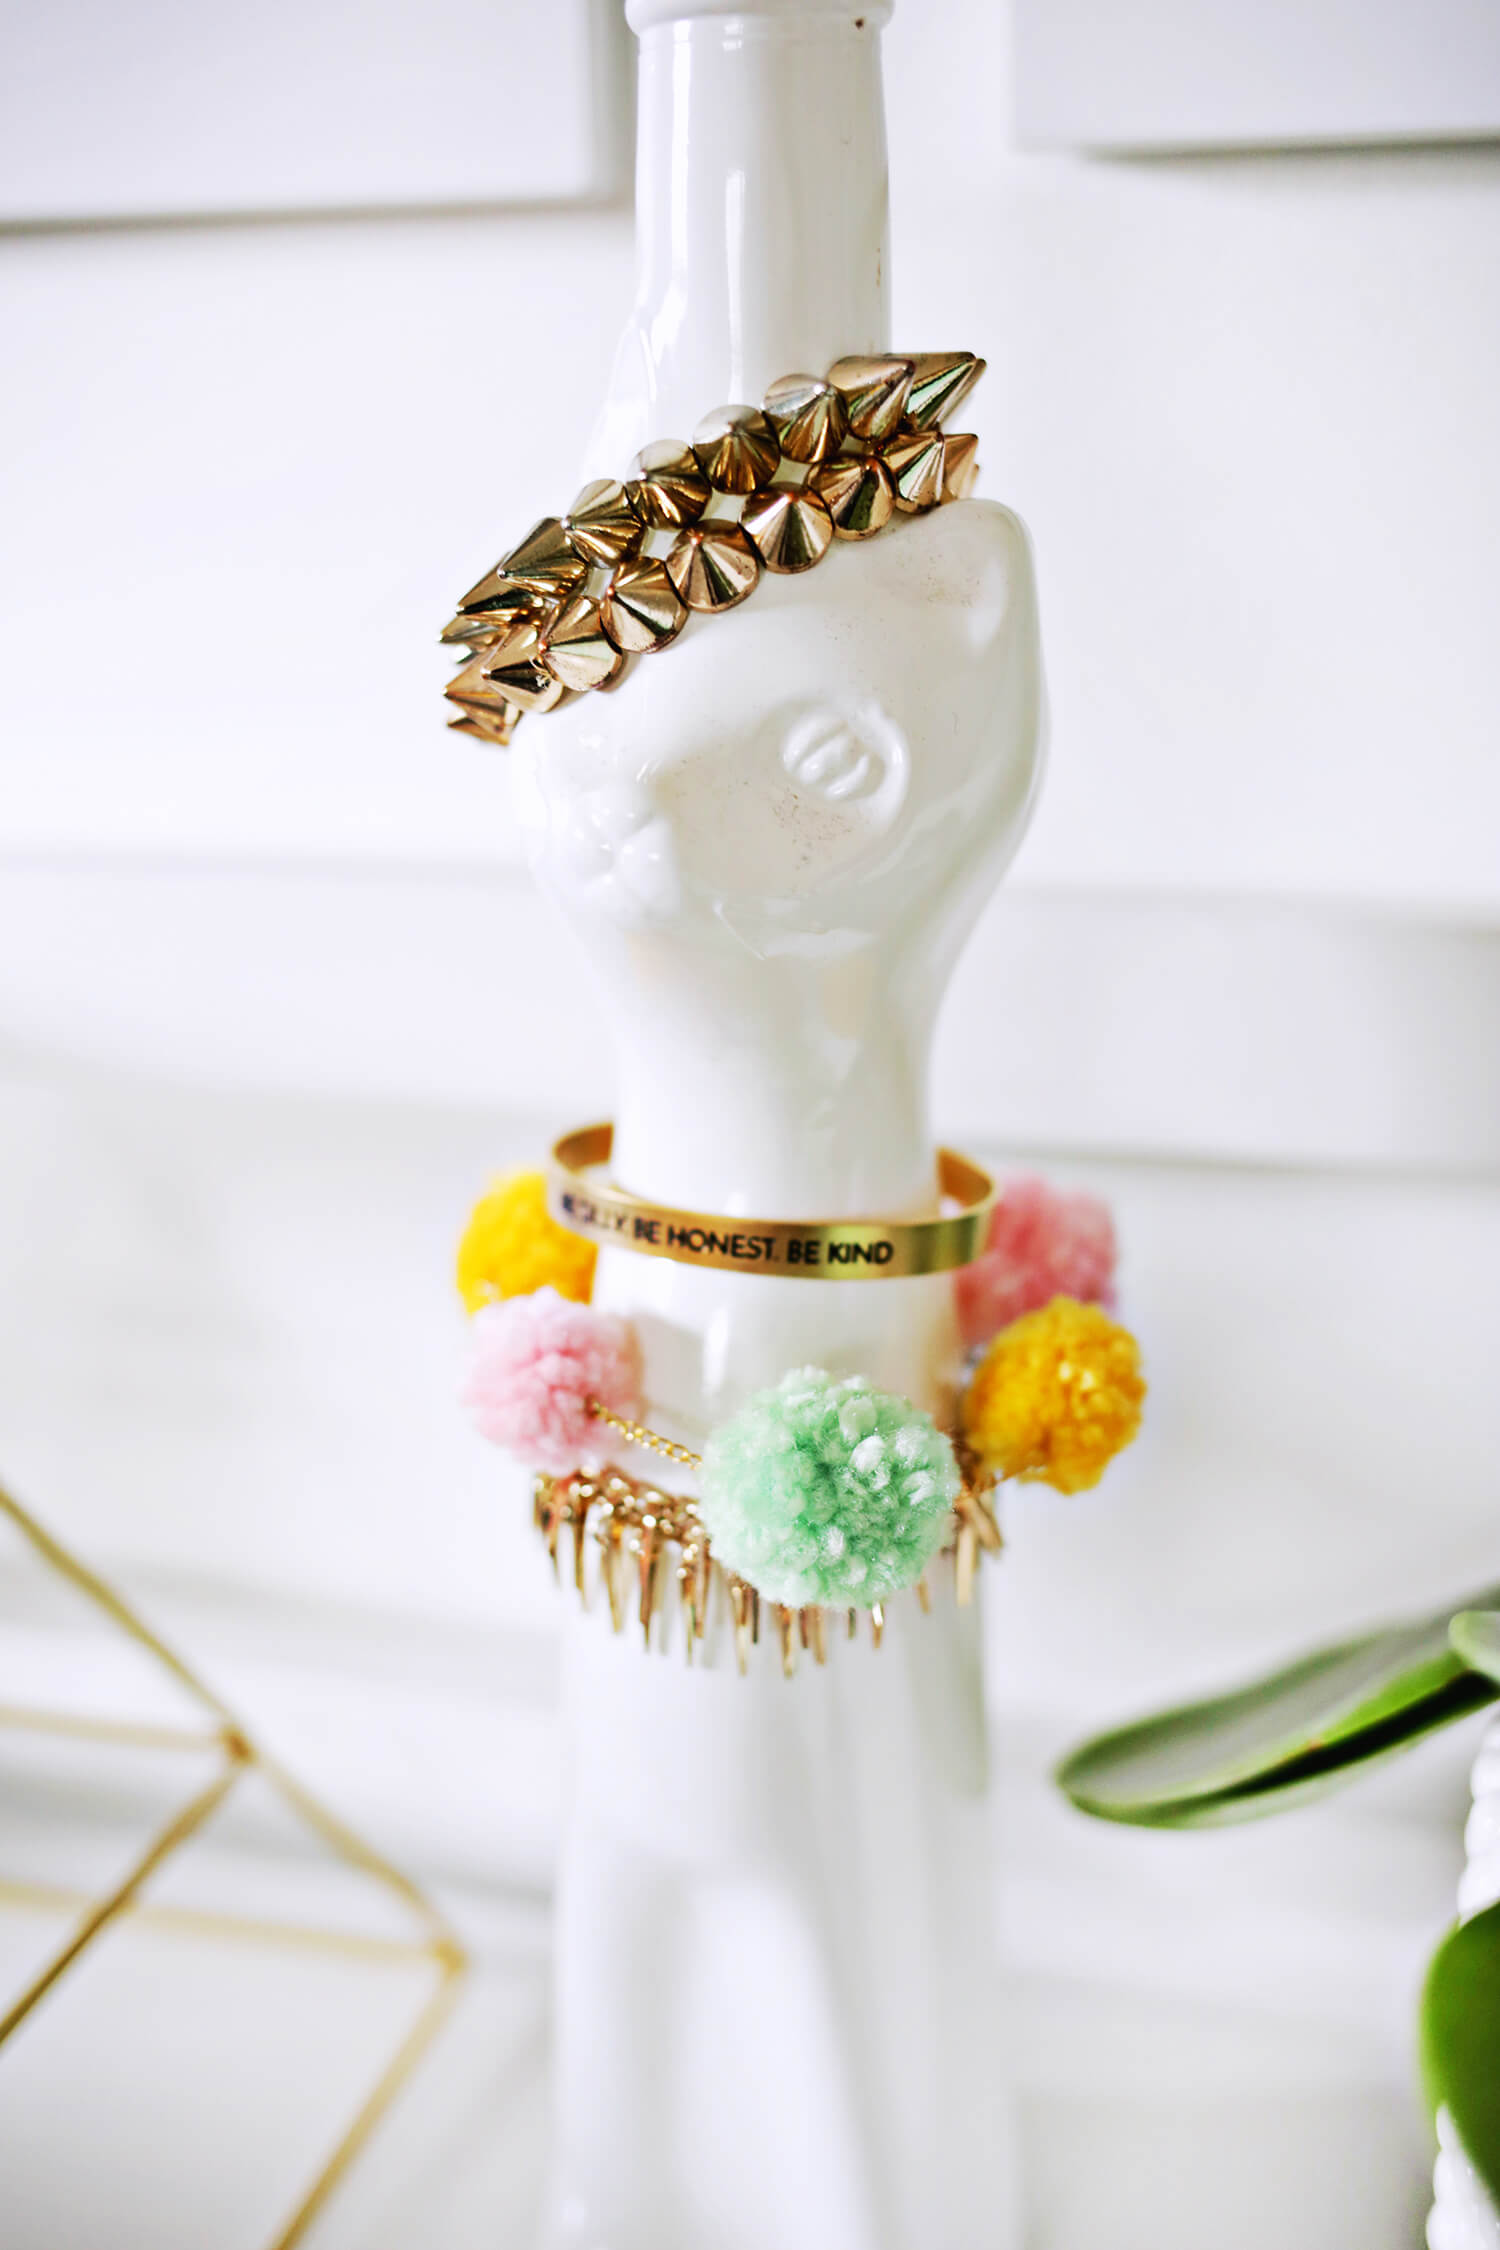
Such a product will become a stylish decoration for any outfit.
Delicate bracelets with stones
Prepare the following:
- sea glass;
- pliers;
- chain;
- glue;
- clasp;
- rings for the bracelet.


Gently glue to the stone or glass one ring on each side. Leave to dry completely.
We attach one more ring on each side. Only after that we connect the workpiece with two parts of the chain.
We fasten fasteners with pliers.
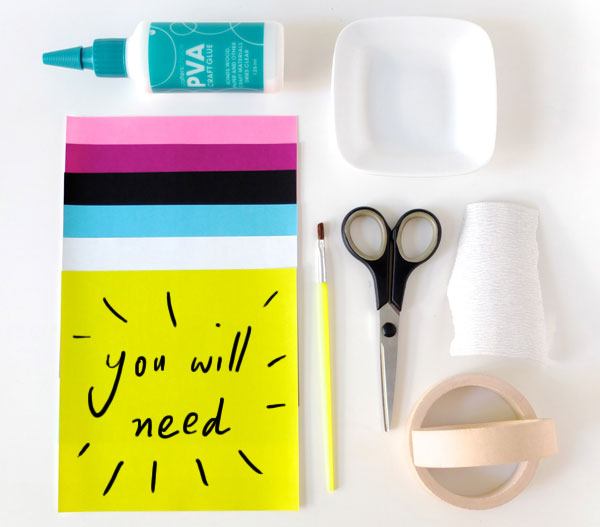
Wooden bracelets
For work, we will prepare the following materials:
- wooden bracelets;
- paper in different shades;
- PVA glue;
- a small plate;
- scissors;
- ruler;
- pencil;
- sandpaper;
- brush;
- wooden skewer;
- two cans of the same size.
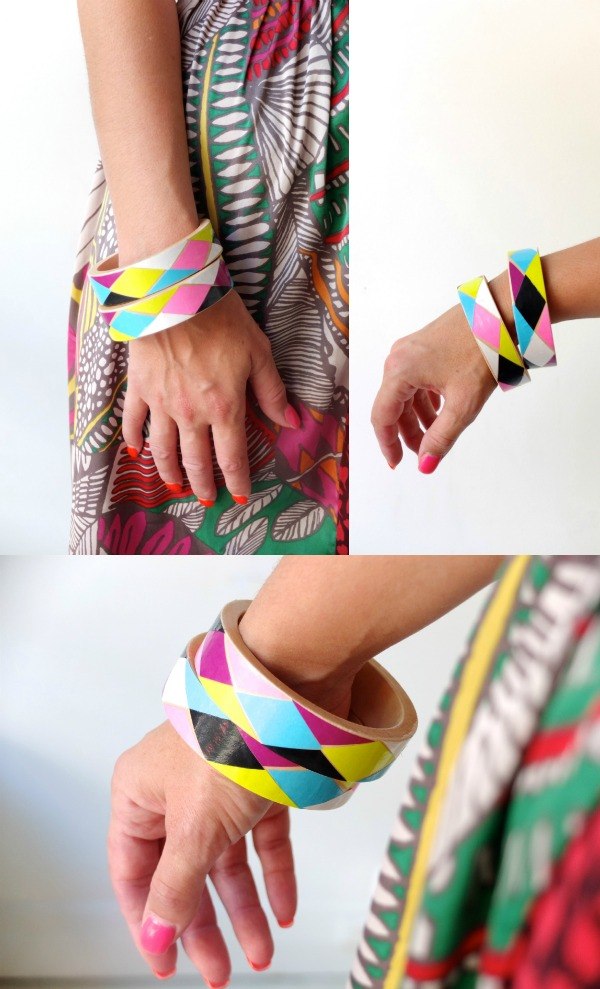
We process the surface of the bracelets with sandpaper. On colored paper, draw the details, as shown in the photo. We cut them and put them in the necessary order.
Pour PVA glue into the plate and brush it on the surface of the bracelet. Glue the paper parts and cover them on top with another layer of glue.
We install two cans on the work surface. We hang the bracelet on a wooden skewer and leave it to dry. We cover the inside with glue.
Repeat the same with the second bracelet. As you can see, due to the glue, it looks more shiny.

Thin bracelet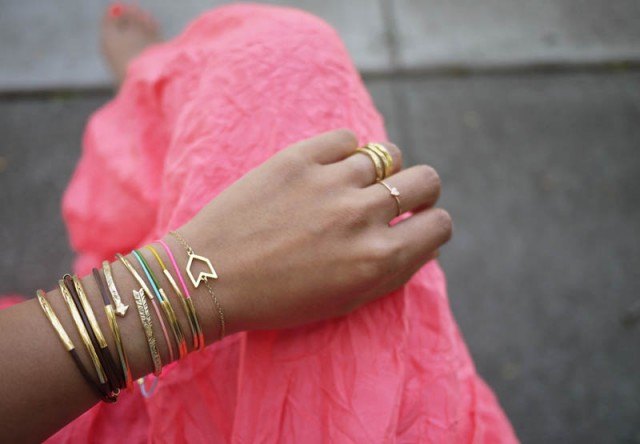
You will need:
- leather lace;
- metal blanks;
- fasteners;
- pliers.

We fasten the fastener to one end of the leather lace with pliers.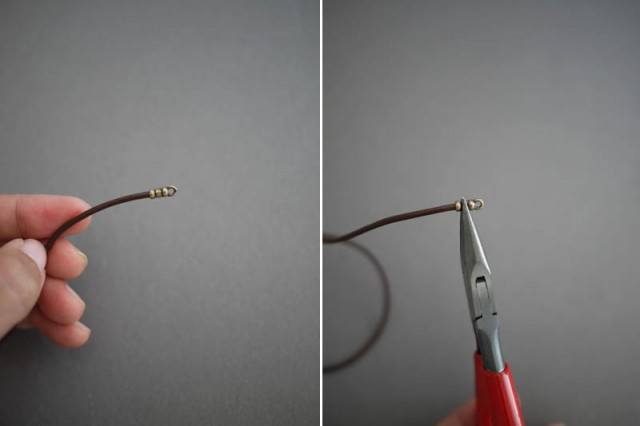
We put on metal blanks with the same gap. Press them lightly for fixation.
Attach another clasp to the second end of the bracelet.

Stylish, but at the same time concise bracelet is ready!
There are many interesting ideas for bracelets that you can do with your own hands. Experiment, try different combinations. After all, as a result, you can make unique jewelry.


To answer
Want to join the discussion?Feel free to contribute!