
How to make a photo frame with your own hands: step-by-step master classes, original ideas in the photo
Every year more and more attention is paid to the decor of the room. Interior designers recommend using not only what is sold in specialized stores, but also memorable, dear to the heart things. For example, photographs of loved ones or even animals, various motivating inscriptions - all this can be decorated with a beautiful frame. Moreover, it can be done with your own hands and without high costs. Just follow the step-by-step master classes and the result will pleasantly surprise you.


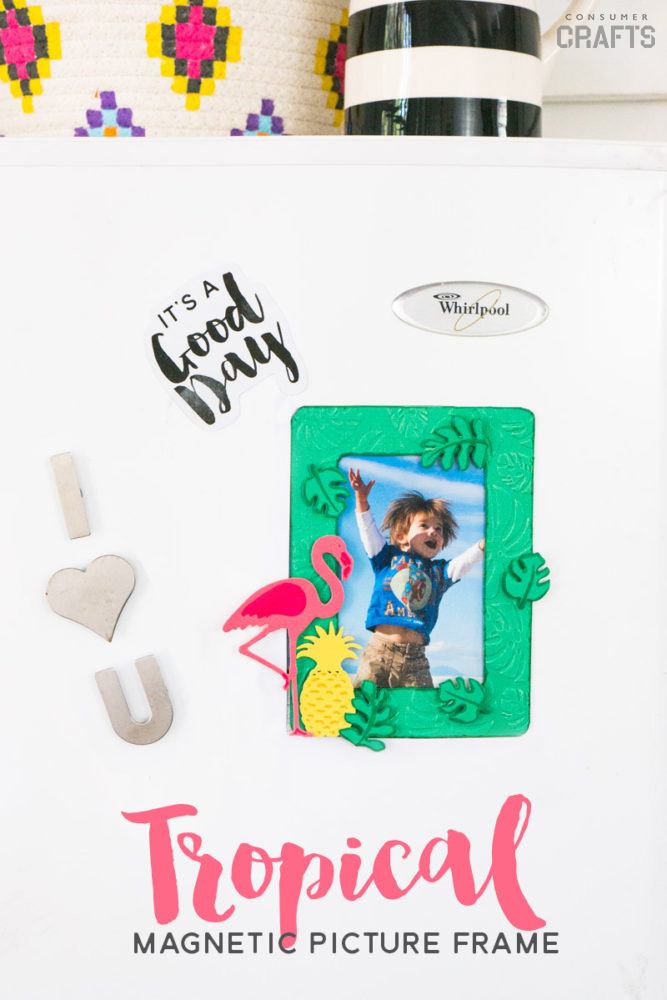
Tropical style cardboard photo frame
In summer, more than ever, I want to do something interesting with my own hands, take pictures and try new things. That is why we propose to make a stylish, bright frame in a tropical style, which will become an original decoration of your home.
For this we will prepare the following materials:
- color cardboard with a pattern;
- scissors;
- magnetic sheet;
- ruler;
- pencil;
- Double-sided tape;
- marker;
- the photo.

To begin with, we cut out all the necessary details for the decor of the frame from color cardboard. It can be in one color scheme or contrasting. Choose the option that suits you.

From a sheet of colored cardboard, we cut out a blank for a frame that is suitable in size. Following from the magnetic sheet we cut the same workpiece.

We attach them to each other, as shown in the photo and connect them together with double-sided tape. 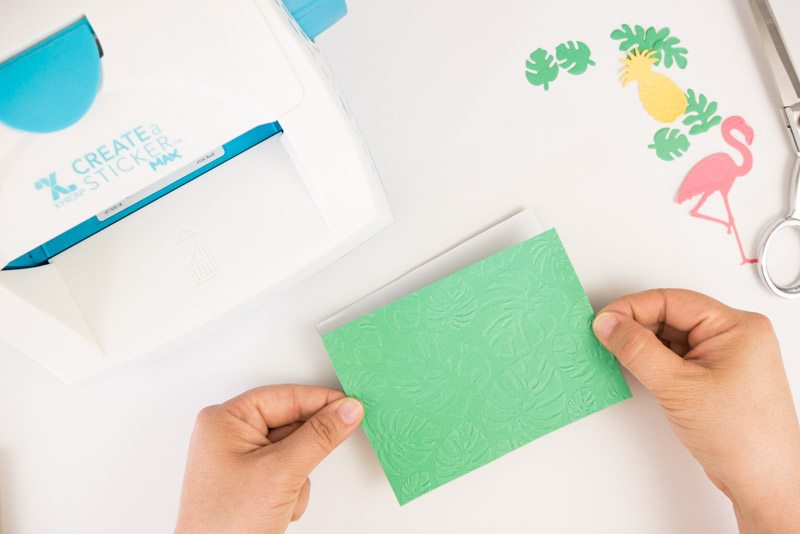
On the back, we make markings, as in the photo. It’s best to use a simple pencil and ruler. 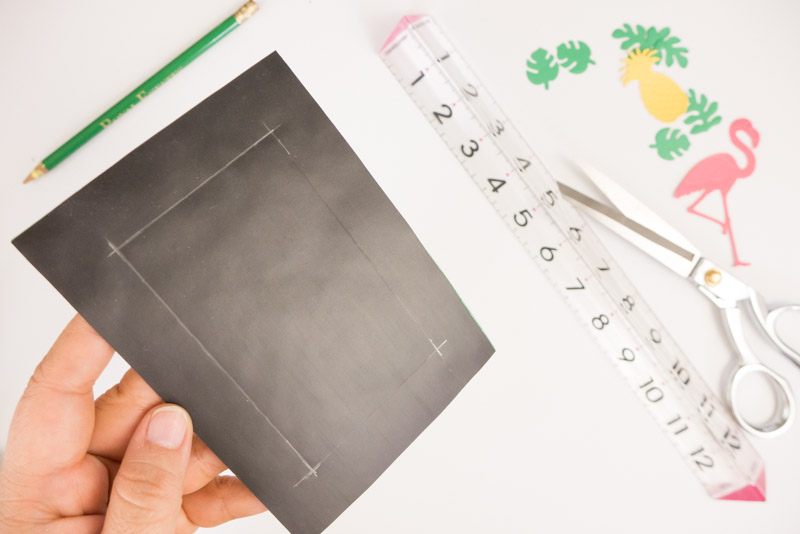
Carefully cut the photo frame with sharp scissors. 
Gradually glue the prepared in advance decor on the front side of the frame. 

Marker outlines the edges of each decor element. Due to this, it looks more natural. 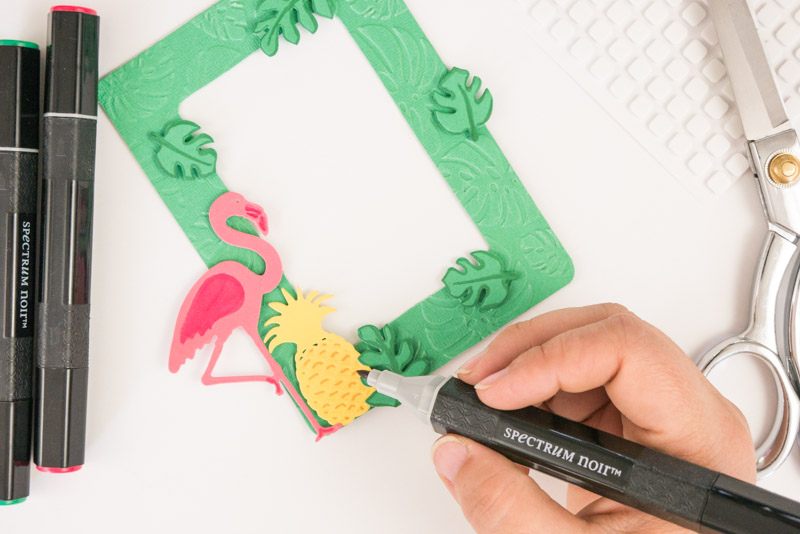
Glue the photo to the frame and decorate any interior item with a metal coating. In this case, it is a refrigerator. 
Fancy do-it-yourself wooden photo frames
When the usual version of the photo frame got a little bored, it's time to start creating something new and unusual.
In the process you will need the following:
- wooden boards;
- brush;
- Double-sided tape;
- stationery knife;
- printed photographs;
- black paint;
- a glass of water.

We paint wooden boards with black paint. If desired, you can use a different shade.

Glue strips of double-sided tape to the back side.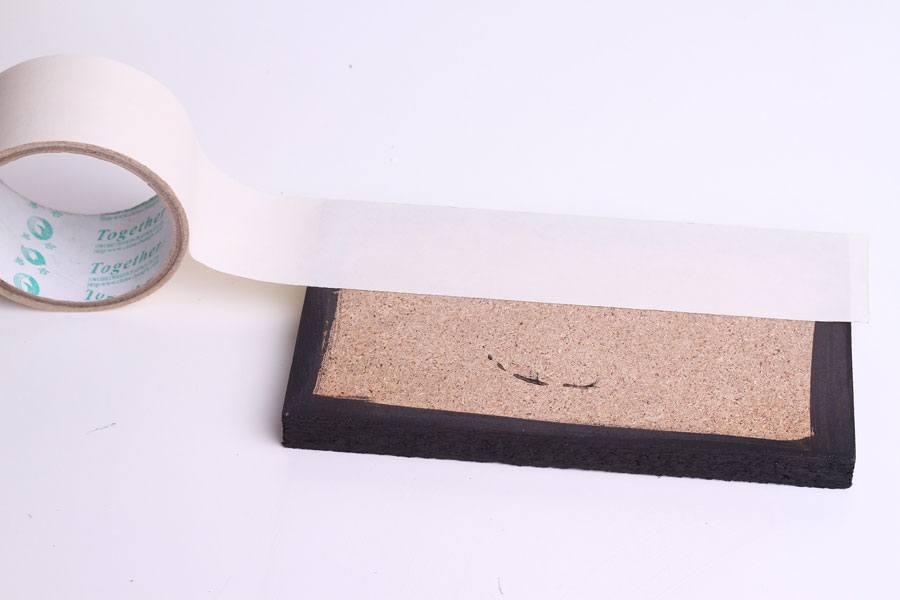
We remove the upper part of the double-sided tape and glue the photo in the center.

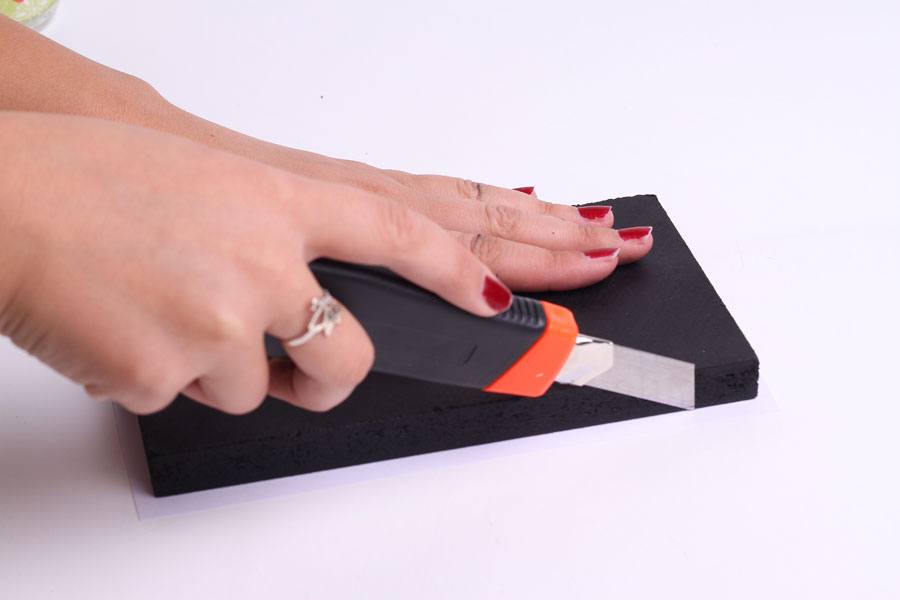
If the edges of the photo protrude, then carefully trim them with a clerical knife.

The result is a stylish, original, laconic photo frame.
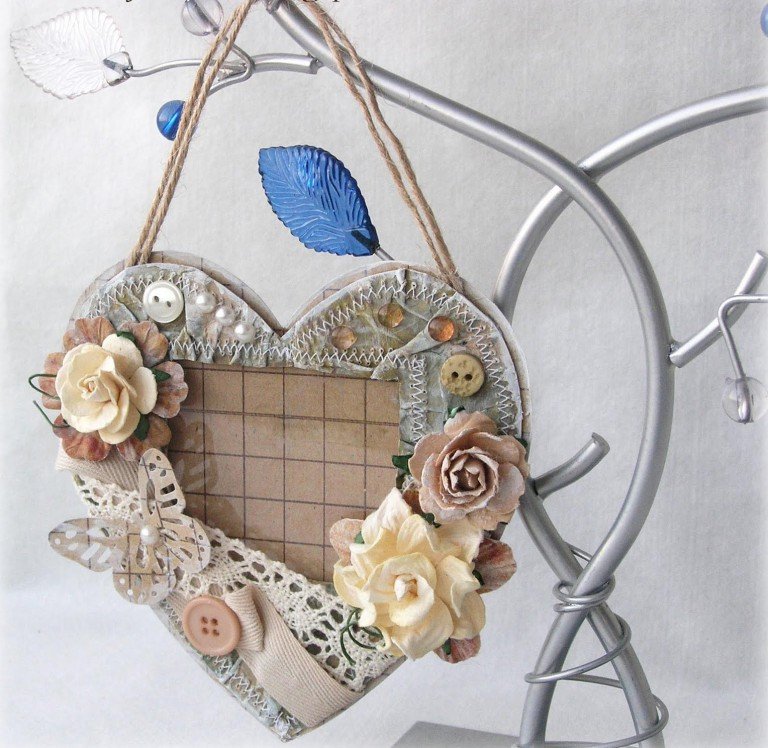
Vintage photo frame at home
For lovers of the classic interior, we recommend making the original vintage frame with your own hands. It will perfectly complement the design of the room and become a stylish decoration.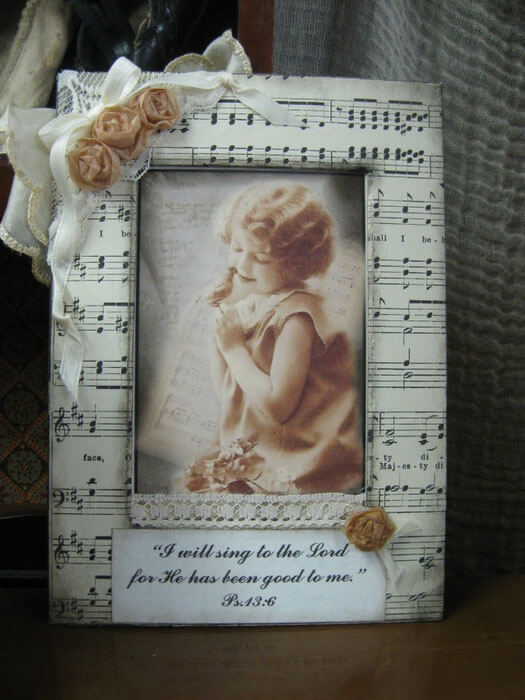
We will prepare such materials:
- cardboard rectangle;
- PVA glue;
- ruler;
- thick cardboard;
- pencil;
- tea bags;
- lace tape;
- Toothpicks
- a small piece of gauze.
Of course, you can use a ready-made frame and decorate it at your own discretion. But still, we propose to do it yourself using cardboard blanks. The result should be such a frame, as in the photo.
As a decor, we will use roses made of tea bags.
Keep in mind that if you use bags of black tea, the roses will have a brown color. In turn, Hibiscus tea bags will give a pink tint.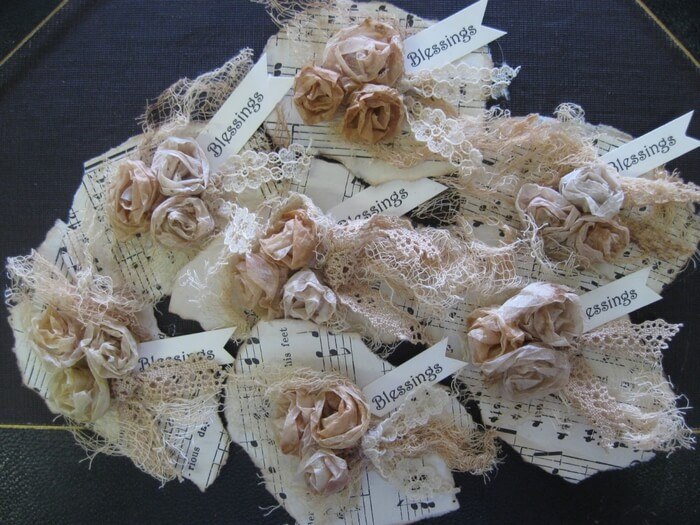
To make such roses, take an already used bag and cut it. We take out all the tea leaves and divide the bag into strips, as in the photo.

After all the blanks have dried, proceed to the creation of roses. We take one of them and carefully bend the tip.
Gradually twist the rose, holding the base.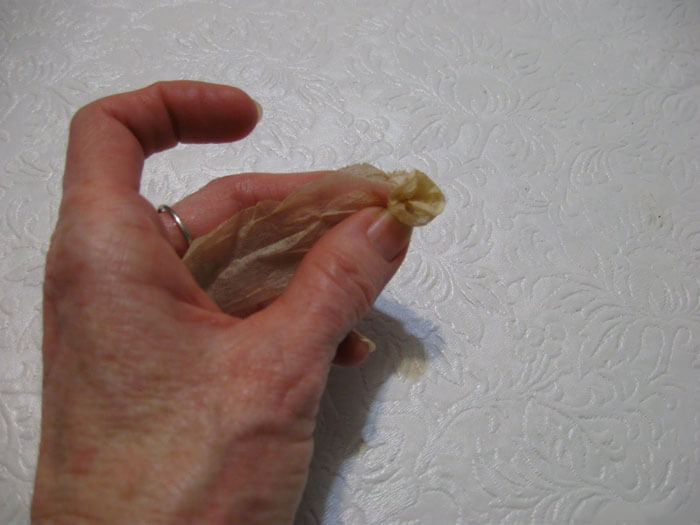
Wrap each flower with gauze painted tea leaves. We prepare the necessary number of buds.
Glue the blanks to the frame with a simple PVA glue. If desired, you can use another additional decor in a vintage style.
Unusual decor of pasta photo frames
To make a beautiful frame for a photo it is not at all necessary to acquire expensive materials. After all, you can even use what is in your home.
In this case, we need:
- music sheet or napkin;
- ice cream sticks - 16 pcs.;
- varnish;
- pasta;
- PVA glue;
- cardboard;
- white acrylic paint.

Alternately glue the sticks together, as in the photo. 
After the billets have completely dried, we proceed to the decor. Glue curly pasta with a simple PVA glue. 
We paint the entire surface with white acrylic paint. 
Glue a piece of cardboard to the back of the frame. On the front side, glue a napkin with a pattern or music paper. 
We cover the product with a layer of varnish and leave for several hours. Beautiful frame with your own hands is ready! 
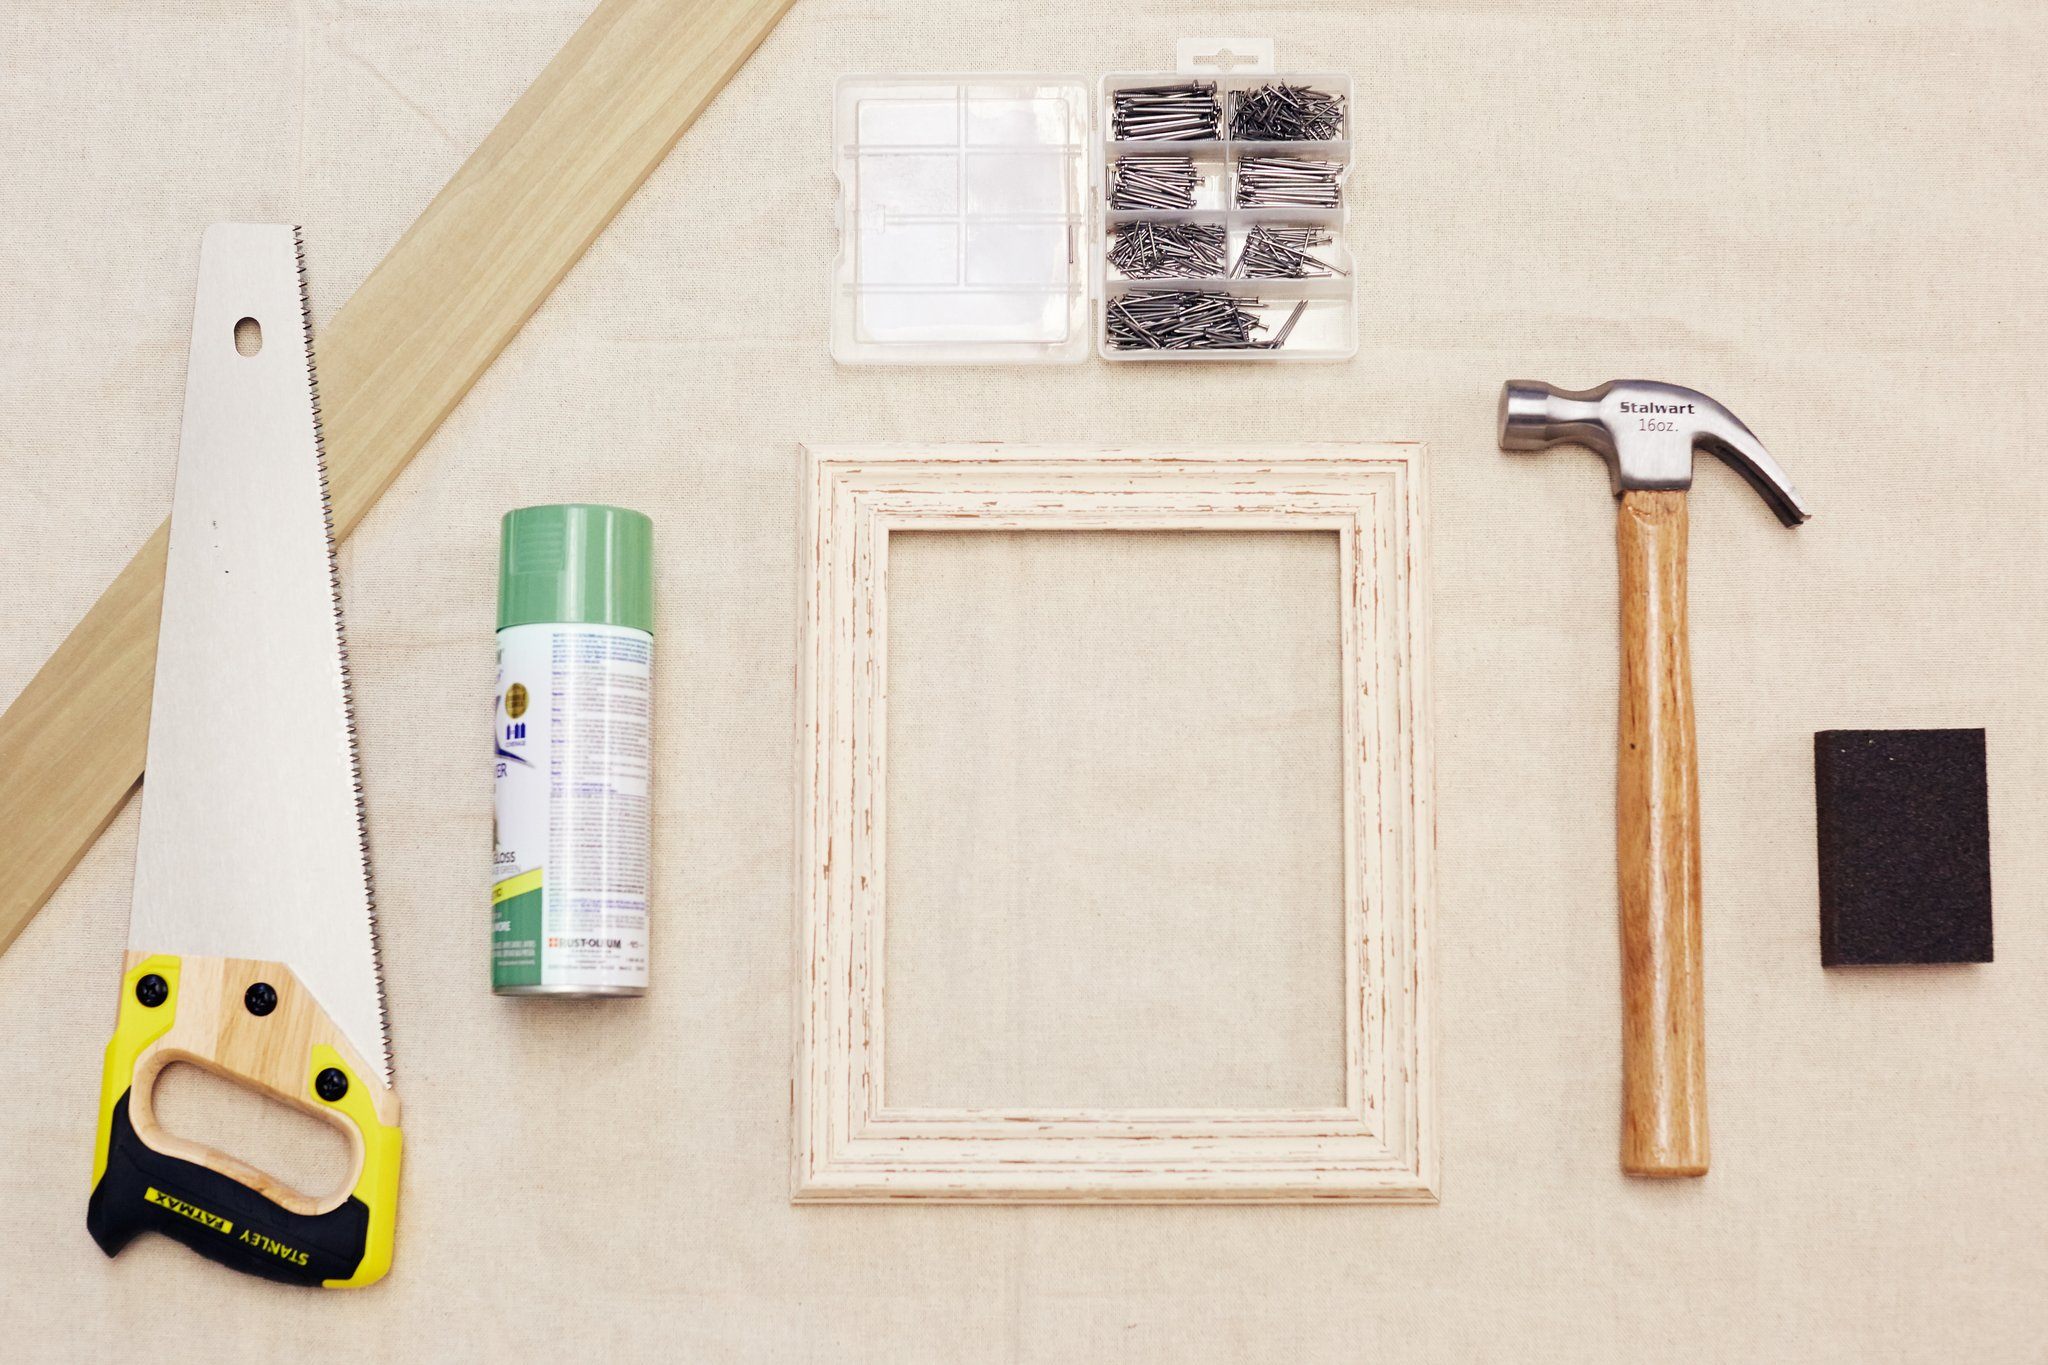
Volumetric photo frame on the wall

Necessary materials:
- wooden frame;
- hammer;
- saw;
- sandpaper;
- nails
- glue for wood;
- angle brackets;
- spray paint;
- wooden cut.
Based on the size of the frame itself, we cut four pieces of wood, as in the photo.

We connect the blanks with each other with nails in a box. We process the surface with sandpaper. Cover with spray paint on each side and leave to dry. 
We put a thin layer of glue on the box and put a frame on top. Leave the structure for an hour until dry.

For greater reliability, parts can be joined using angle brackets.

Install the frame on the wall. You can put various figurines, printed photos and much more in it. 
Pastel color frame
Pets are a part of life, so the frame with their photos will always warm you and fill your heart with happiness.

To create it you will need:
- wooden frame;
- brush;
- paint in white and pink;
- varnish;
- decorative strips;
- hammer;
- fastening;
- decorative corners;
- photos;
- colored thread;
- scissors;
- color piece of fabric.

We paint the sides of the wooden frame with paint and leave it to dry.

Paint the bottom of the frame with white paint. 
We cover the entire surface with varnish. 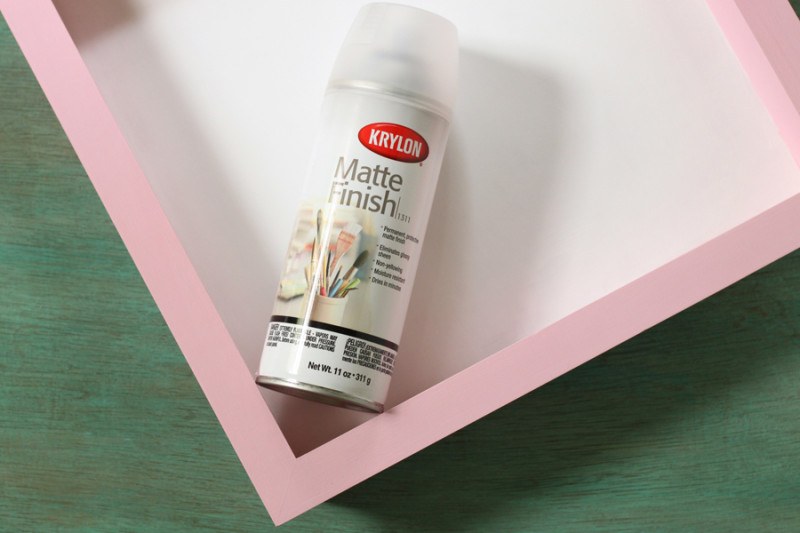
We attach golden stripes for decoration to a part of the white frame. 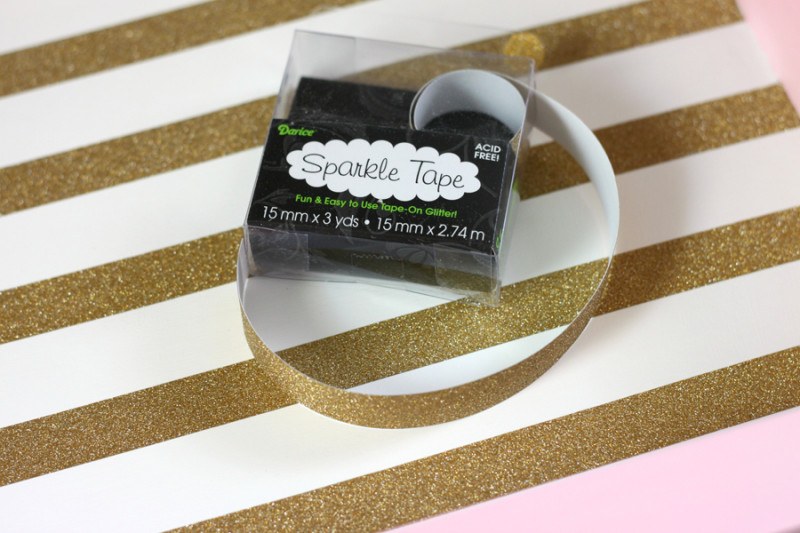
On the inside of the frame we fix the mount. 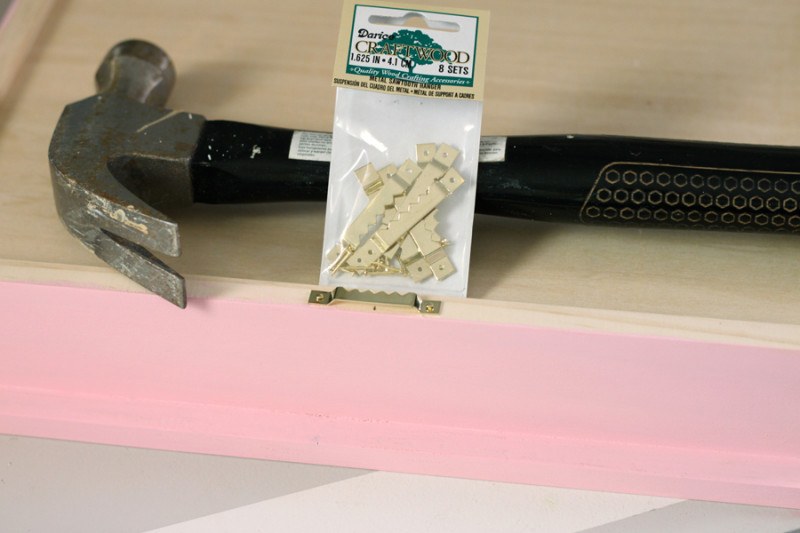
We decorate photos of pets with decorative corners. 
If desired, you can cut out triangles from the fabric and connect them with a thread. Get a kind of garland for decoration. 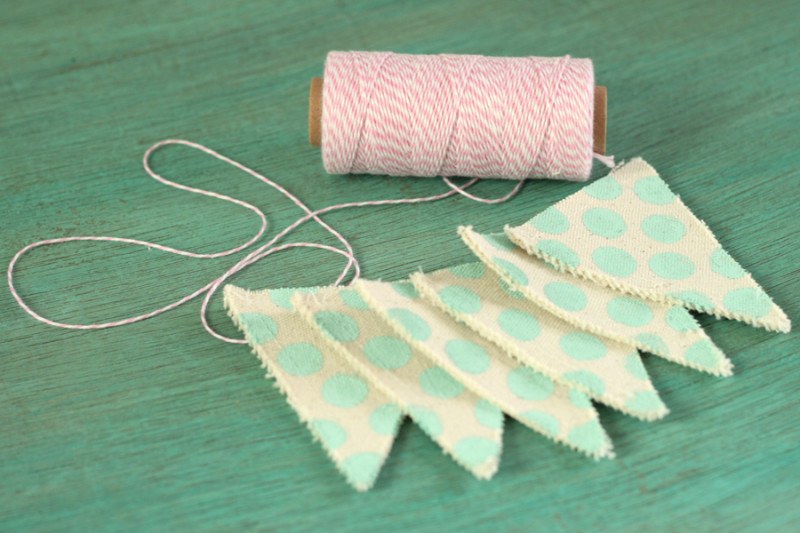
Attach to the photo frame, decorate with a garland and set in the most suitable place. 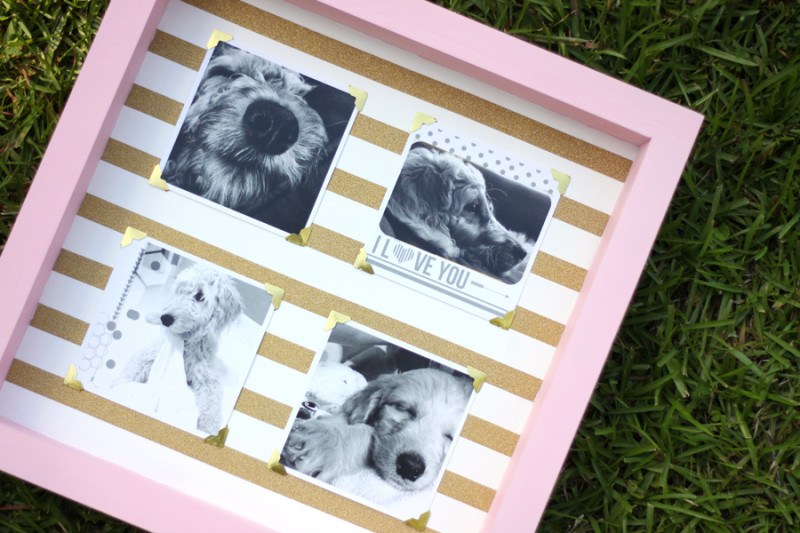

Absolutely everyone can make a beautiful frame for a photo. This does not require special knowledge or materials that are too expensive. Just don’t be afraid to try something new, and then the result will pleasantly surprise you.


To answer
Want to join the discussion?Feel free to contribute!