The most interesting crafts for the New Year 2019: exciting ideas, master classes in photos
The atmosphere of the approaching holiday is felt in everything. Many streets are decorated with bright garlands, New Year's music sounds everywhere, and in the shops an amazing assortment of decorative objects is presented. Of course, the price for them is sometimes too high. Therefore, we propose to make a no less attractive decor with your own hands.
Cute snowmen for New Year 2019
Snowmen have long been associated with the New Year holidays, fun holidays and time spent with family. Therefore, we propose to make some small snowmen, which will be a great decoration for your home.
For work, we need:
- socks (light and colored);
- filler (you can use sintepon);
- strong thread;
- twine;
- needle;
- beads;
- small buttons;
- scissors;
- marker.
To begin with, take a light toe and cut off the upper part from it. From the colored sock we cut off not only the top, but also the sock.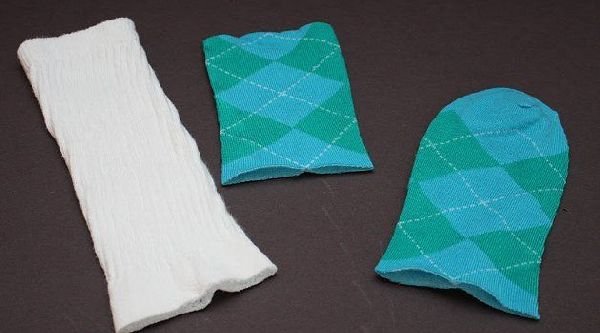
The white section is sewn from the inside from the bottom edge. We fill it with a synthetic winterizer or other filler and sew it, as shown in the photo. 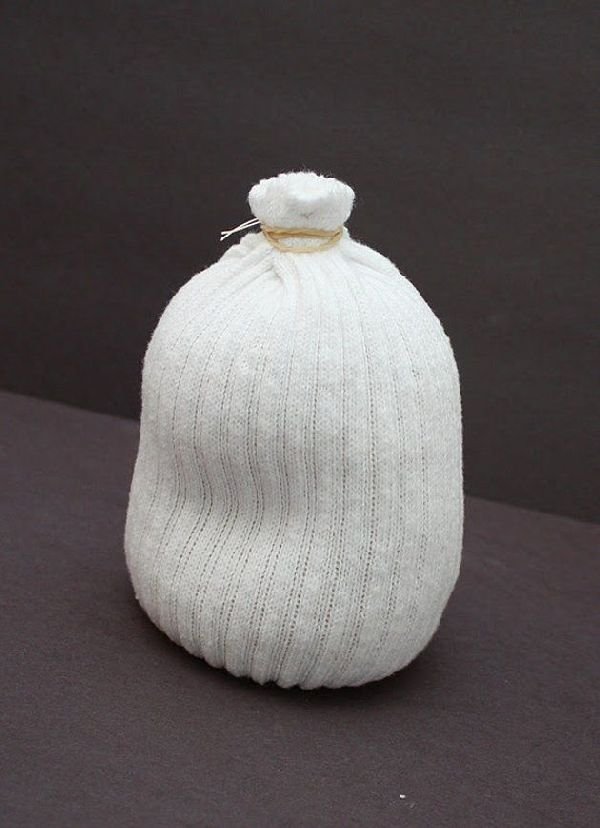
Take the top of the colored sock and put on over the light. We dress it in two places so that it resembles a snowman's balls. From the second part of the colored sock we form a hat and put on a snowman. Tie the top with twine to make it look like a pompom. 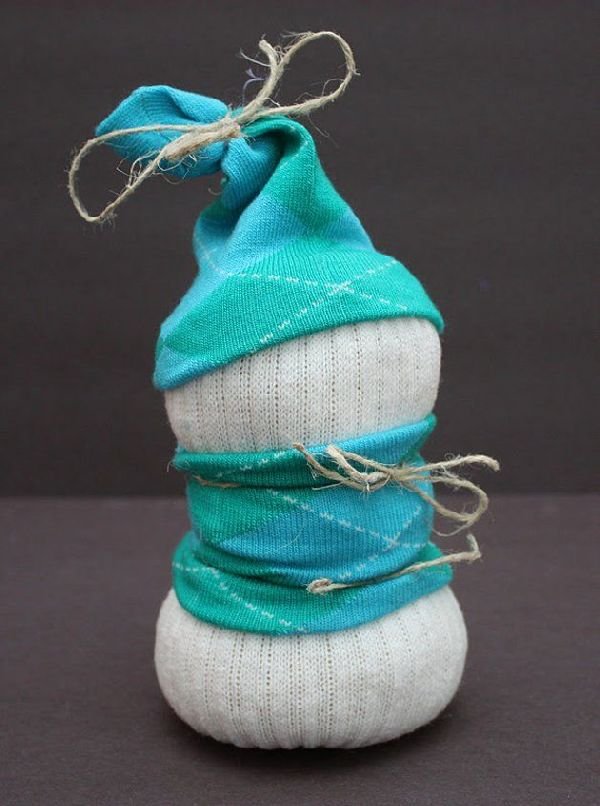
Sew buttons on the clothes of a snowman, as well as instead of eyes. With the help of beads and a marker, we do the rest. 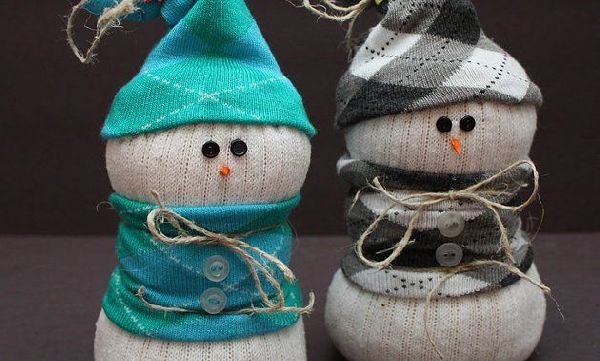
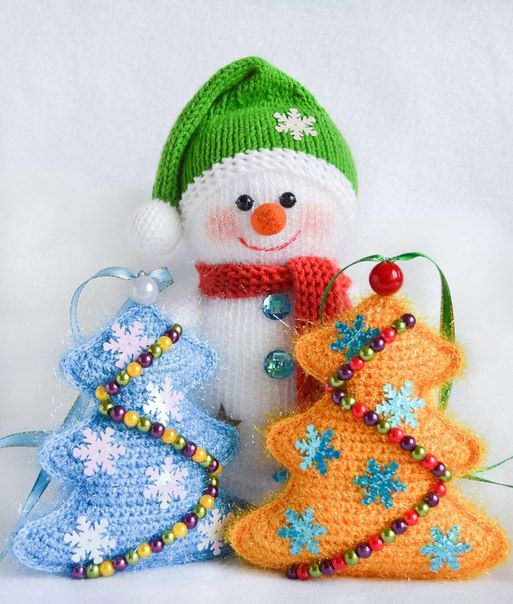
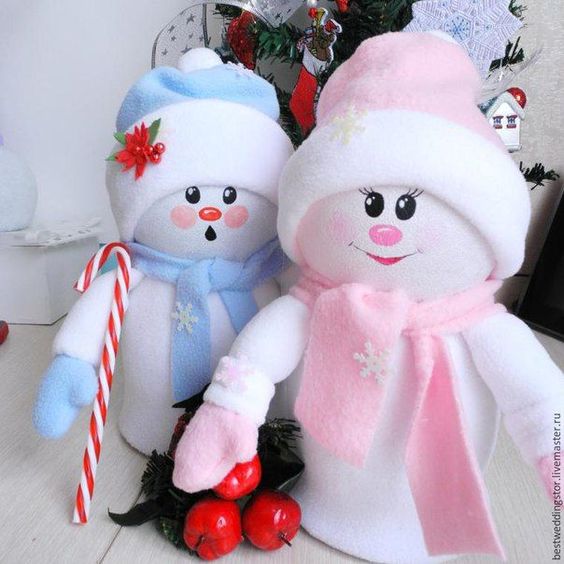
A snowman can look completely different, because everything depends entirely on your imagination and materials. 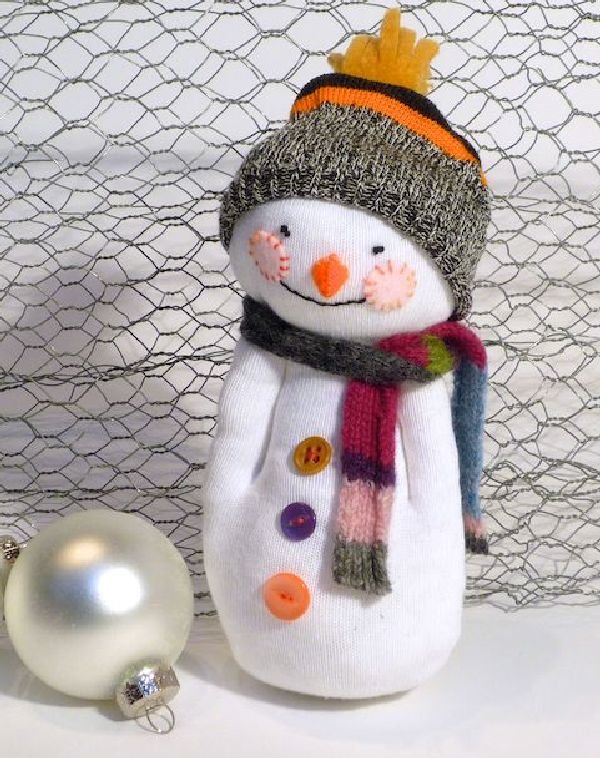

Unusual Christmas tree made of threads
To decorate a workplace in the office or to transform a dressing table by the New Year, it is not necessary to purchase a small Christmas tree. We offer to make an alternative version from threads.
Prepare the following:
- a cone-shaped foam blank or thick white cardboard;
- yarn in light color;
- glue in the gun;
- threads of bright color;
- multi-colored buttons;
- scissors.
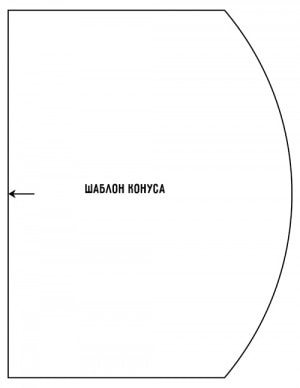
From a thick cardboard we form a cone according to the template.
If you purchased a workpiece, then we attach the thread to its base with hot glue.
Wrap the cone to the very top and fix the tip with glue.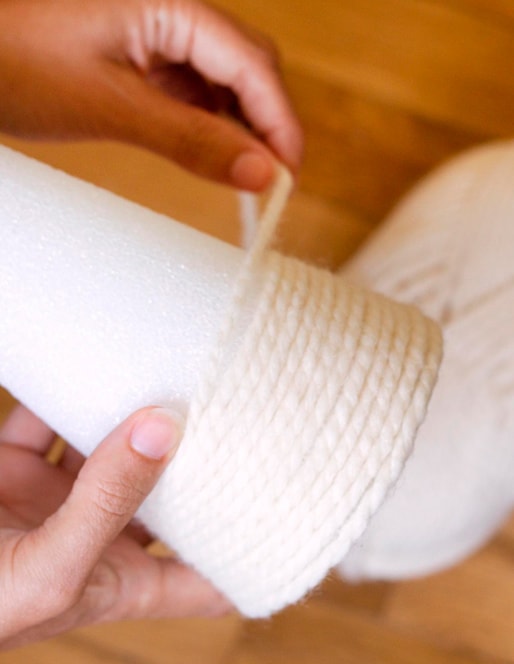

From the red threads we make a pompom and glue it to the top of the cone. If desired, you can buy ready-made pompons of different colors.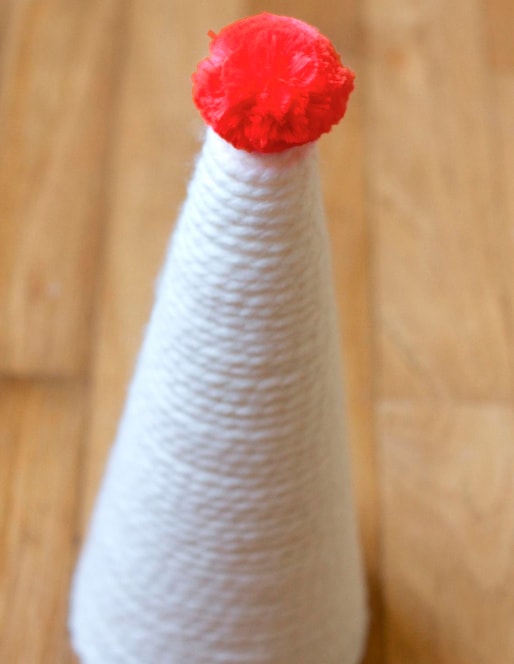
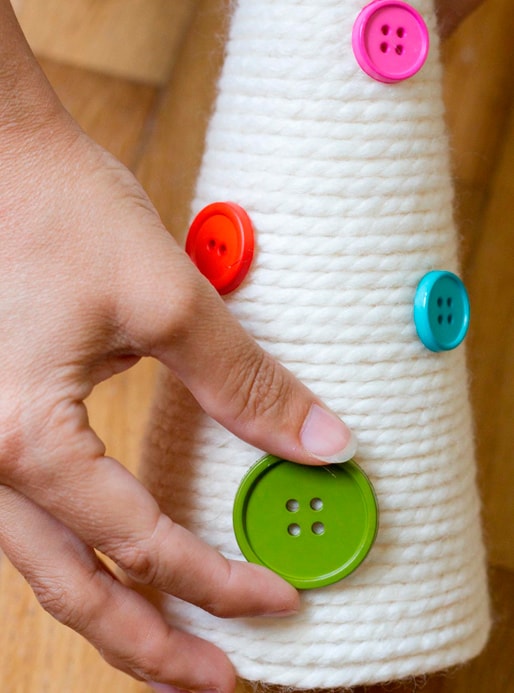
We glue bright buttons in a loose order to the workpiece. A colorful, stylish Christmas tree for decor is ready!
Salt Dough Crafts
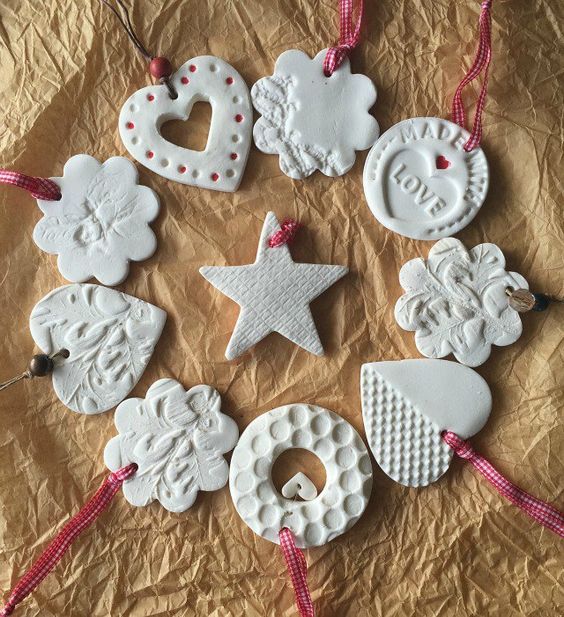
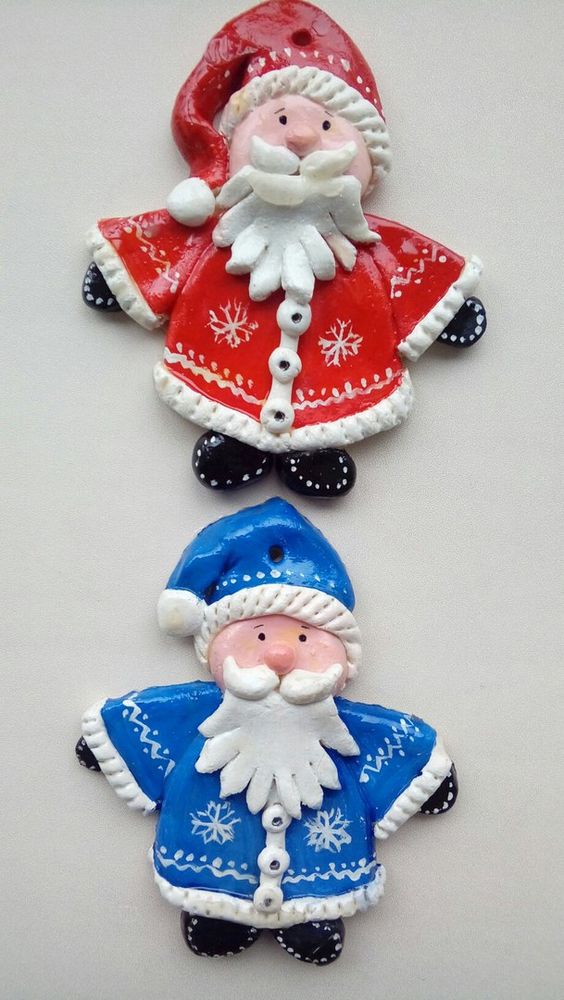
Material such as salt dough is very often used in creating unusual decor. Moreover, there are many recipes for its preparation. We have selected for you two interesting options that are very easy to make at home.
In a small container, mix three tablespoons of flour and six tablespoons of salt. Gradually add water, but not more than two tablespoons. Knead the dough, which should be quite soft.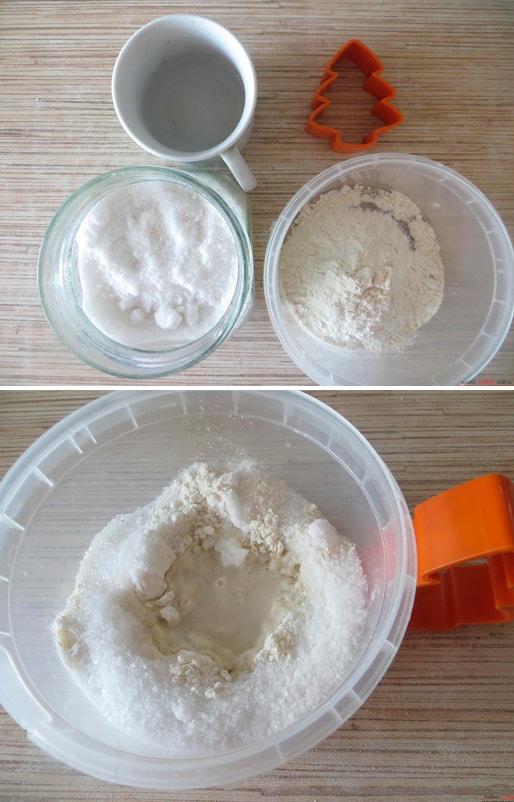
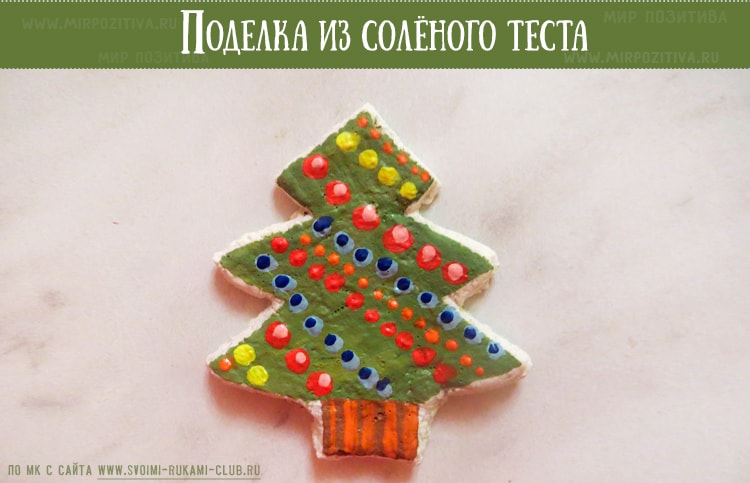
Sprinkle the work surface with flour and roll out the dough. Using a mold, squeeze out the required number of fir trees.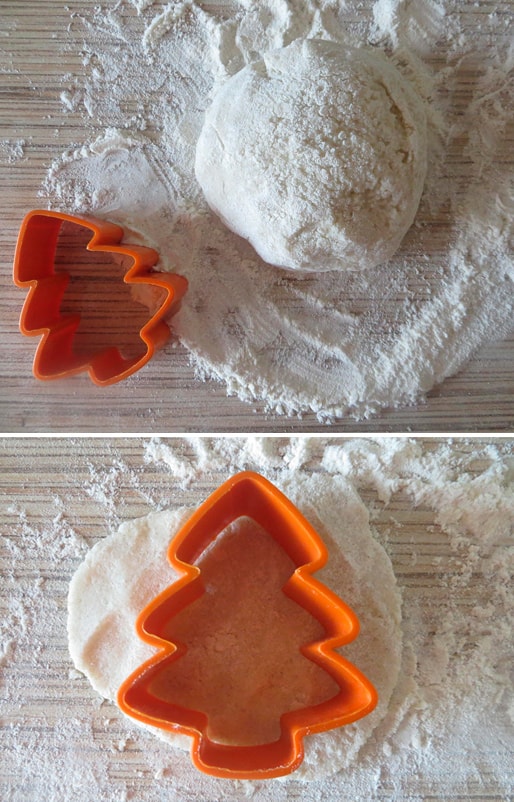
The resulting workpiece is left to dry for a day.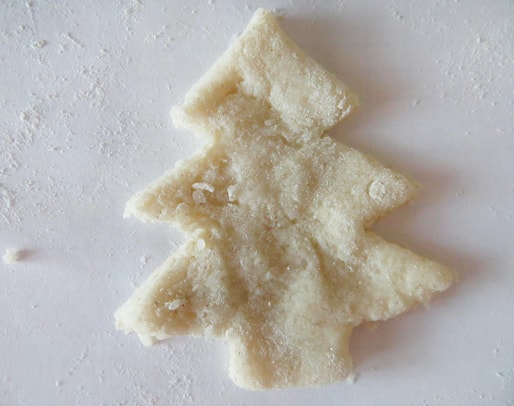
Apply the main green color to the workpiece.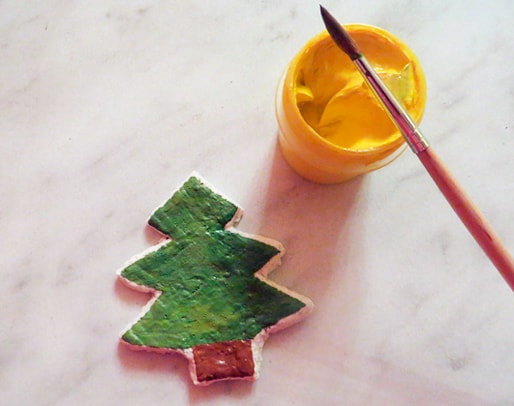
Gradually decorate it and add holiday toys. Leave the trees for several hours before drying. Original Christmas crafts ready!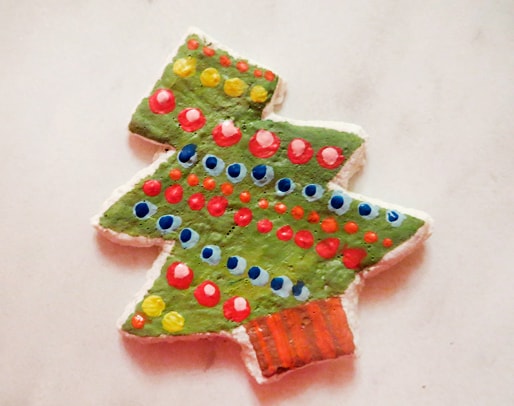
To create the crafts, prepare:
- flour;
- lemon juice;
- salt;
- water;
- mold in the form of snowflakes;
- parchment paper;
- nail file;
- acrylic or watercolor paints;
- brush;
- colorless varnish;
- threads or ribbons.
Mix the ingredients until smooth. We put parchment paper on the table and salted dough on top. We roll out a small piece, as shown in the photo. 
Using a mold, squeeze out a snowflake. If desired, you can use molds of different sizes to create snowflakes that are not alike. At this stage, make a small hole so that the product can be hung. 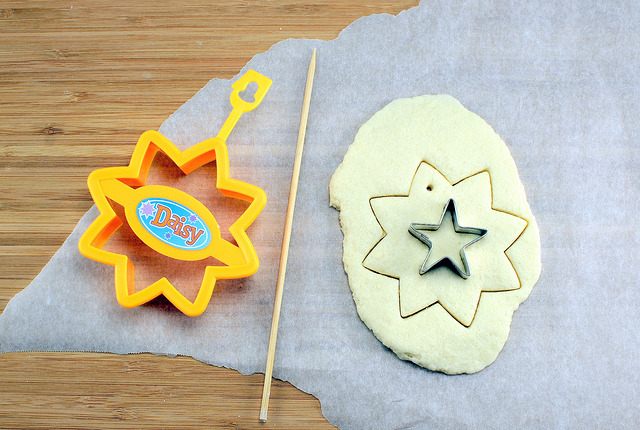
Repeat the same with the remaining dough and make creative snowflakes. Preheat the oven at 80˚ and bake the baked goods for four hours. It is very important to check them at least once an hour so that they do not burn. We take them out and leave for a day to cool and dry. Grind the edges and roughness with a nail file. 
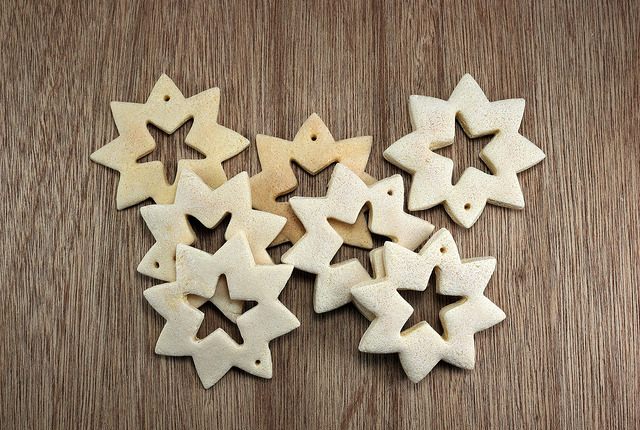
Using acrylic or watercolor paints, we paint the surface of snowflakes. 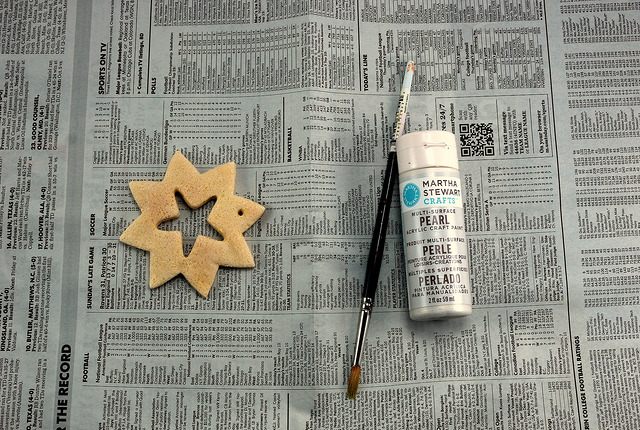
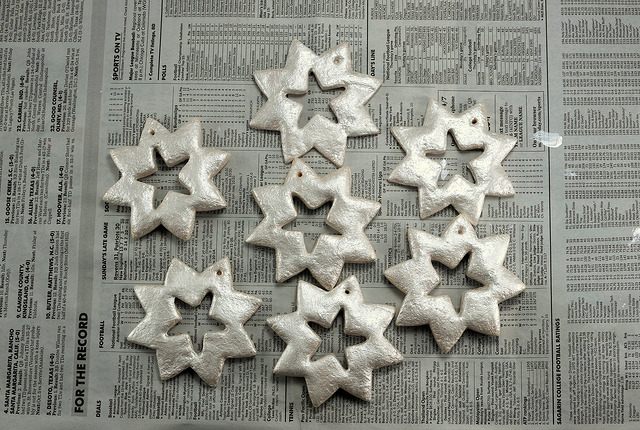
If you wish, you can decorate the snowflakes a little more. It is not at all necessary to do this according to some pattern, just prove yourself. 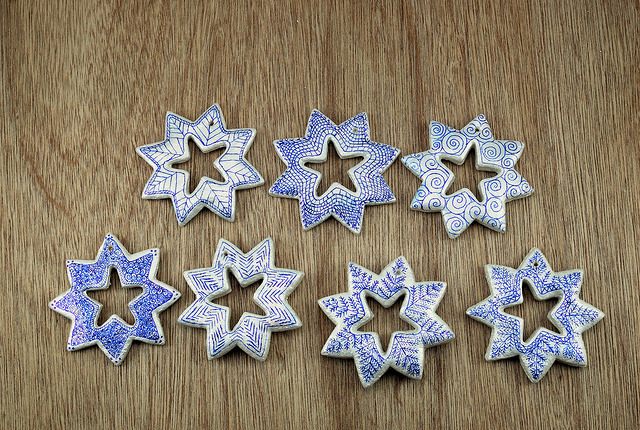
To fix the result, we cover each snowflake with a layer of colorless varnish. 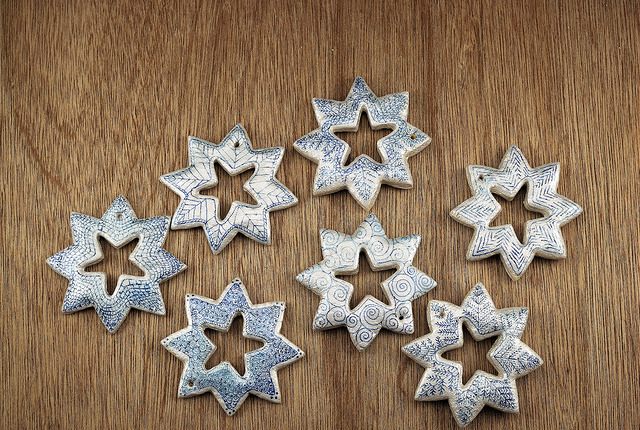
Pass the ribbons or beautiful strings into the holes and tie them. Stylish, original decor for the Christmas tree is ready. 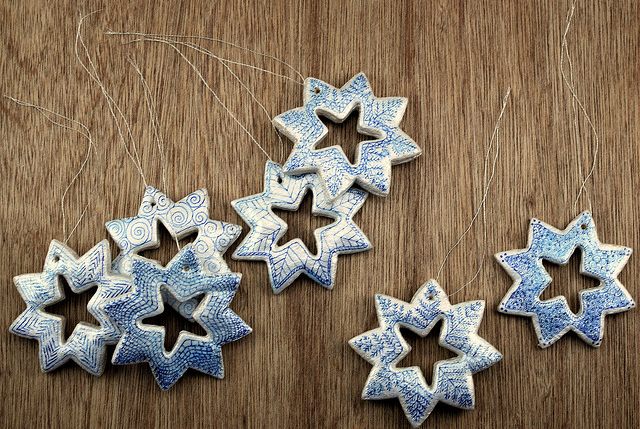
Christmas star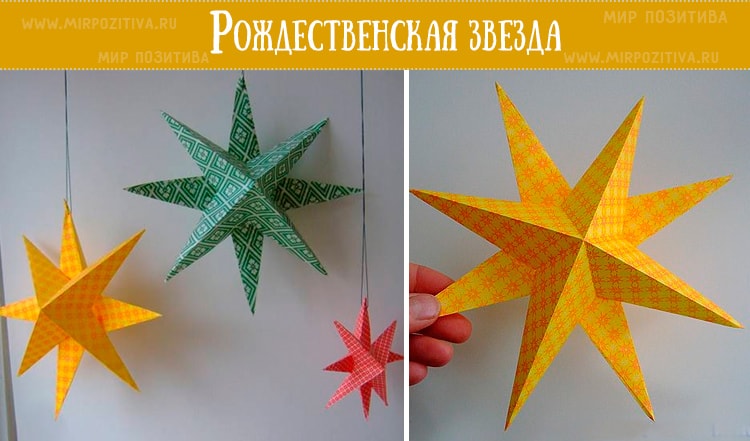
In the process of creating such a star, you will need the following:
- colored paper;
- pencil;
- scissors;
- glue.
Fold one sheet of colored paper into four parts. Expand and fold diagonally.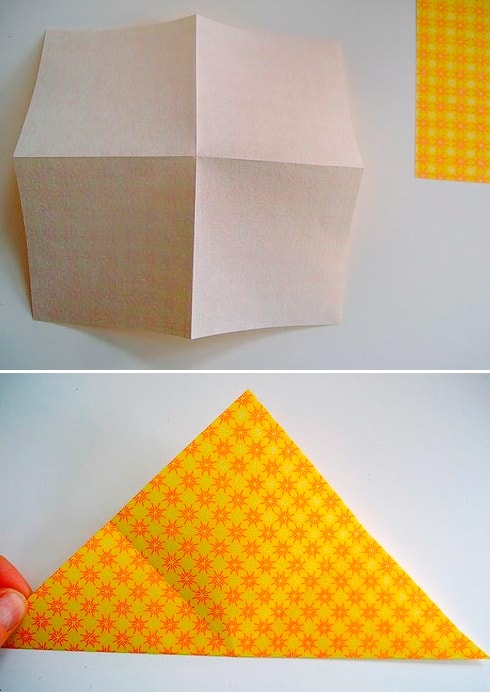
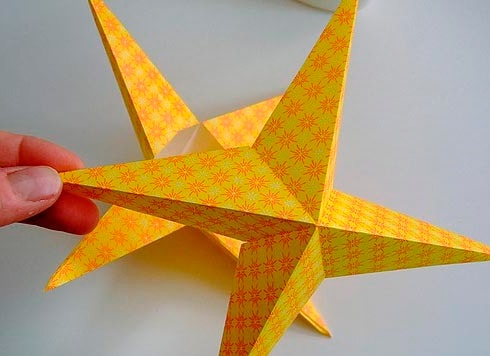
Bend inward some corners, as in the photo.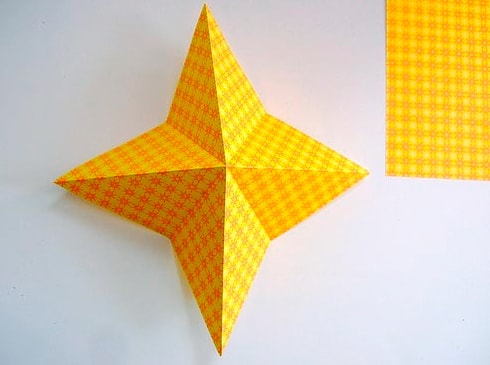
On the flip side, mark the middle of each fold.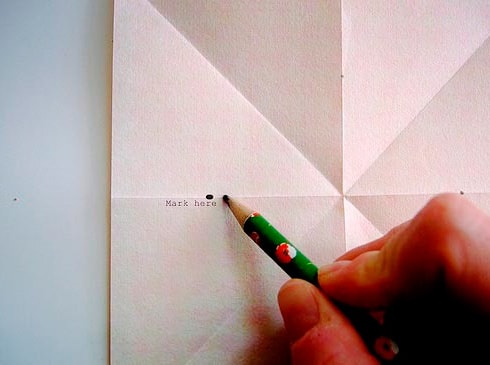
We make cuts strictly to the marked points.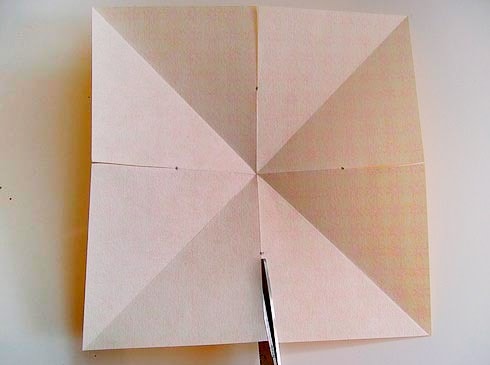
We bend the edges on each side towards the middle.
Apply glue to one of the edges of each ray of the star.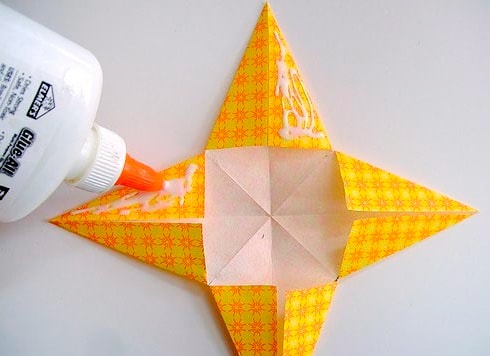
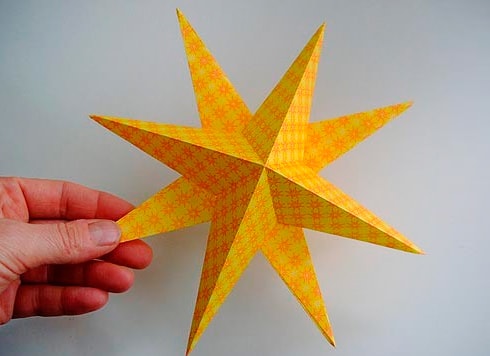
Connect the edges, as in the photo.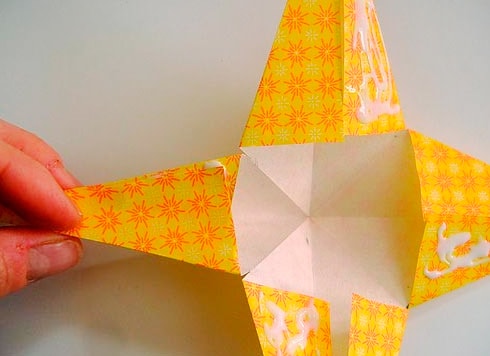
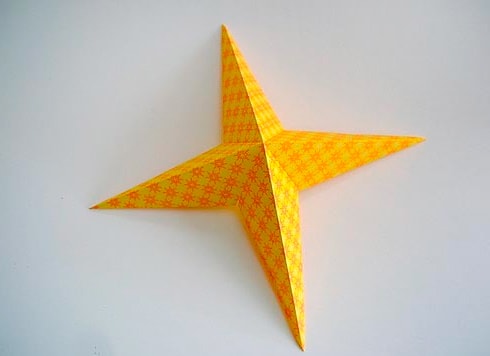
In the same way, we collect another workpiece.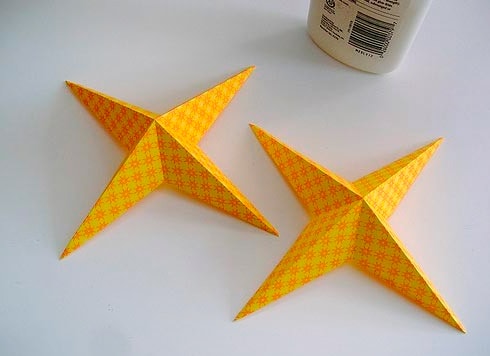
Glue two pieces together, but only at an angle of 45 °. After drying, you can safely decorate it with a Christmas tree.
Crafts from yarn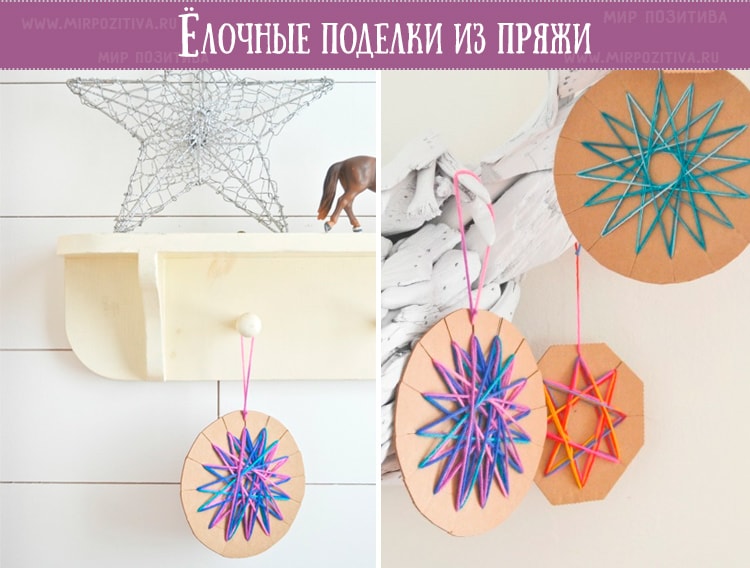
Simple, but at the same time, original toys can be made using such materials:
- thick cardboard;
- pencil;
- scissors;
- colored yarn.
First, cut out the necessary shapes from the cardboard. Using a pencil, mark the places of incisions. It is important that they are at the same distance. We make cuts strictly along the outlined lines.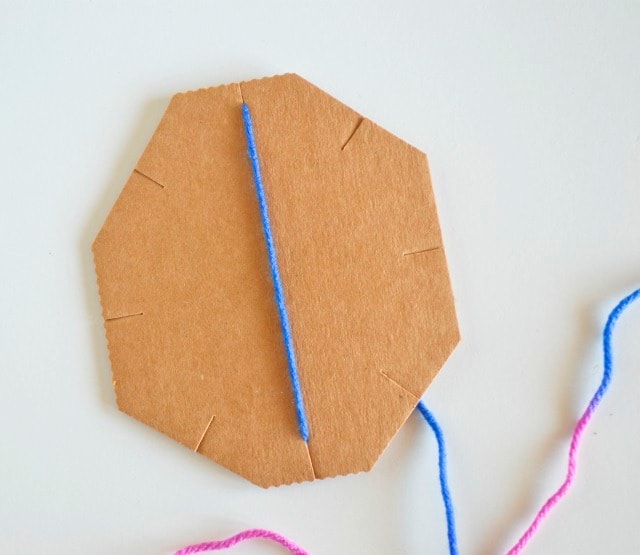
We pass the thread from above into the slot, and then from below. Repeat the same clockwise until you get a specific pattern.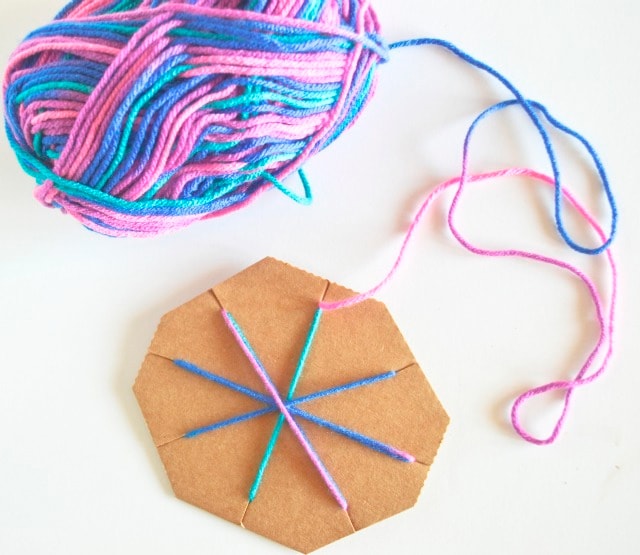
At the end we make a loop in order to hang a toy. If desired, you can make a variety of drawings on cardboard. Then they will look more original in one composition.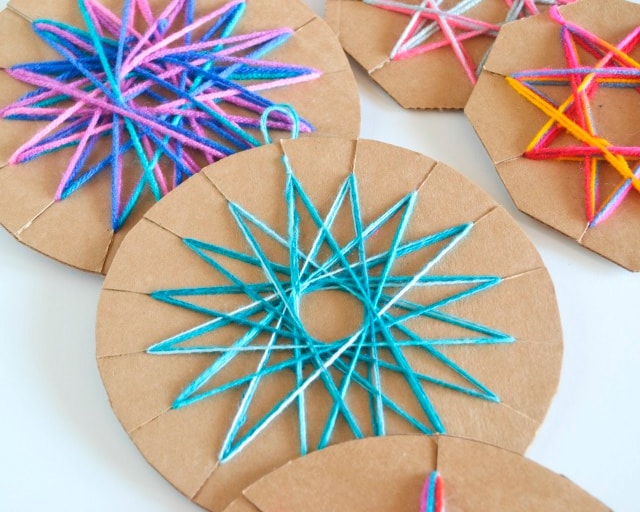
Santa Claus made of cotton sponge
Prepare materials and tools:
- cotton sponges;
- plastic spoon;
- ribbon or thread;
- red marker;
- red yarn;
- small buttons;
- glue;
- scissors.
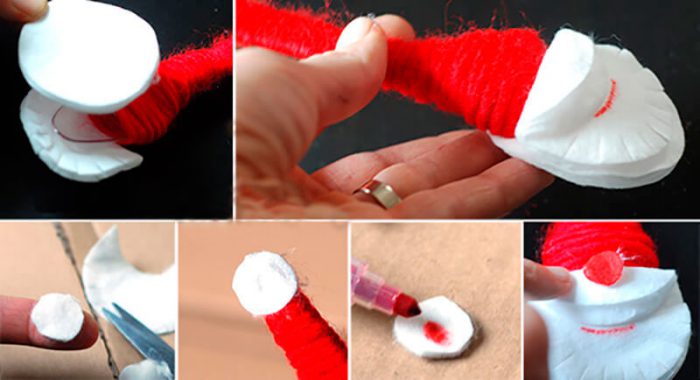
First, bend the cotton pad, as in the photo and make cuts along the edges.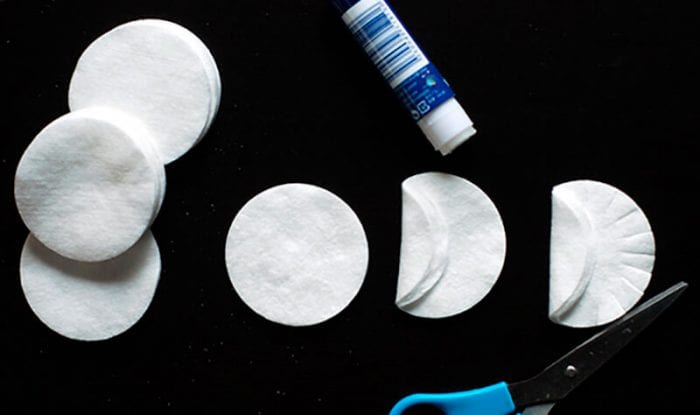
With a red marker we draw a line of a smile.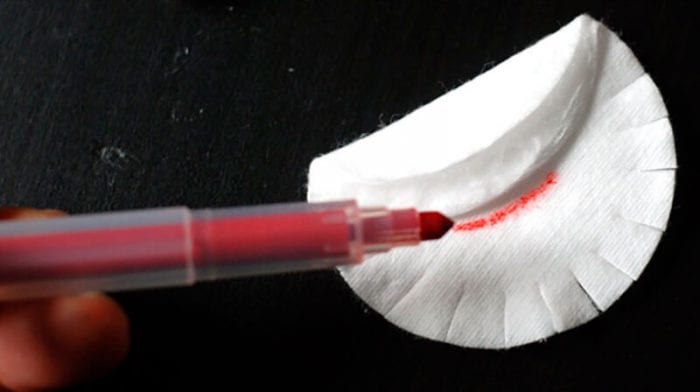
On a plastic spoon, with the exception of the tip, apply glue.
Wrap red yarn tightly over the glue.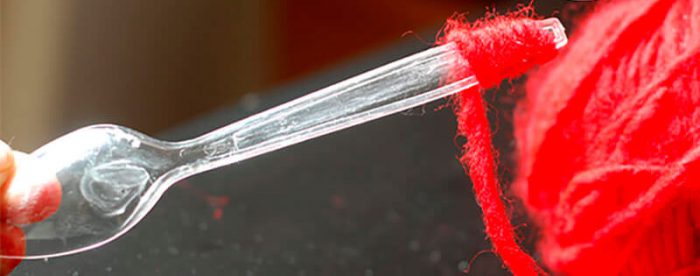
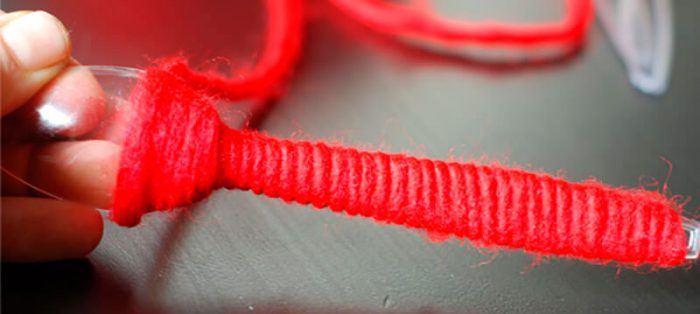
We apply glue on both sides of the spoon and glue the face of Santa Claus to the convex part.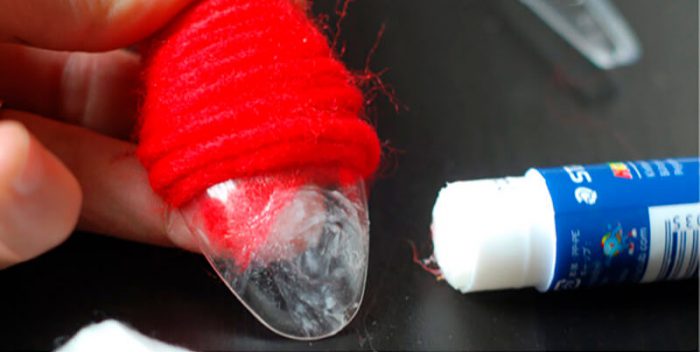
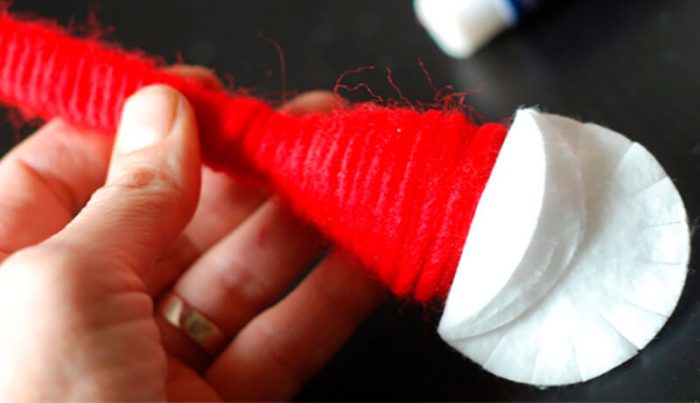
Glue a clean cotton pad to the concave part. Glue a clean cotton pad to the concave part. Cut a small circle from the sponge, color it and glue it as a nose.
Glue the buttons as eyes. We attach a ribbon or thread, like a loop for hanging.
Luxurious Christmas ball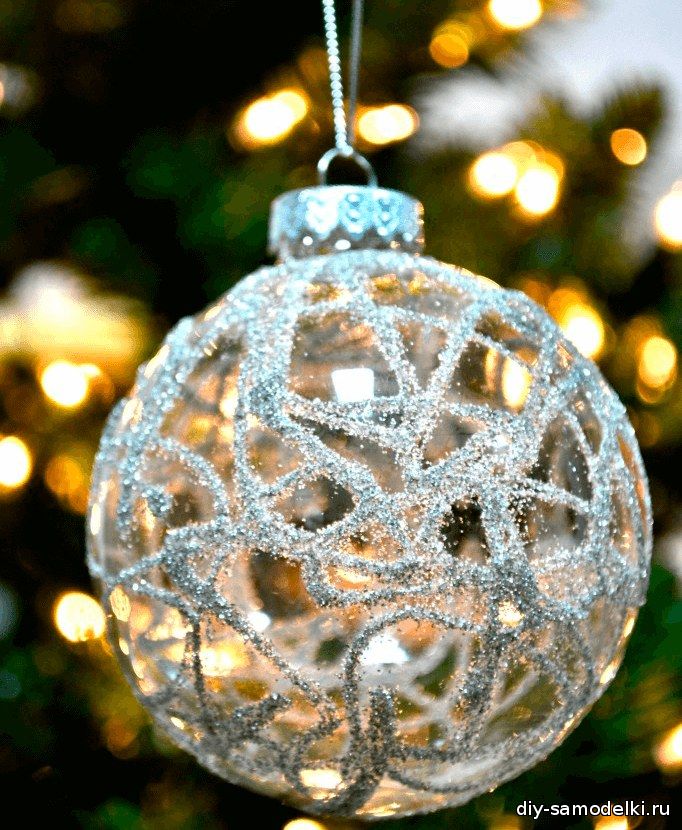
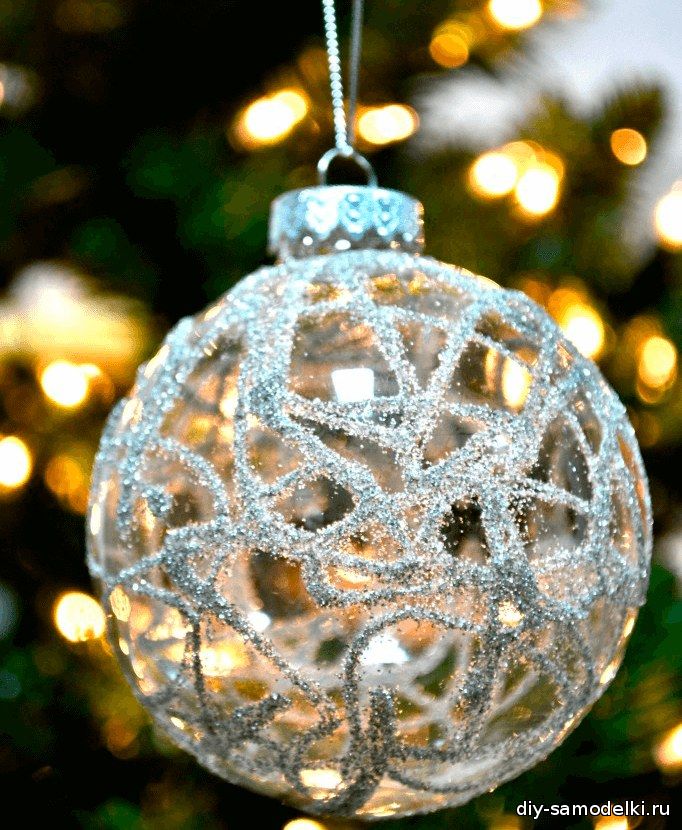
You can make such a beautiful ball on a Christmas tree in just a few minutes. To do this, take a transparent ball and apply glue on it with a thin strip, forming a beautiful pattern. 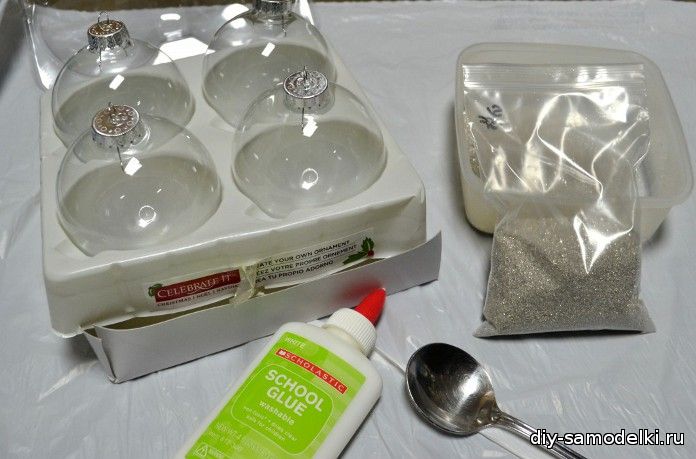
Sprinkle the ball with sparkles and leave to dry for twenty minutes.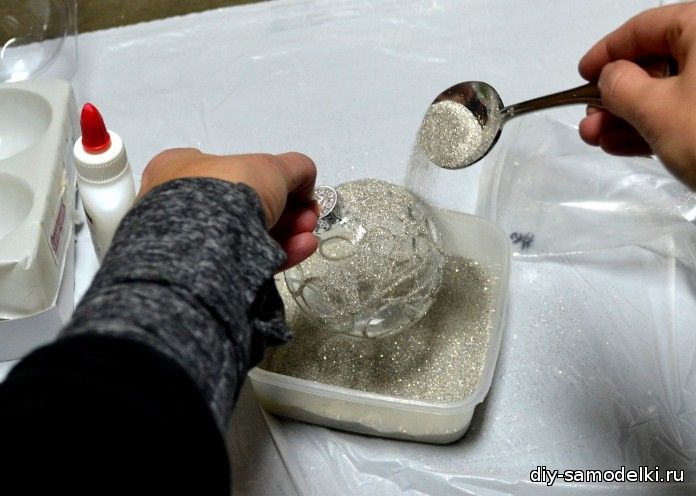
A variety of hand-made décor is always particularly appreciated. Therefore, we recommend that you make it not only for yourself, but also present it to your loved ones as a small presentation.
























To answer
Want to join the discussion?Feel free to contribute!