
Paper craft workshops for New Year 2018

On the eve of the New Year, many show their creative abilities. Someone embroiders or draws thematic paintings, others knit warm socks and mittens. Each of these things gives a special cozy atmosphere in the house. If you don’t have a hobby, we suggest making interesting paper crafts in New Year’s themes.
Symbol of the year made of paper

Absolutely everyone can make such a miniature dog. After all, for this you need only a square sheet of paper and a black marker. 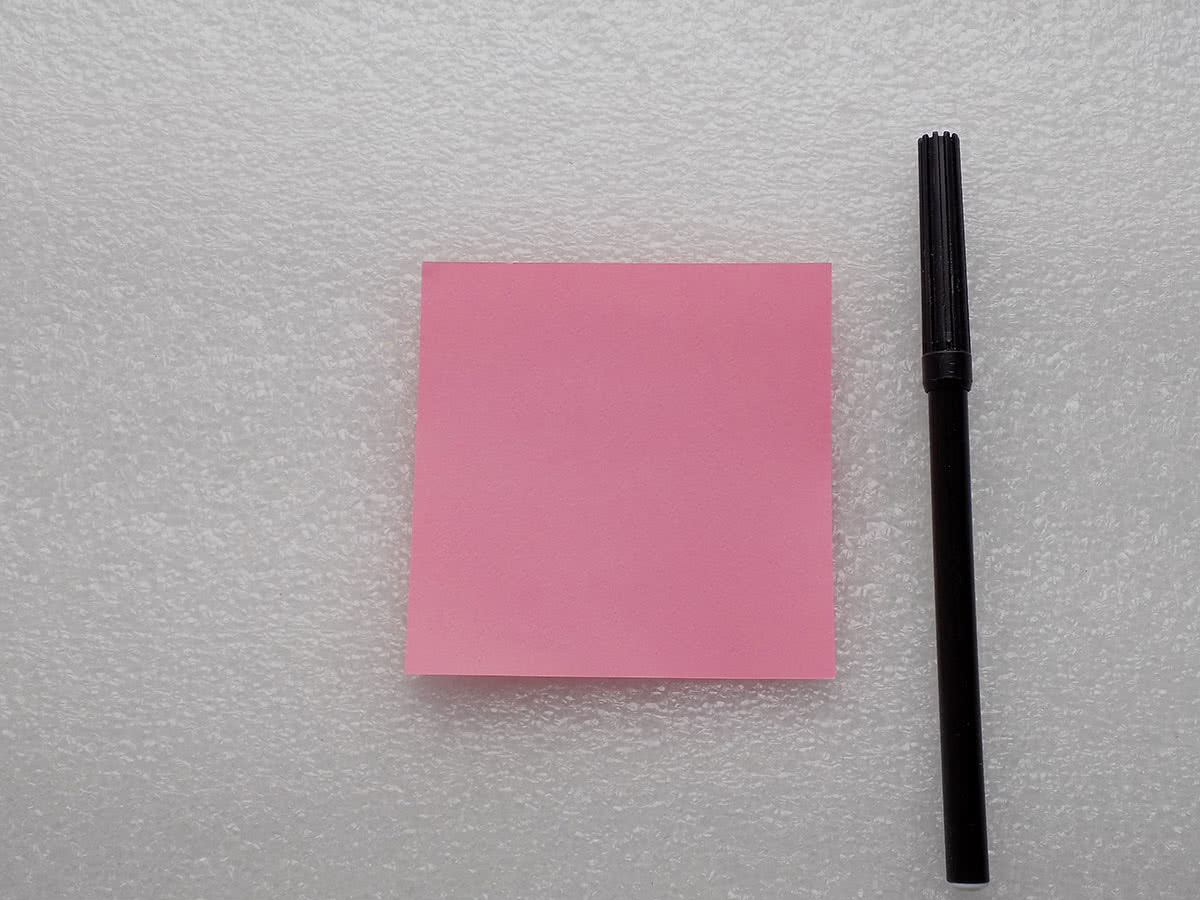
First, bend the sheet diagonally on one side, and then on the other. Then we straighten it, as in the photo. 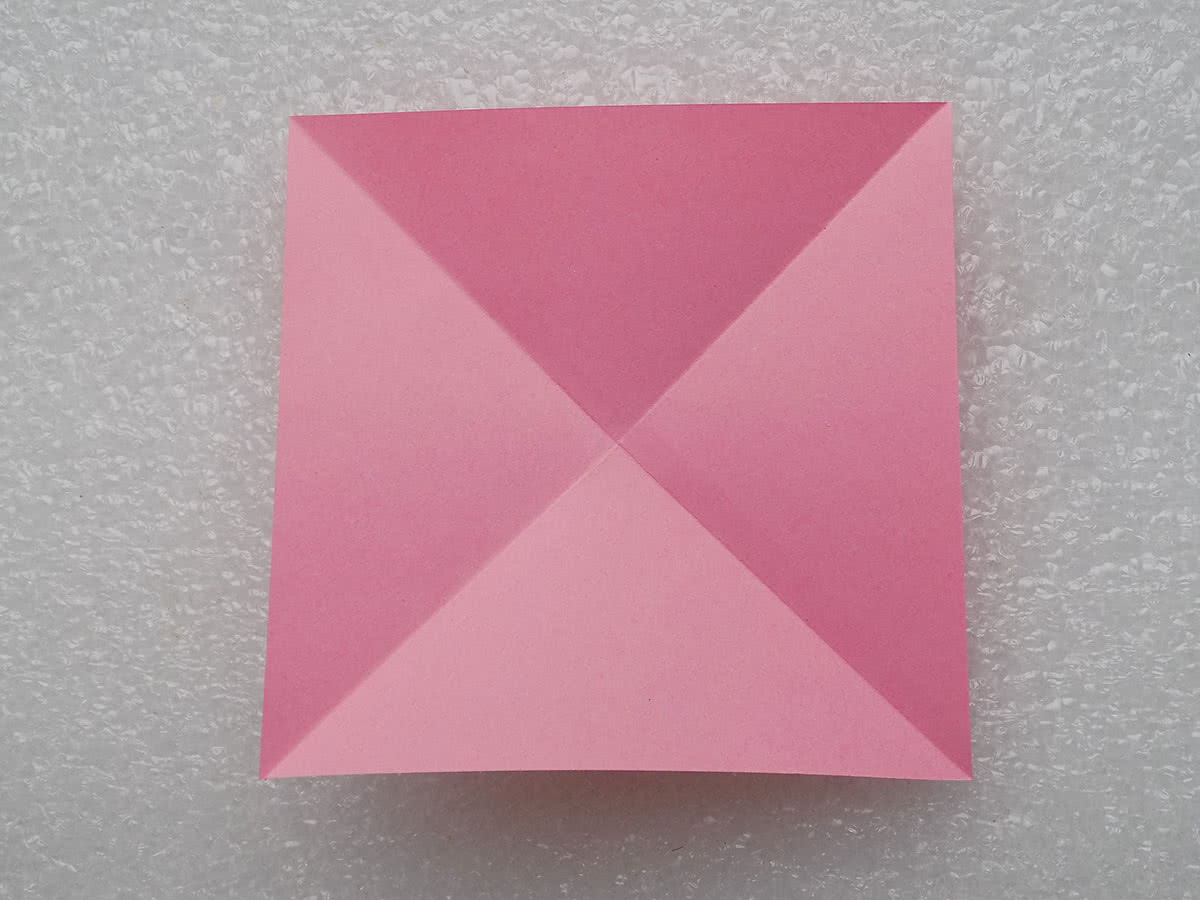
In turn, we bend each corner towards the center. You need to do this very carefully so that the edges fit together and there are no extra creases on paper.
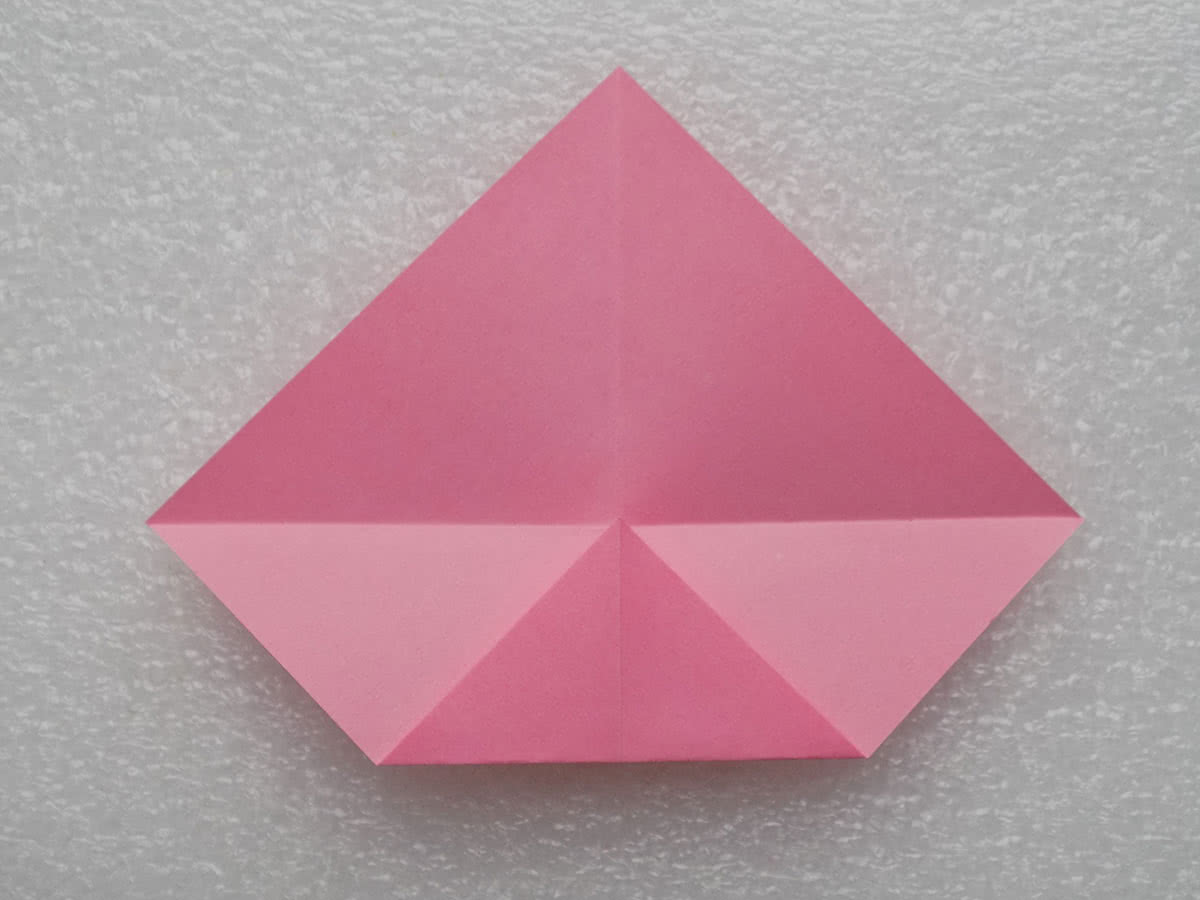

One of the corners is bent back to its original position. 
Bend the tip slightly, as shown in the photo. 
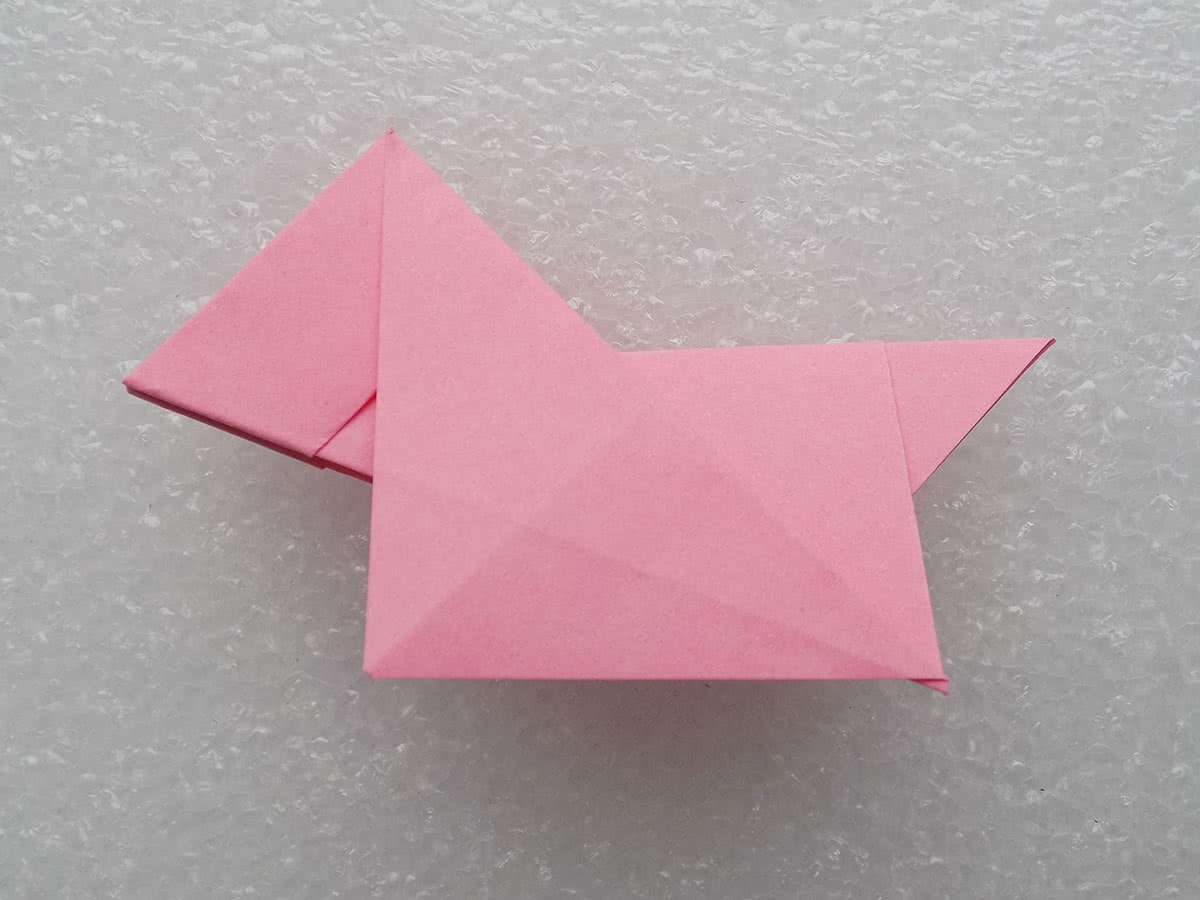
We bend this corner and unfold the opposite. 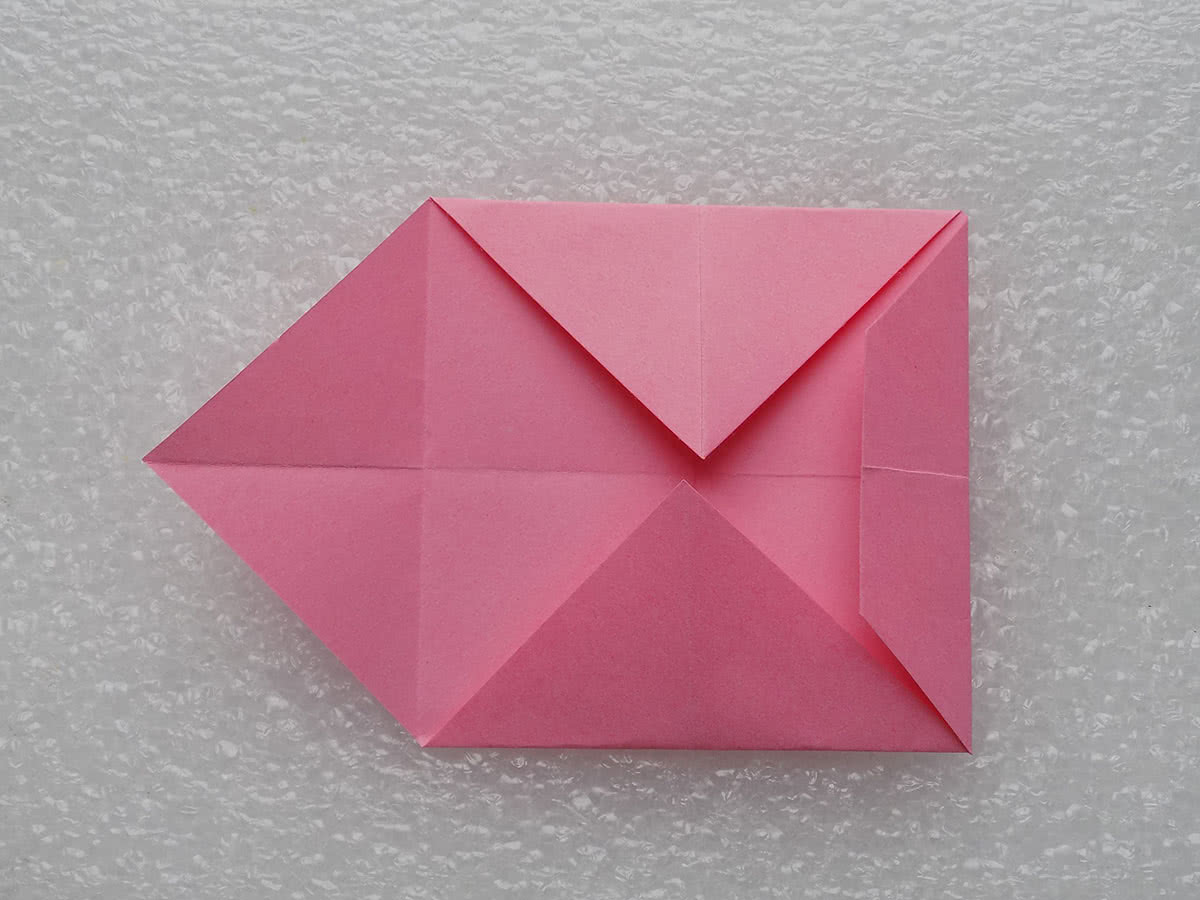
We bend the corner so that the protruding part extends beyond the entire sheet. This will be the tail of the dog.

Fold the blank in half. All folds should be located inside. 
The next step will be quite difficult, so you need to be especially careful. We bend the nearest part of the workpiece so that it is diagonally to the rectangle. At the same time, the triangle that is located inside cannot be folded. We carefully take it out. 
We unfold the workpiece with the back side and repeat the same. Bends must be symmetrical.
We begin to create the face of the dog. We unfold the workpiece so that the corner in front is visible. 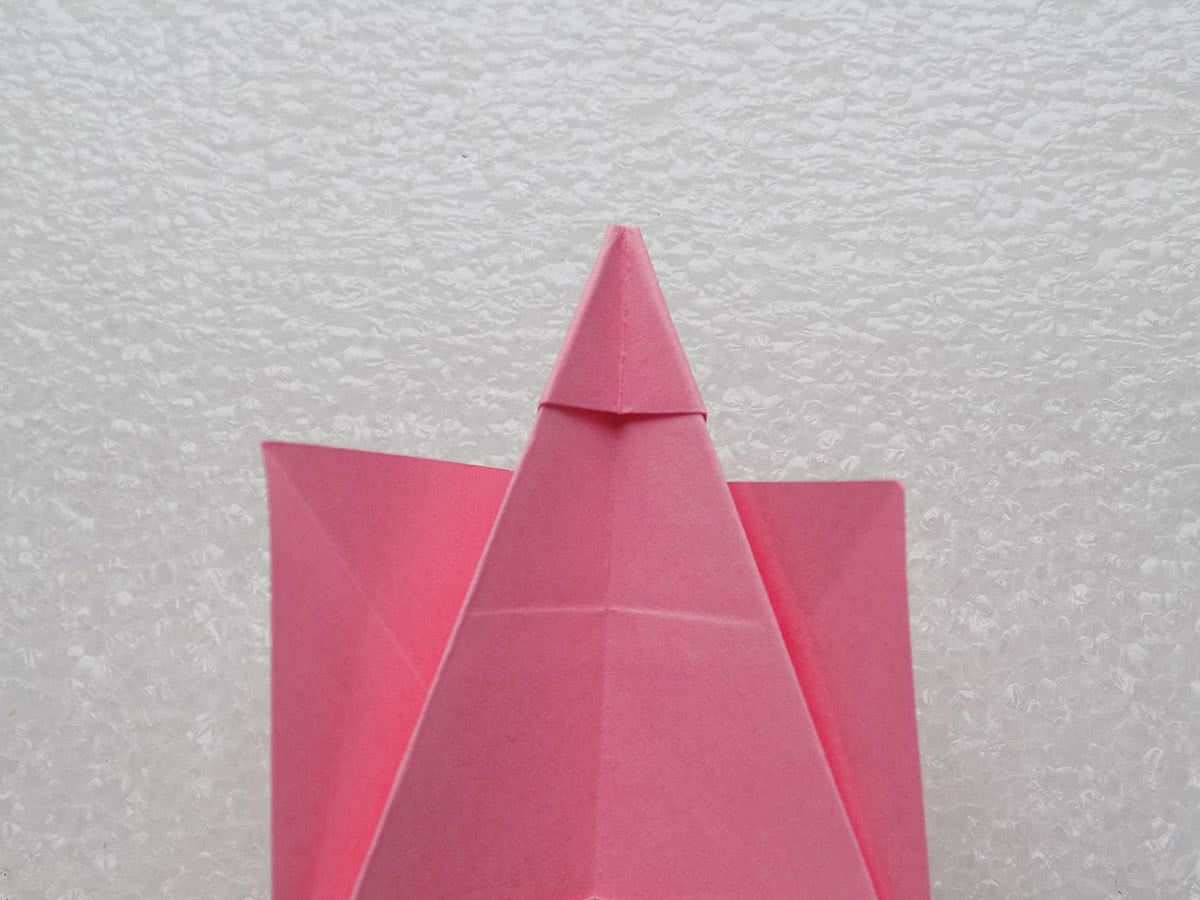
Carefully bring the corner out and fold the workpiece in half. 
After all the actions, the dog should look like in the photo. 
With a black felt-tip pen, draw her eyes and nose on one and the other. 

Cute dog is ready! This craft is perfect for desktop decor in the office or at home. 
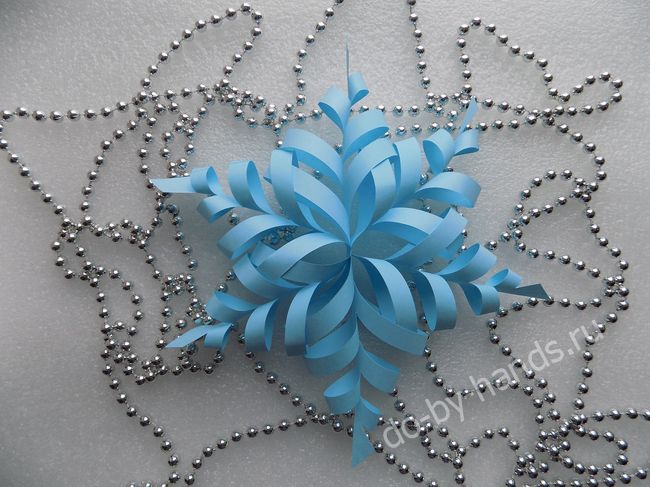
Volumetric Snowflakes
New Year without paper snowflakes is simply impossible to imagine. Indeed, for many years in a row they have been decorating doors, windows, Christmas trees. We suggest experimenting a bit and creating voluminous snowflakes that can be hung on the wall or on the door instead of a Christmas wreath.
We will prepare the following materials:
- a sheet of paper in your favorite color;
- pencil;
- ruler;
- scissors;
- PVA glue.

We mark the sheet of paper so that it fits six squares of the same size.

Carefully cut out all the squares that are the blanks for creating the snowflakes.

Bend the first square in half diagonally.
On one side of the square, we begin to make incisions with a distance of at least one centimeter. It is very important not to reach the fold line.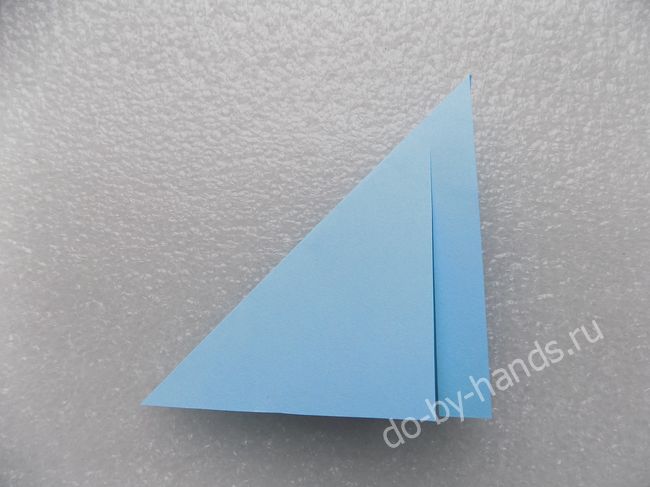

Expand the square and start making the blank. Glue two strips from the bottom together.

Turn the workpiece over and glue two strips on the other side of the square.
Repeat these steps one at a time. The result is such a blank.
We form five more blanks of the same shape.
To connect them together, put a little glue on the base of one blank and glue the second one to it. Thus we fasten the three elements.

Separately, we connect three more workpieces to each other.
Glue two triple workpieces.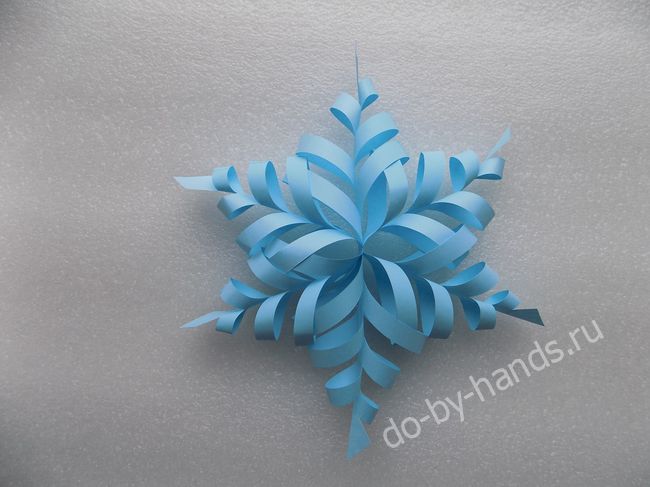
Creating such a snowflake will take very little time, but the result will definitely please you.
We offer one more variant of volumetric snowflake. It looks no less beautiful, so be sure to try to make it.

We will need such materials:
- square-shaped paper - 2 pcs.;
- pencil;
- glue;
- scissors.

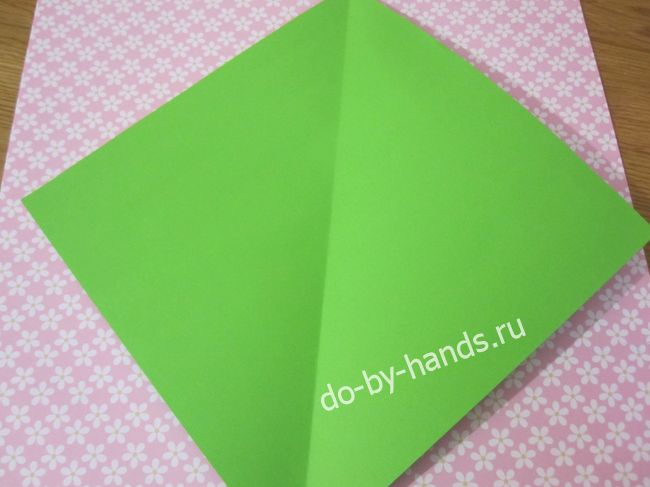
The first sheet of paper is folded diagonally. 
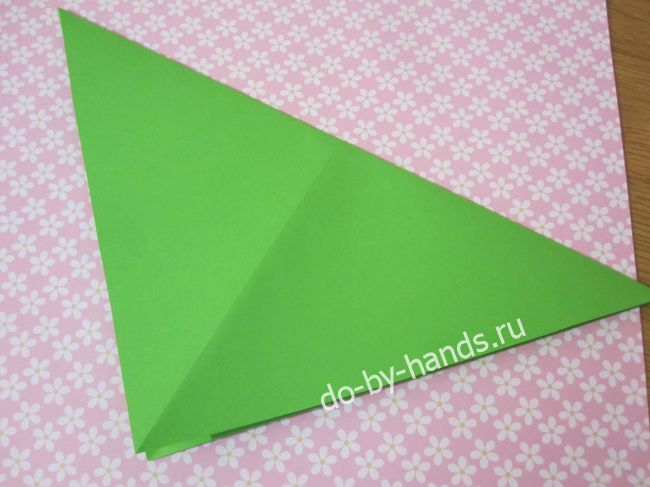
Fold the workpiece again in half.It should be a triangle, as in the photo. 
The last time we bend the workpiece in half. 
We unfold the blank and draw the contours for the future snowflake. The bottom line should be solid. 
We cut off the lower part of the workpiece, and also make cuts in the marked places. 
Expand the snowflake blank.

From each part of the snowflake we take the middle bands and glue them in the center. 

Repeat the same steps with the second square. The result should be two identical blanks. 
We glue them together, slightly shifting one of them. A beautiful voluminous snowflake is ready! 
Christmas tree made of paper
Of course, before the New Year, you definitely need to make a Christmas tree with your own hands. At the same time, it is not necessary to have expensive materials, because you can use plain paper and fold it in the origami technique.
To work, you need to prepare:
- double-sided paper of any color;
- scissors.
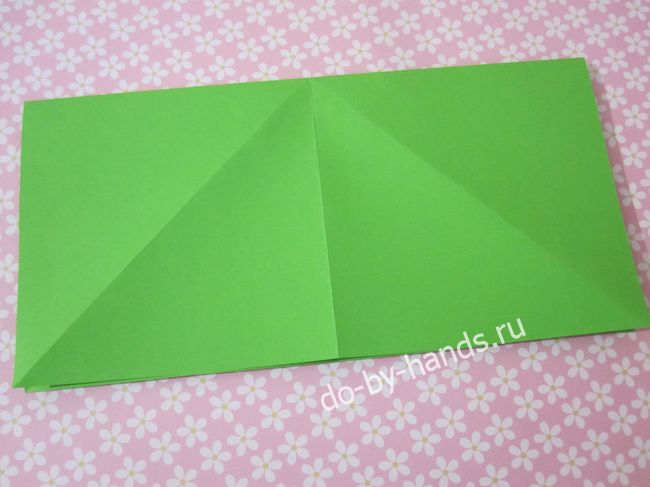
We take the double-sided paper, fold it diagonally and cut off the excess so that the square remains.
Fold the sheet diagonally, unfold and fold to the other side.
We unfold the sheet and fold it across. We unfold it and fold it in half the other way again.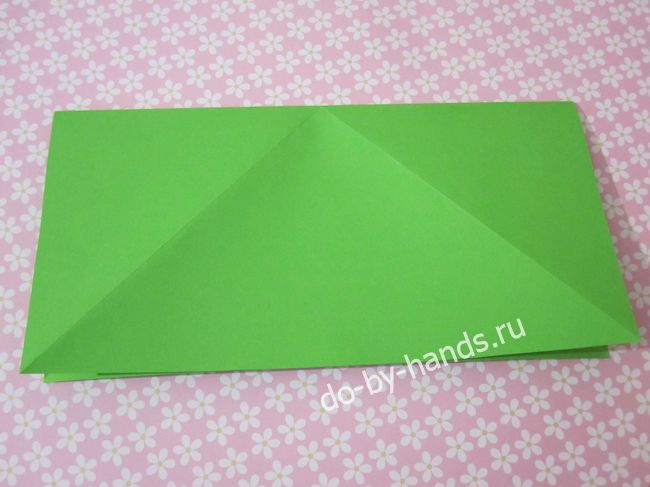
Fold the sheet into a triangle shape.
We bend a small triangle on the right side, as shown in the photo.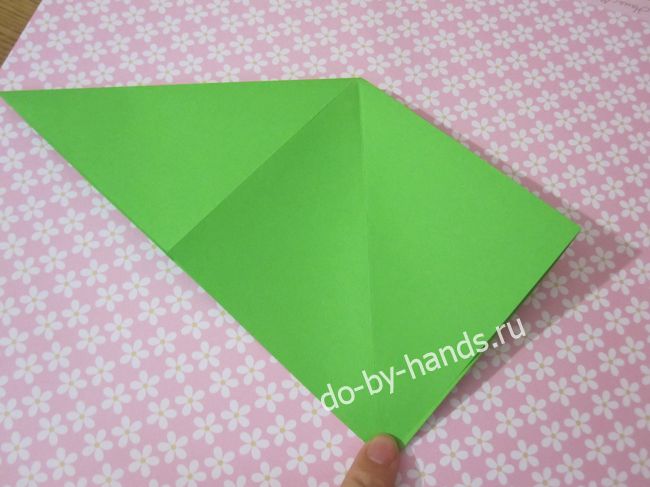
We repeat the same thing on the other hand. The result is a blank in the shape of a square.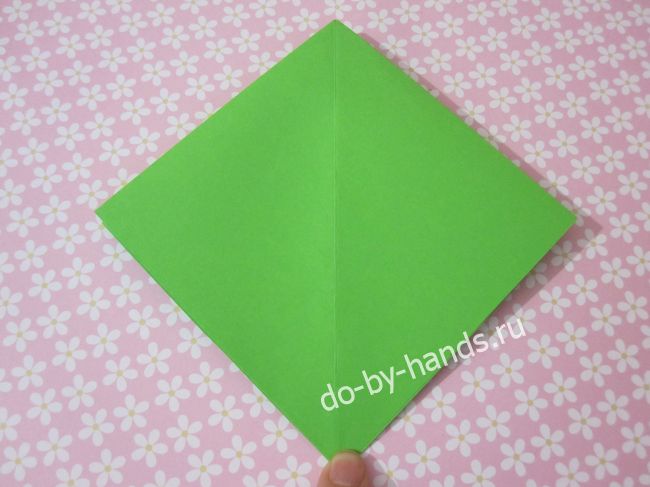
This is how the workpiece looks from the inside.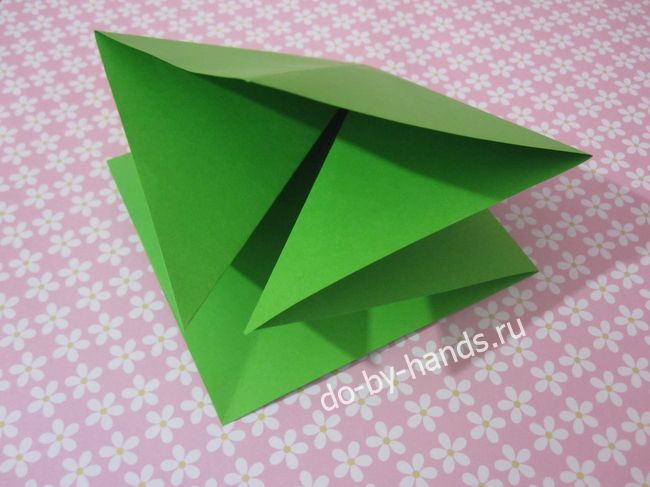
Again bend the right side to the center line. Repeat the same on the left side.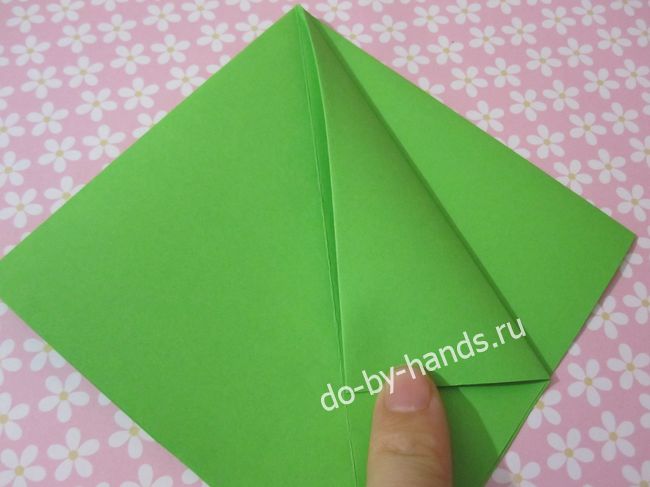

We unfold the workpiece with the back side and repeat the previous steps. It should turn out such a rhombus, as shown in the photo.

Gently bend one of the sides and bend it inward. We repeat the same with the rest of the parties.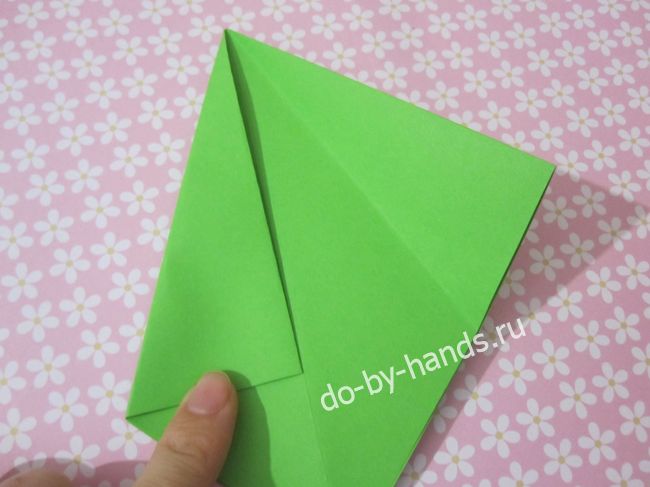


Cut off the lower triangular part.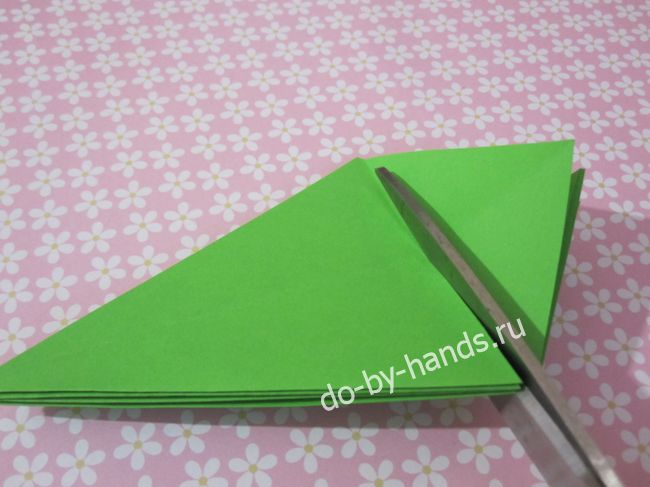
The shape of the future Christmas tree is already visible.
On each side we make small incisions. They should not reach the central part.

Starting from the bottom, we bend the corners of the Christmas tree.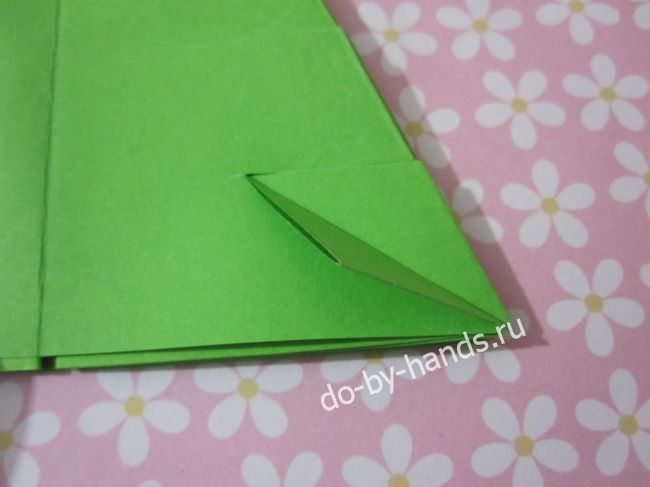
Repeat this with all corners except the top.

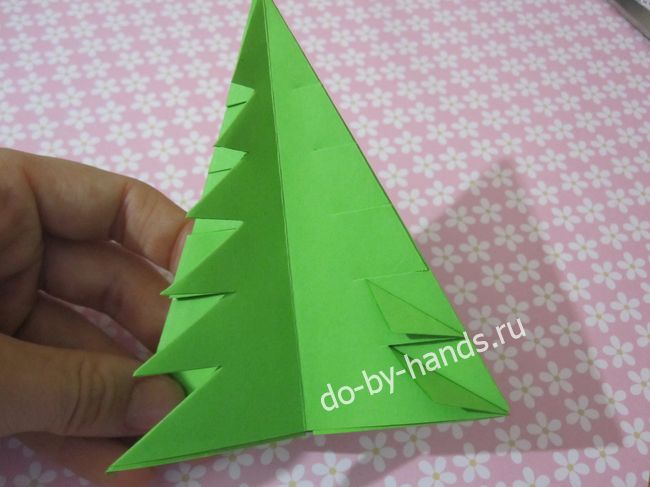
We bend corners on all sides of the tree.
We straighten all sides of the Christmas tree and set it as a decor.
Even the process of creating paper crafts can be fascinating, and the result can be beautiful. Therefore, do not be afraid to try something new, because you can make a really interesting and unusual little thing.


To answer
Want to join the discussion?Feel free to contribute!