Ideas and workshops for water manicure 2018
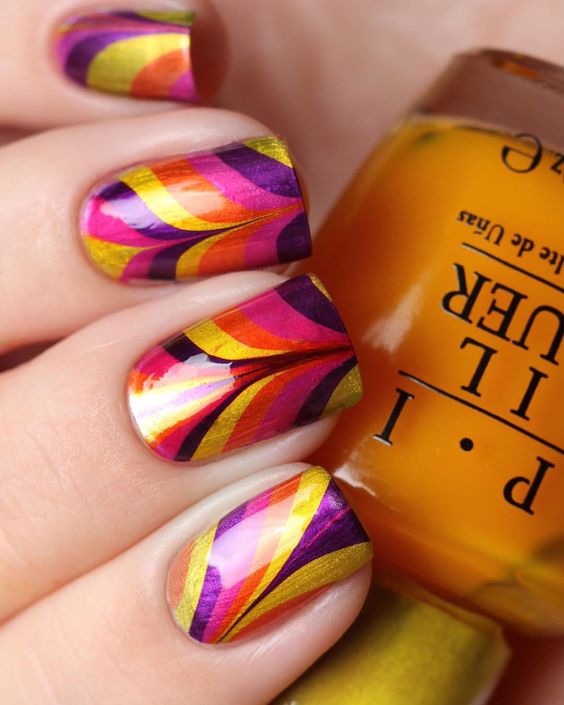
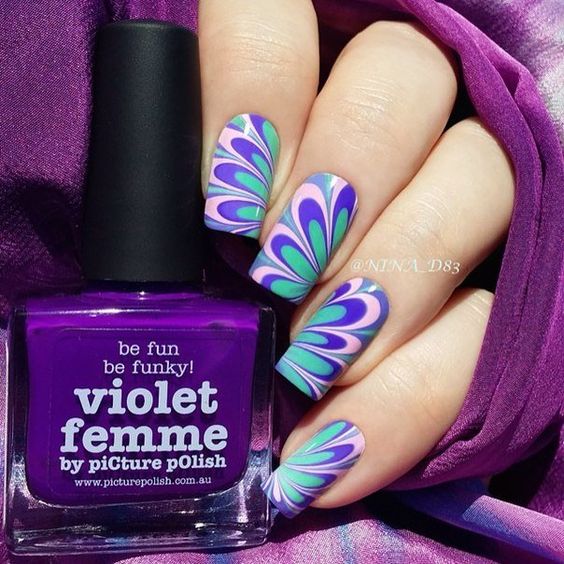
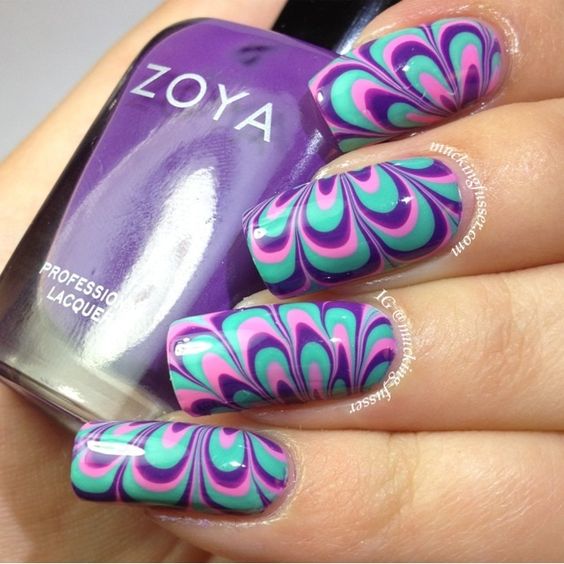
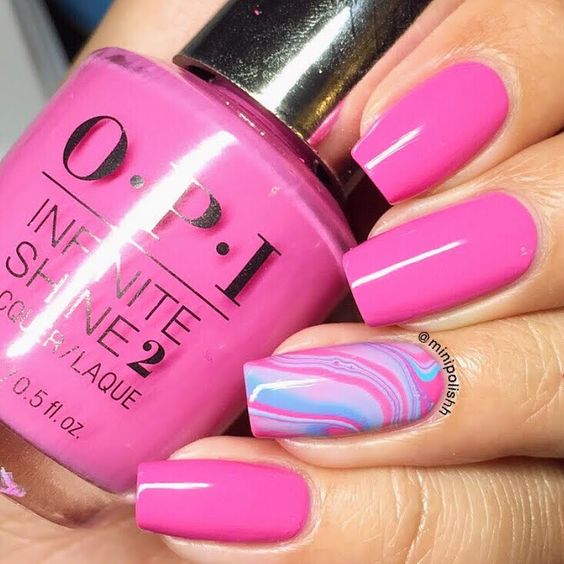
As you know, hands are a visiting card of every girl. Therefore, they need to be carefully looked after and be sure to do a manicure. Many people choose a salon for this, but you can make a beautiful design even at home. Thanks to this, you can create exactly the picture you want, or try to do something creative. For example, water manicure is a great option for those who like to experiment.
Water manicure at home
This type of manicure can be done even by a novice in the field of nail art. But still it is worth considering that it will have to spend significantly more time than on a monophonic coating or stamping. On the other hand, you do not have to purchase additional tools, since everything you need is probably already in your home.
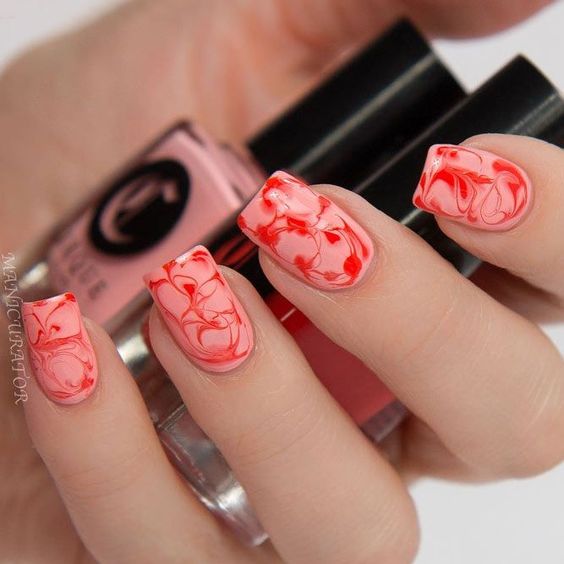
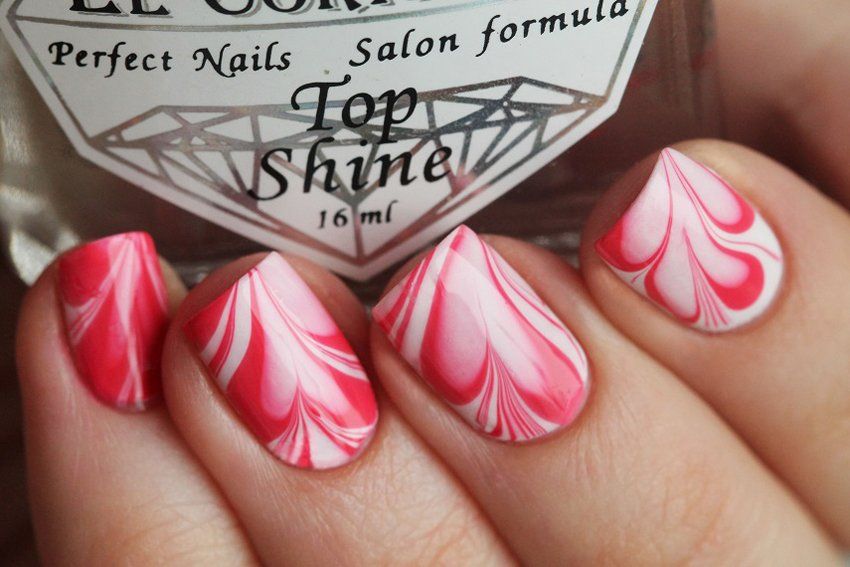
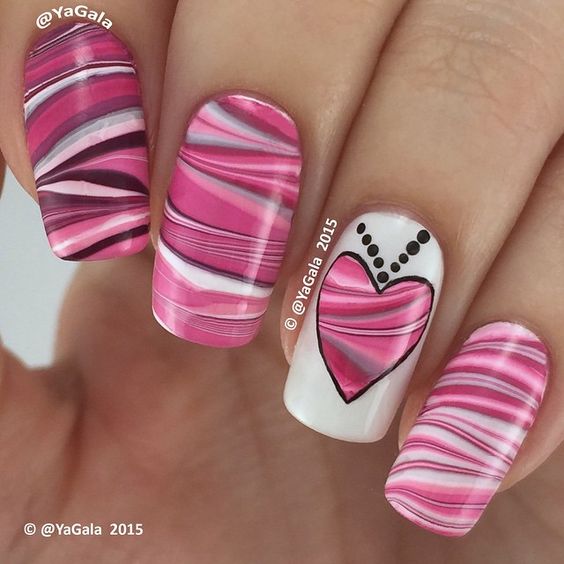
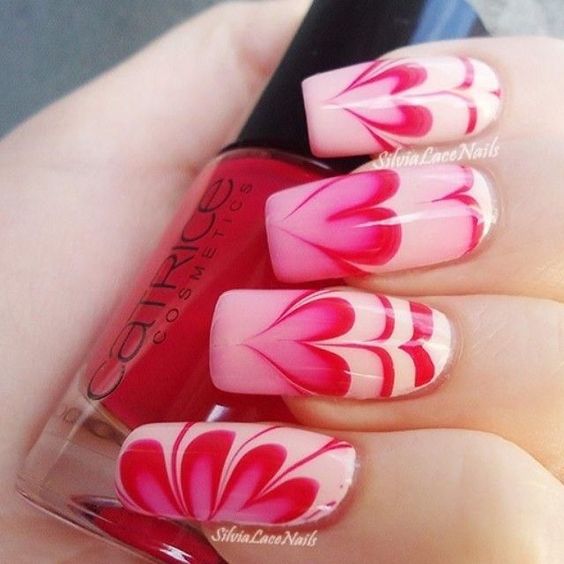
Heart design
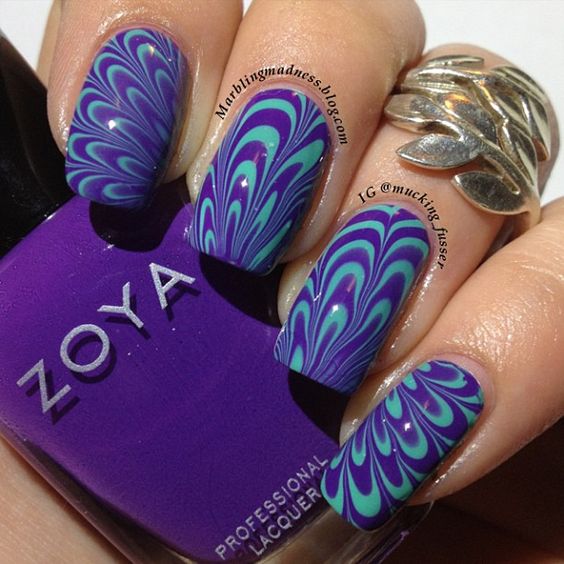
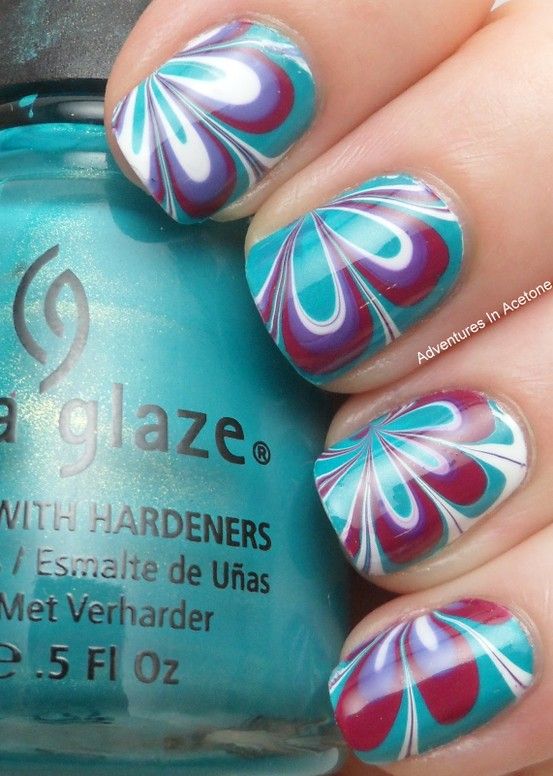
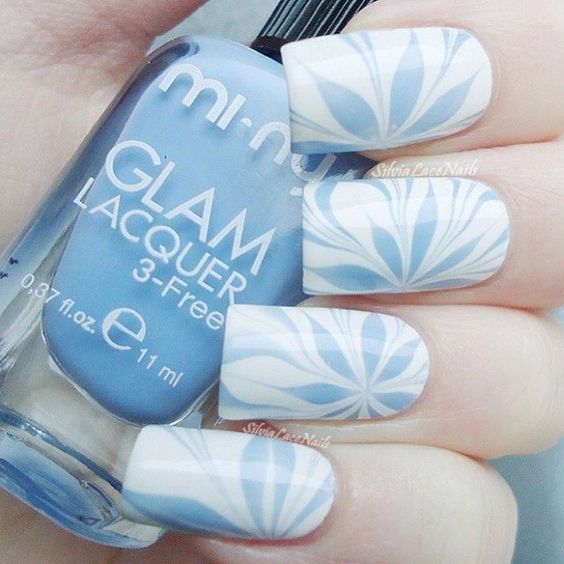
For those who are just starting to try to make a water design, we recommend using no more than two shades. It is better to choose contrasting colors, as they look the most advantageous.
In this case, you will need:
- red and white varnish;
- base for nails;
- top coating;
- cotton pads;
- Toothpicks
- nail polish remover;
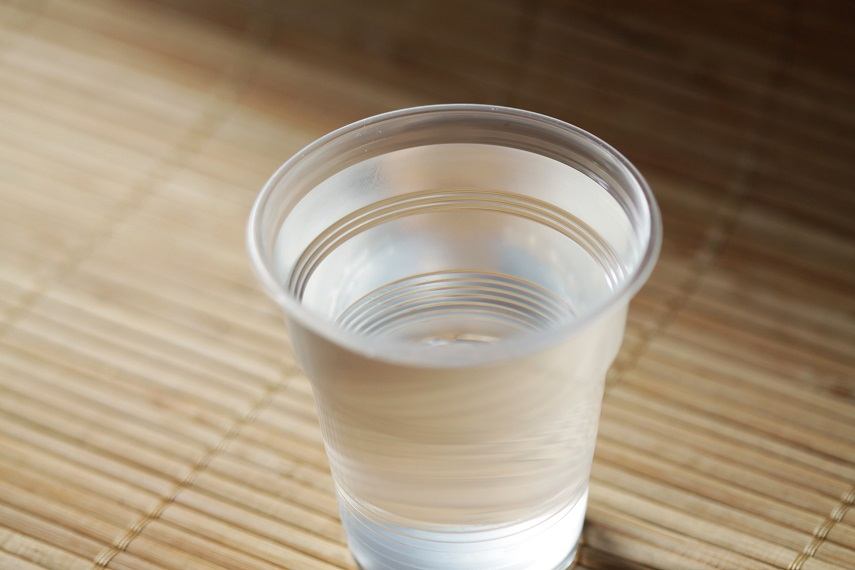
- a cup of warm water.
First of all, it is necessary to apply the base on the nails. They will even out the nail plate, and also protect against the effects of varnish. After that, we paint the nails with white varnish and wait for complete drying.
In a glass of water, drip one drop of varnish. As soon as it spreads to the surface, we drip a little contrasting shade. We repeat these steps one by one, until it turns out as in the photo.
 We begin to create a picture. Carefully draw a toothpick line, as shown in the photo. This must be done quickly enough so that the varnishes do not freeze.
When the drawing is ready, lower one nail into it and carefully remove it. The remaining varnish on the skin is removed using liquid and cotton pads.
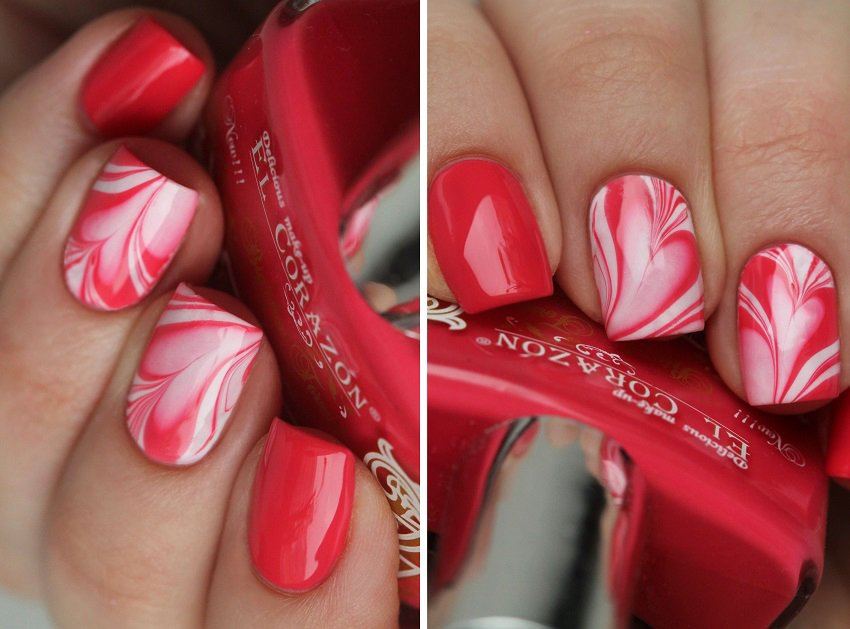
We cover all the nails with a top coating and wait for complete drying. Stylish manicure in the form of hearts is ready!
By the way, you can make such a design only on a few nails in the form of an accent. It looks no less attractive.
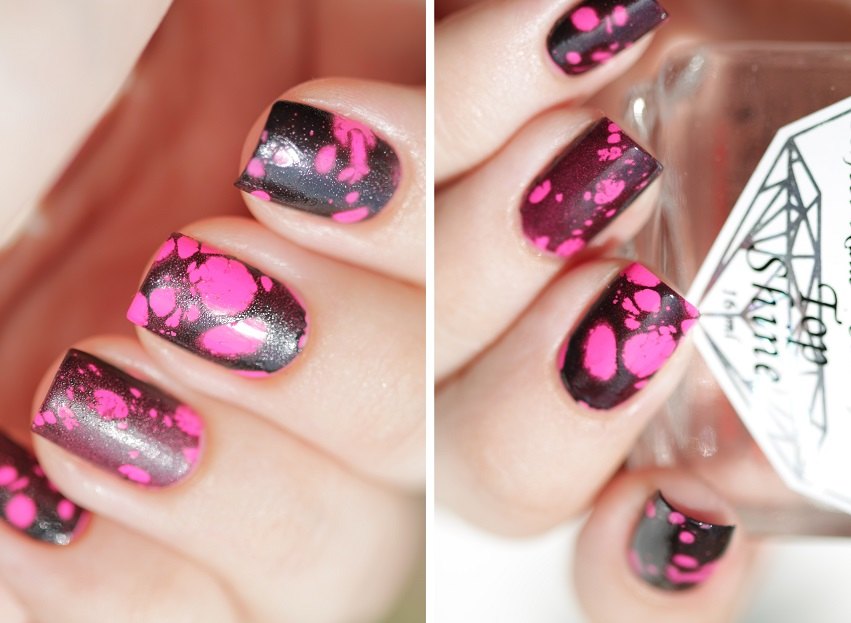
Bright design
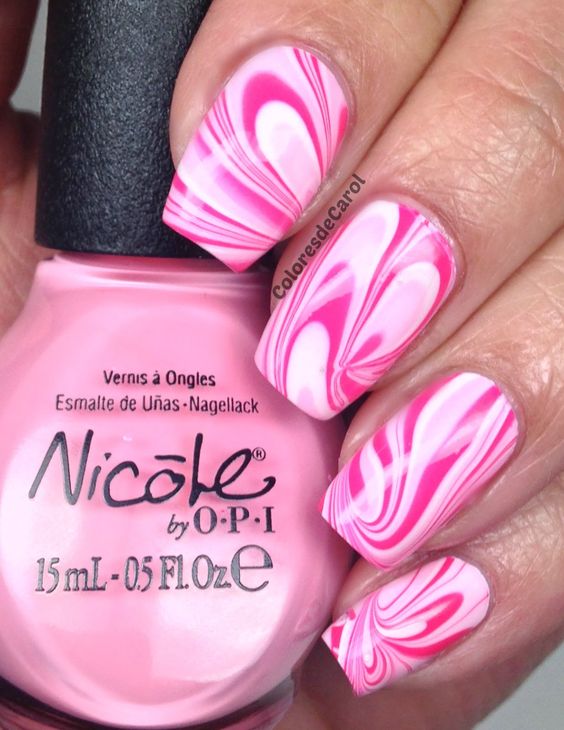
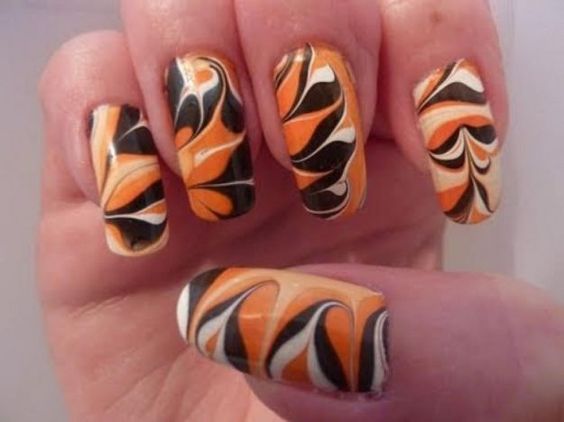
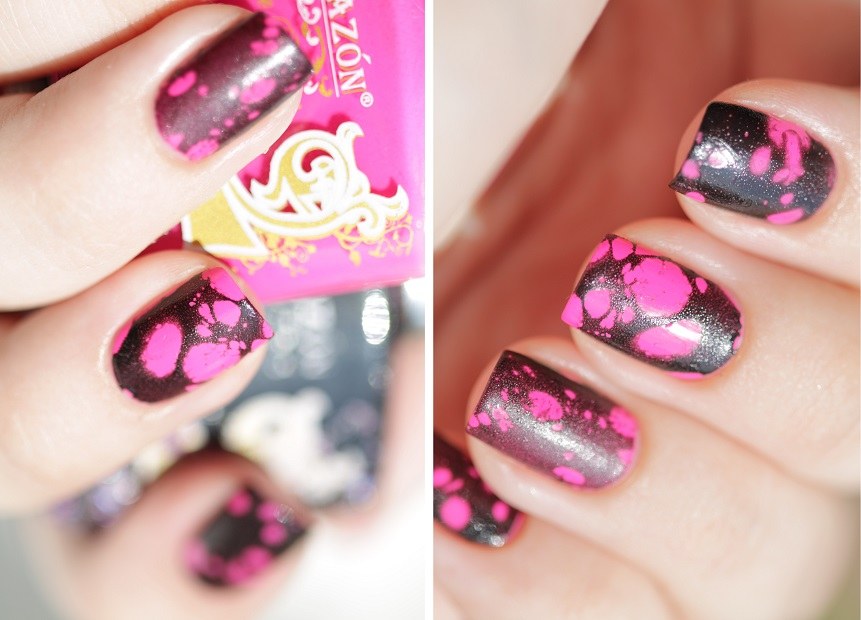
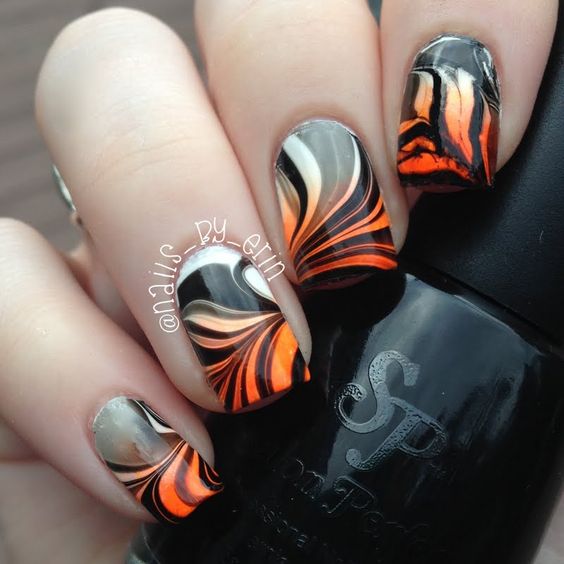
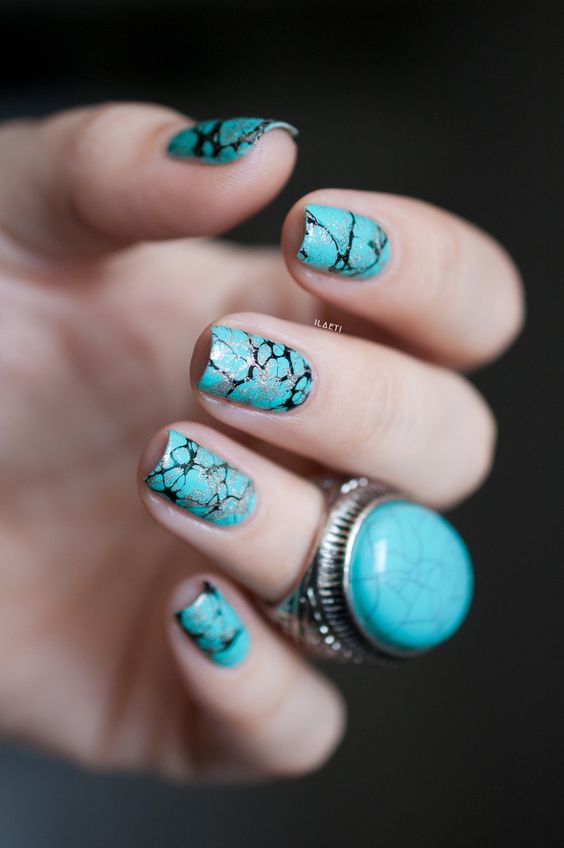
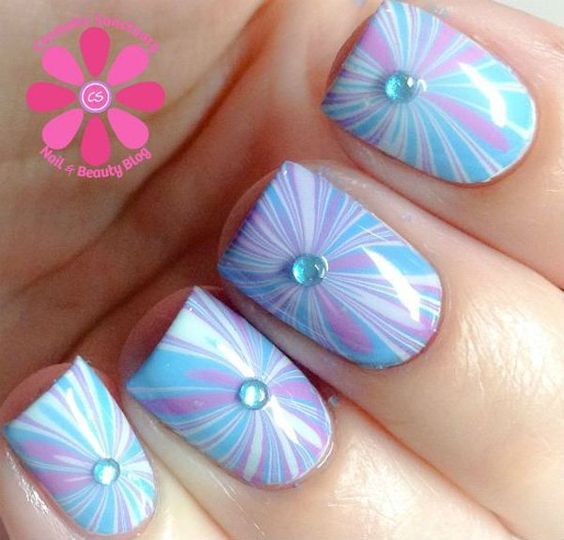
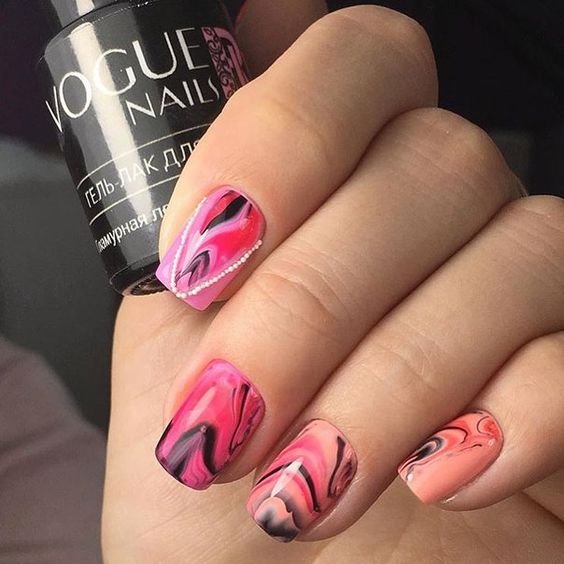
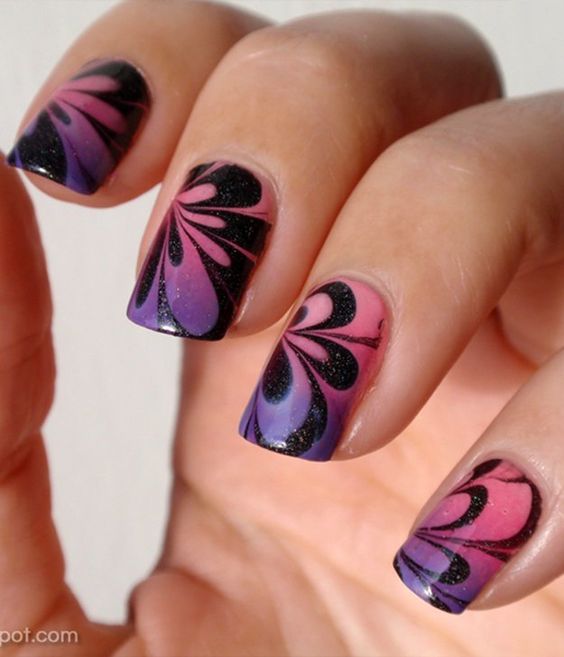
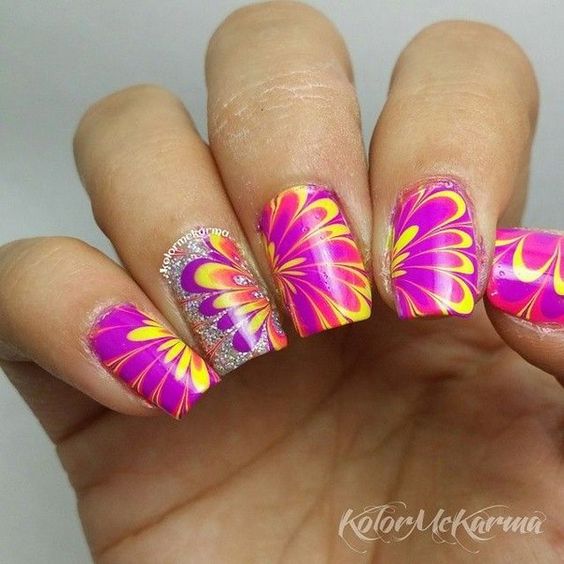
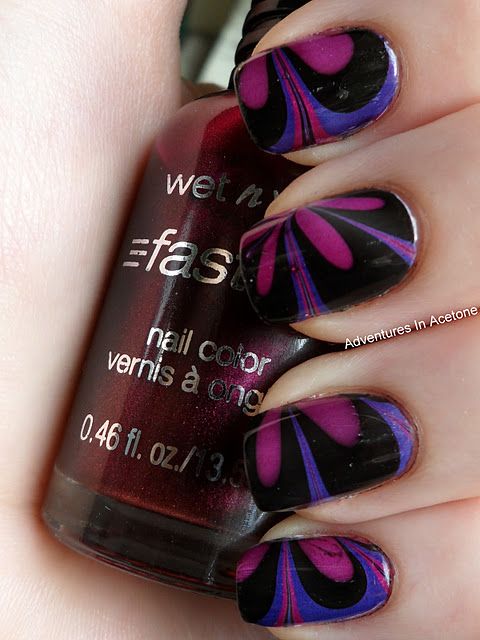
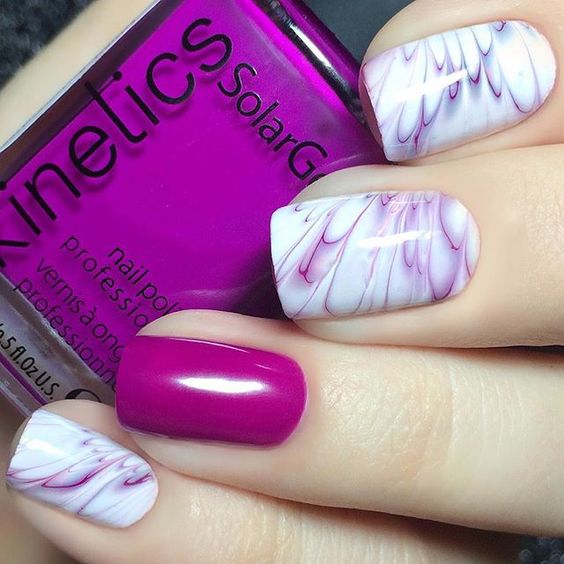
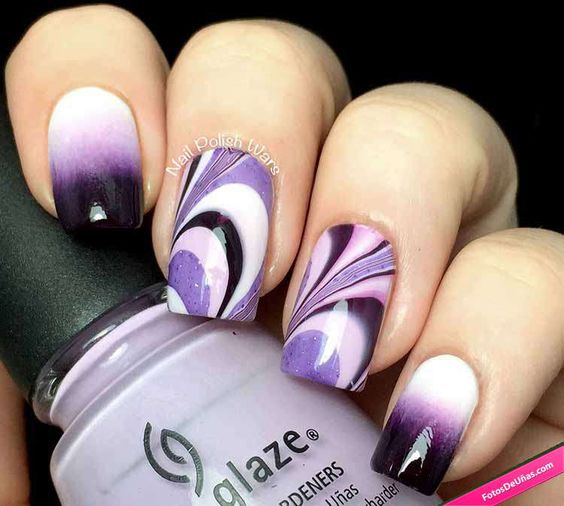
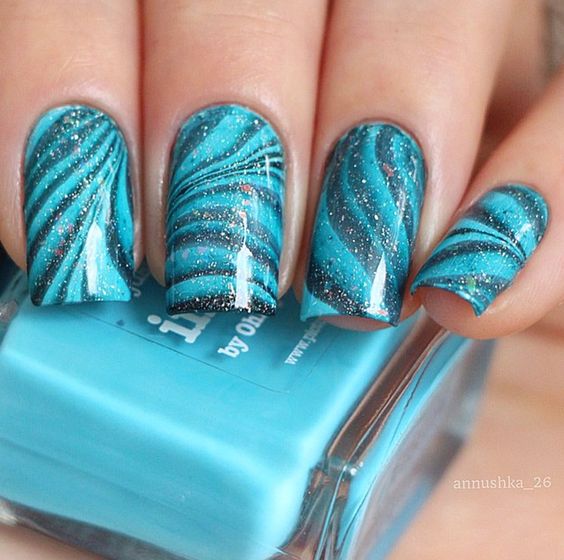
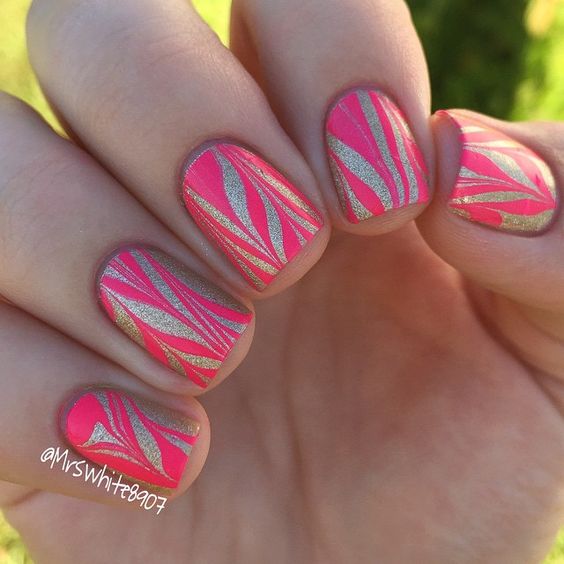
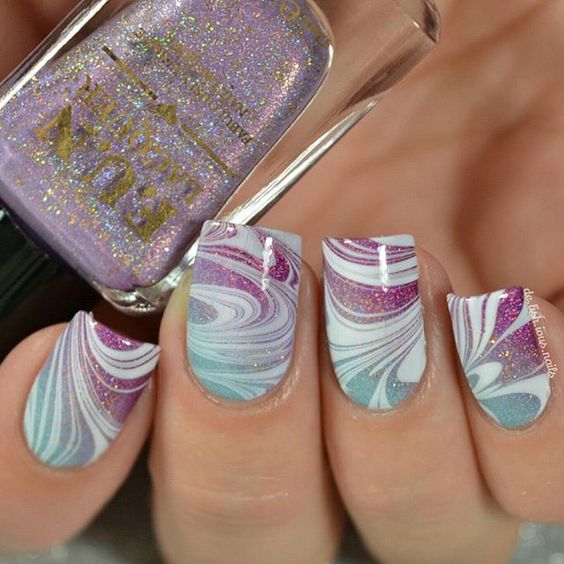
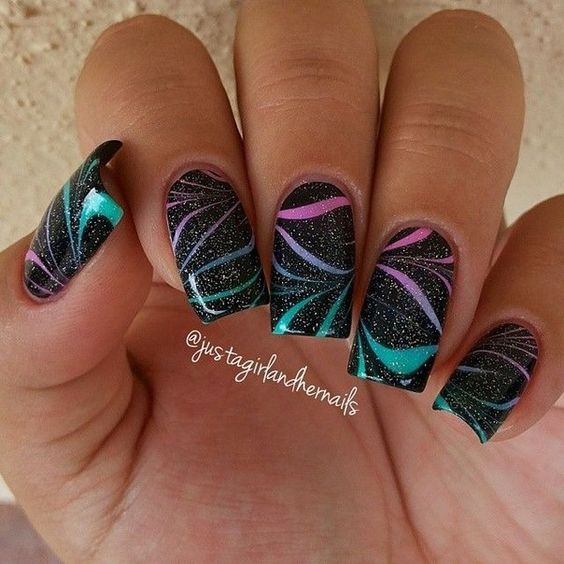
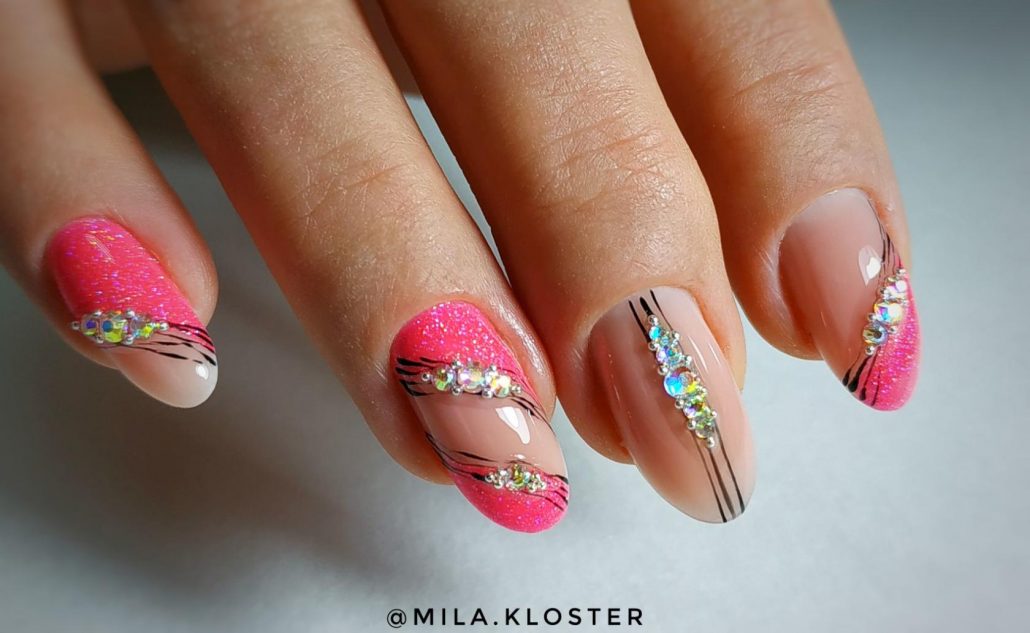
Using this water manicure technique, you can create a really beautiful, trendy design.
To do this, you will need:
- a glass of warm water;
- black and pink varnish;
- base and top coat;
- cotton pads;
- Toothpicks
- nail polish remover;
- Scotch;
- scissors;
- spray.
First, apply the base coat on the nails, and then the pink varnish. We are waiting for complete drying. Glue tape on the skin around the nail. This is to make it easier to remove residual varnish.
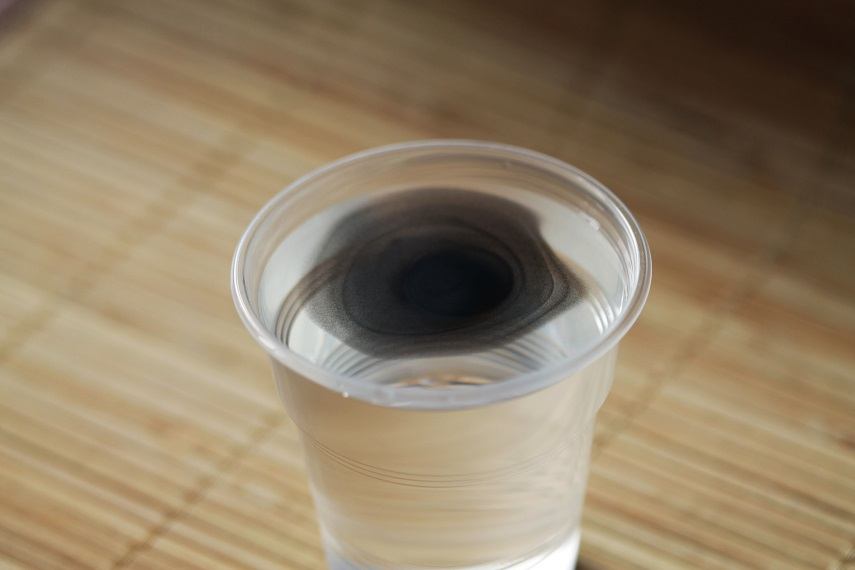
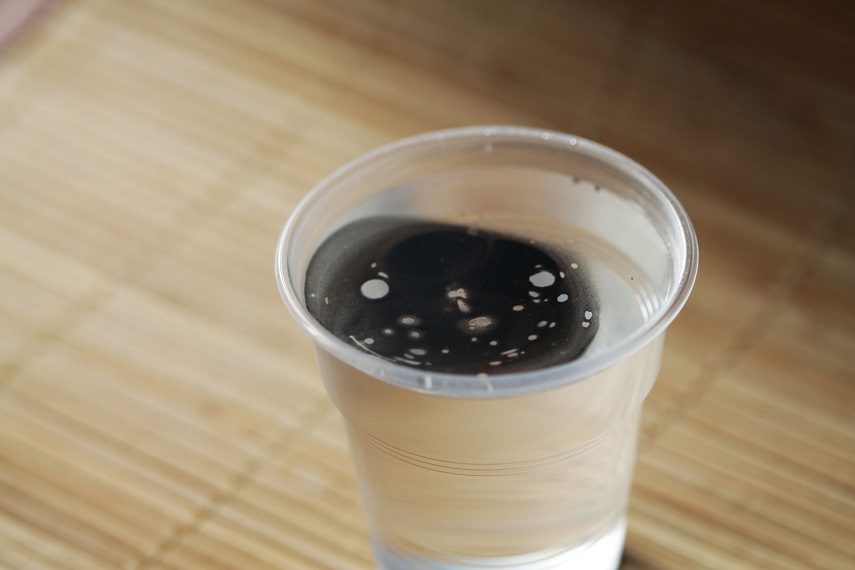
We put a little black varnish in a glass. Keep in mind that the more drops there are, the darker the pattern will be.
Lower the spray bottle into a jar of special liquid. At a short distance, splash into a glass. Carefully lower one or two nails into the liquid and take them out. We remove the remains of varnish, and then cover the nails with the top. The result is an unusual version of water manicure.
Water manicure: general recommendations
At first glance it might seem that making such a design is very simple. However, newcomers often face the fact that the first time nothing happens. Therefore, it is important to consider some of the nuances that will greatly facilitate and accelerate the process.
The first rule concerns the temperature of the water. It must be roomy. For example, if you type too cold water, then the varnish will not spread. On the contrary, if the water is hot, then the varnish will curl up and then nothing will work out for sure. Therefore, this rule is one of the most important.
As for the cup, it should not be too small.This is necessary so that, taking out the nails, you do not touch its edge. In addition, quite a lot of varnish is used to create a water manicure. For reasons of economy, choose a tank that is not too wide.
To create a picture in a glass, you need to use a toothpick. Clean it after each use. Due to this, the picture will be clearer and definitely will not be smeared. You can also take a new one for each nail. Then you will be sure of the quality of the picture.
The choice of varnish is a very important point in creating a water manicure. Never use old or thickened, as they do not spread well. Gel varnishes are also not suitable, since they do not spread on the water. Ideal option - moderately liquid varnishes.
As a basis, it is better to use a base coat or a light shade of varnish. In this case, the design will be more expressive.
It is necessary to drip varnish into water from a short distance. After all, if the brush touches the water, then the drop will spread too poorly. Conversely, if the brush is too high, then the drop will drown. Almost every newbie faces such a problem. It is also possible that for the first time the pattern will be smeared on the nail itself. In this case, you need to hold it a little longer in water and before removing it, remove the remaining varnish with a toothpick.
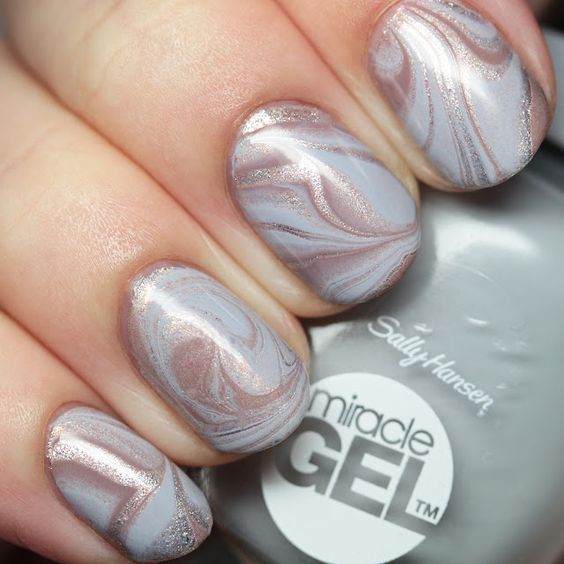
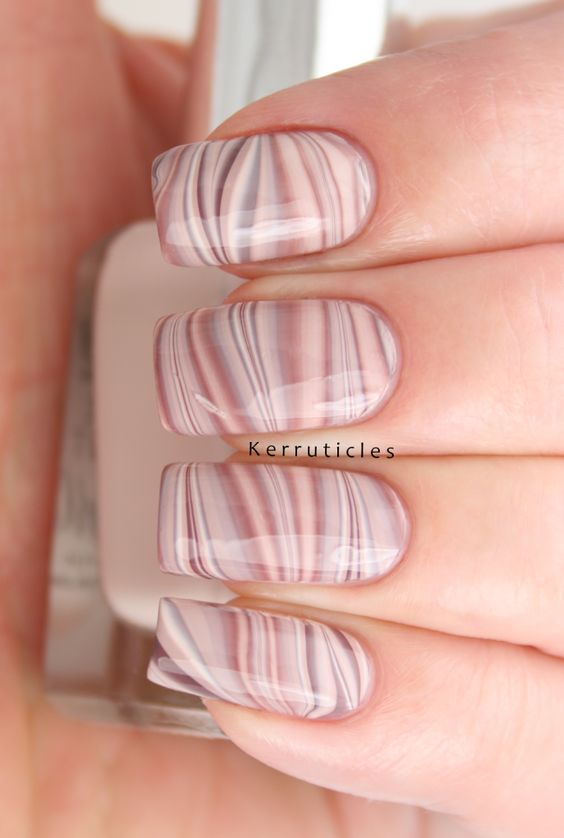
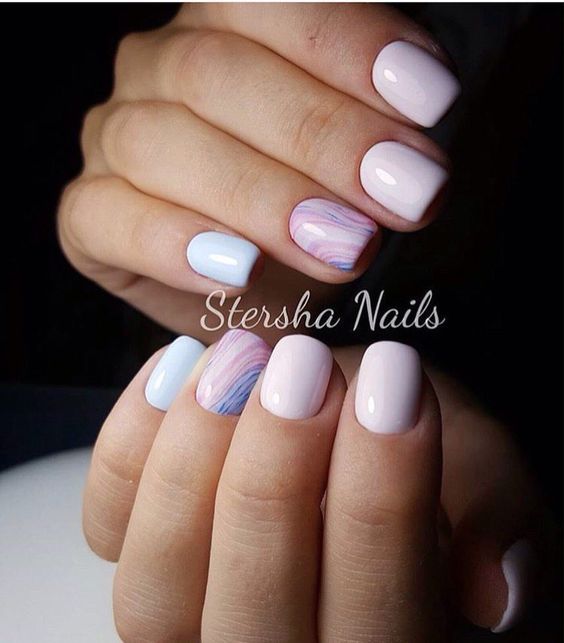
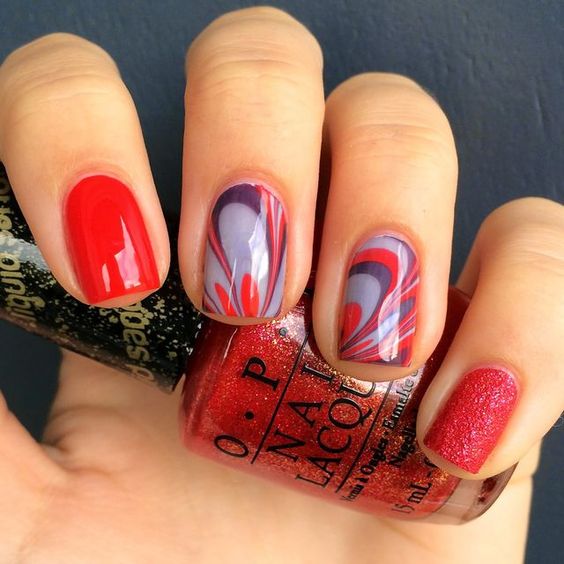
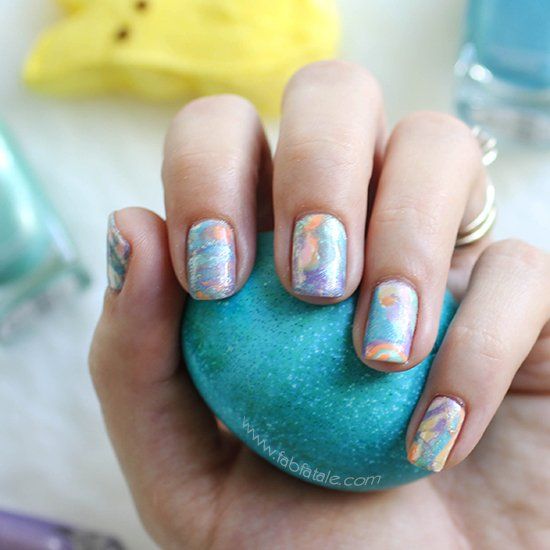
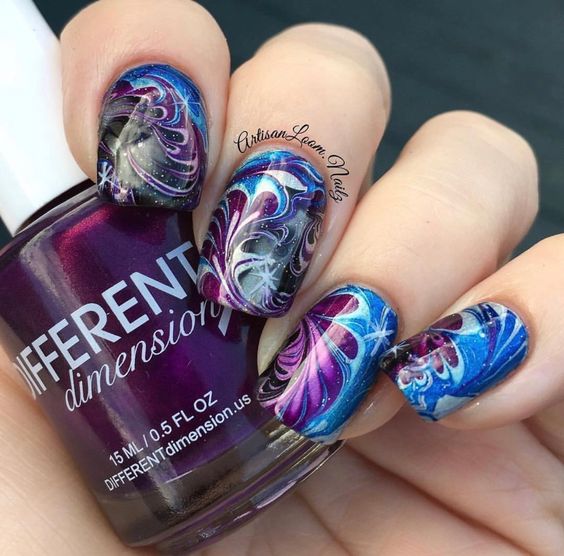
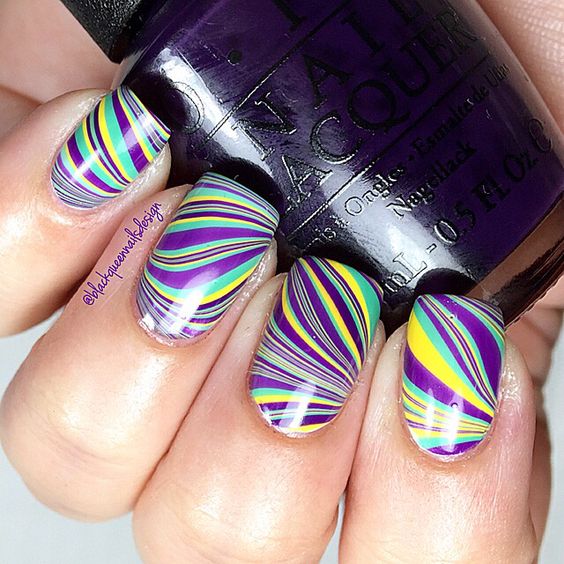
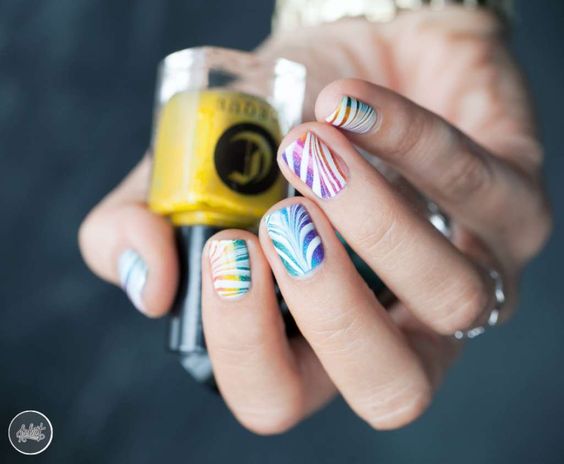
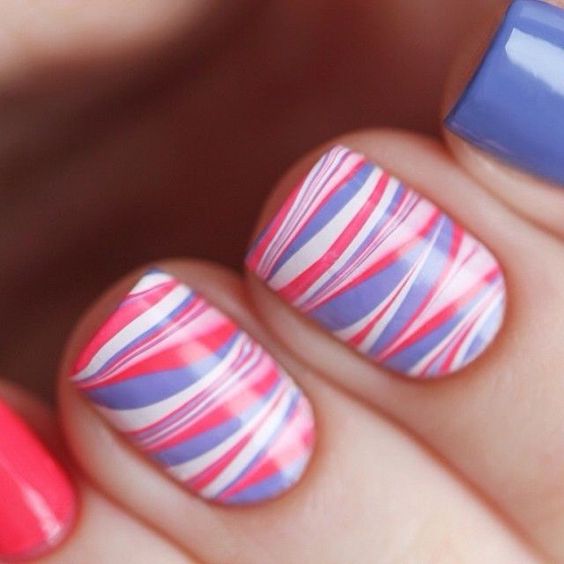
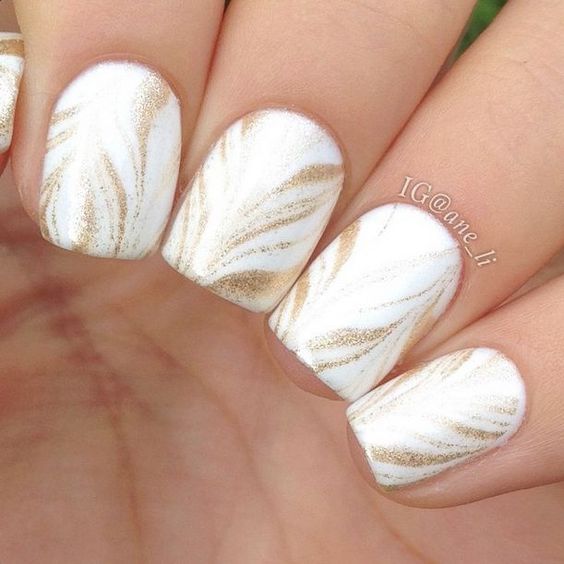
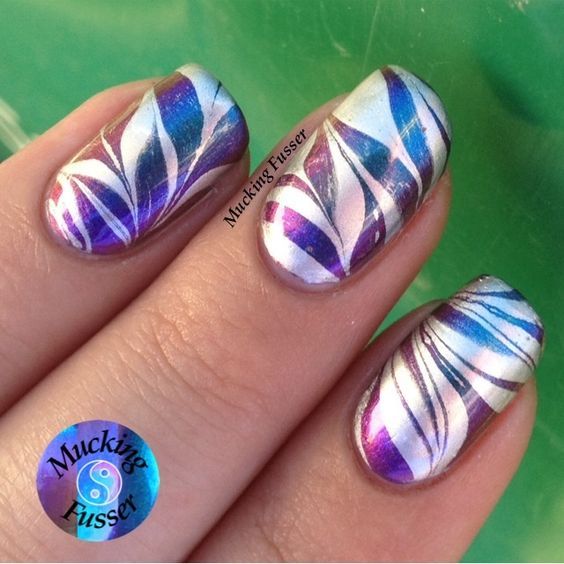
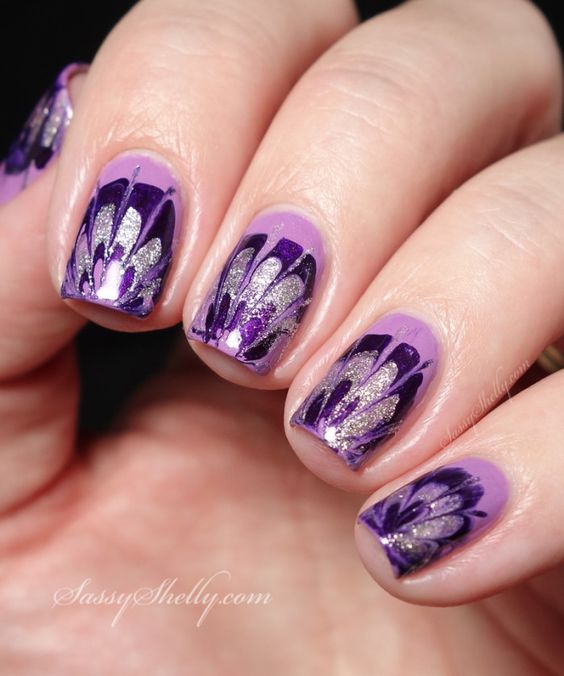
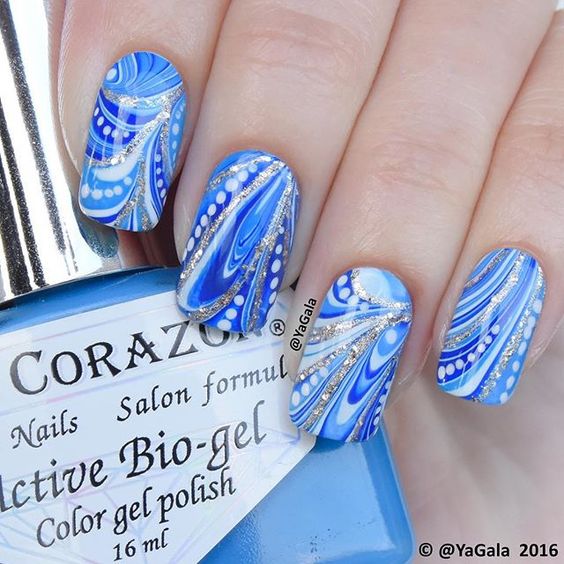
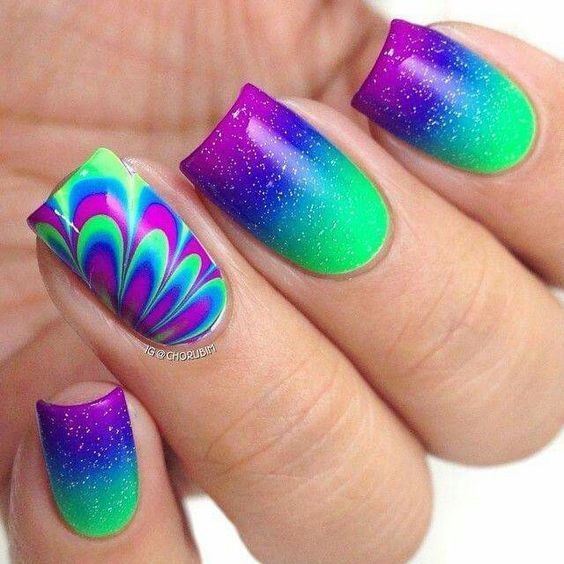
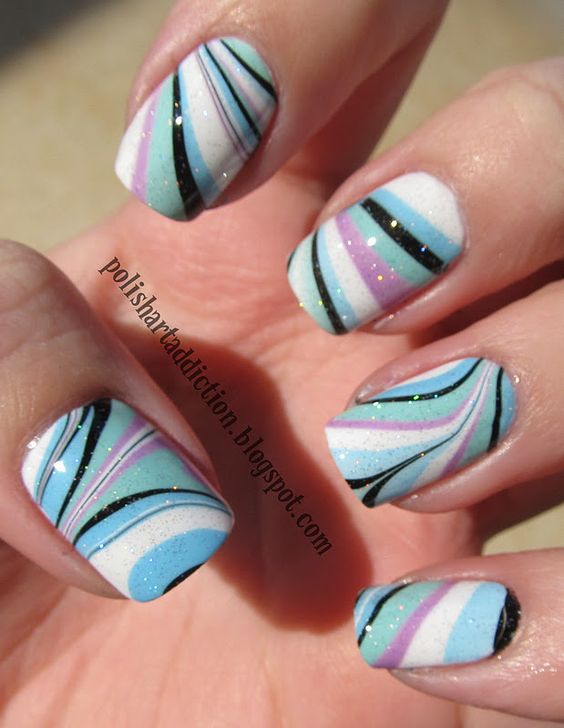
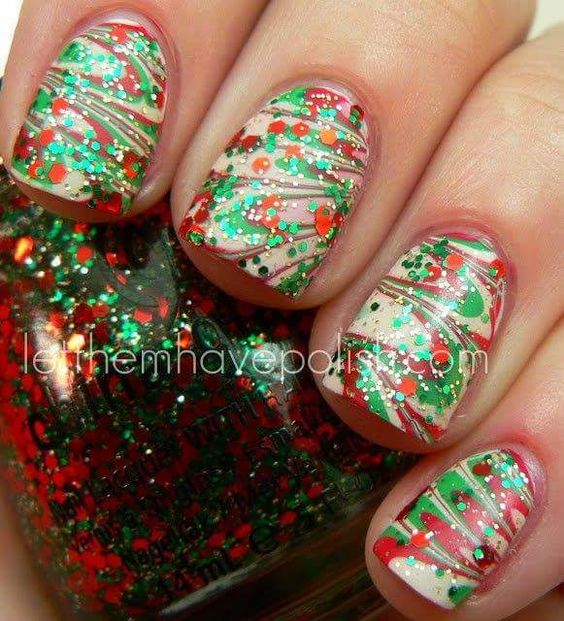
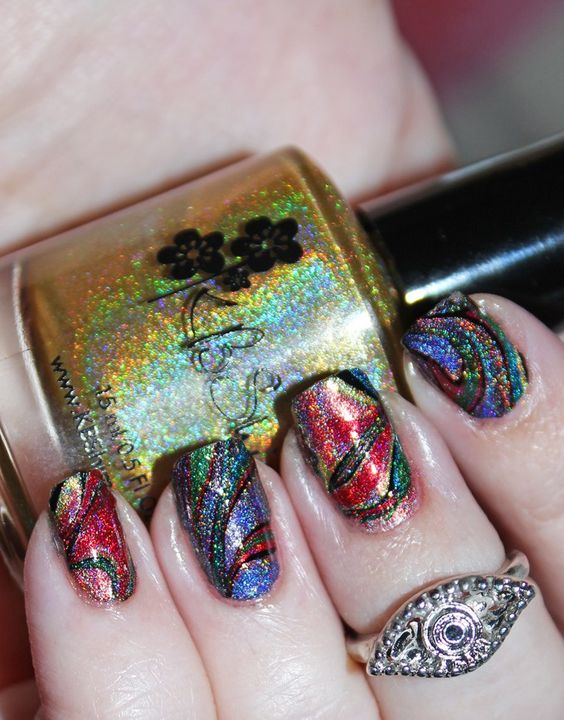
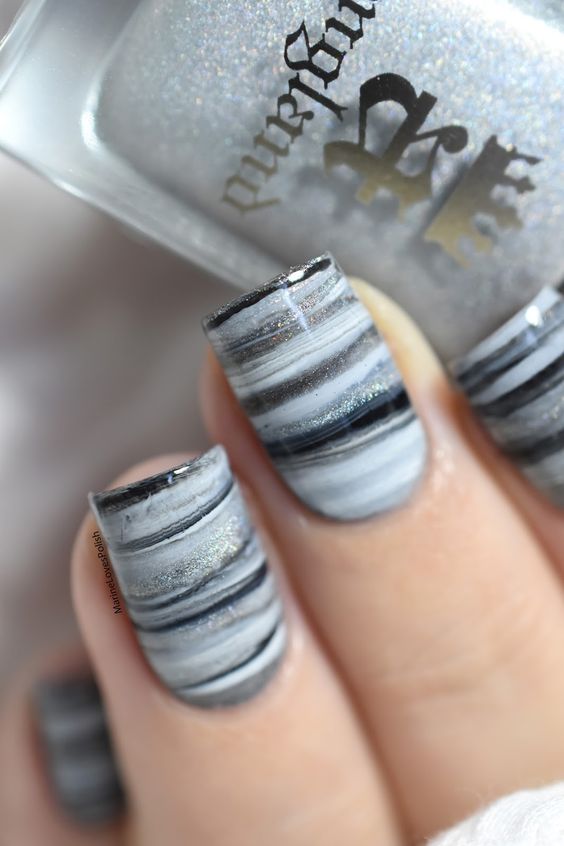
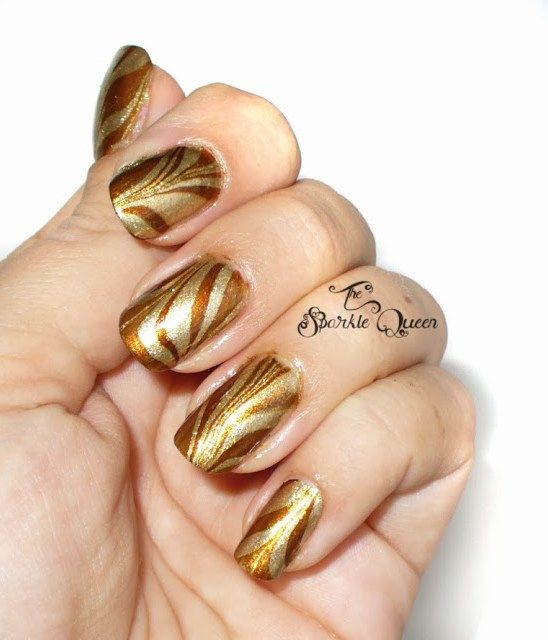
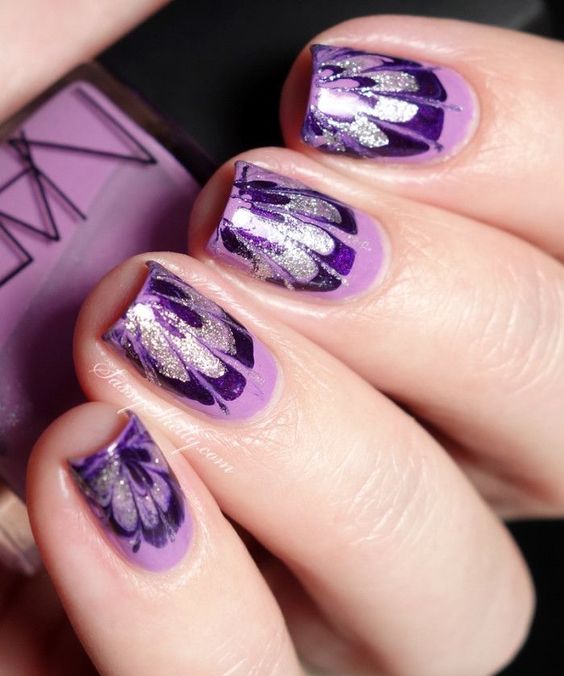
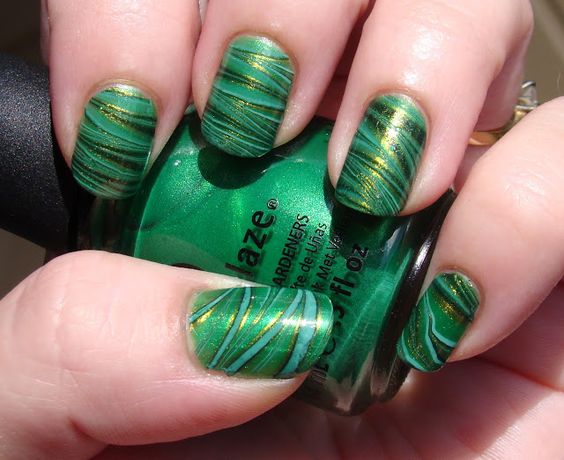
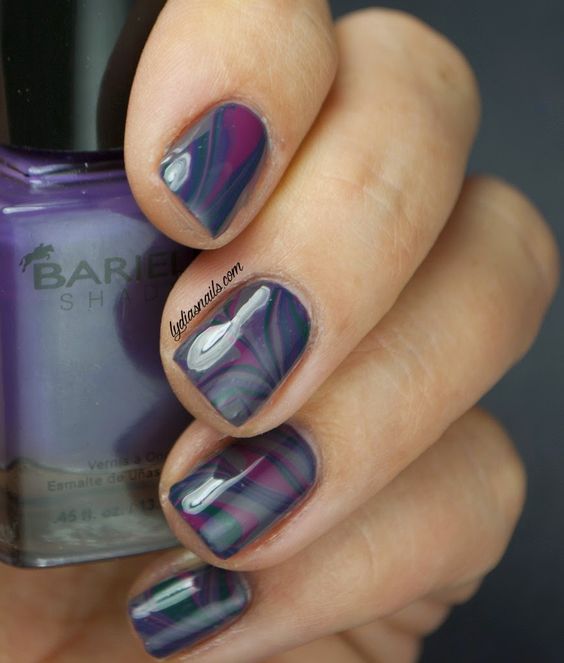
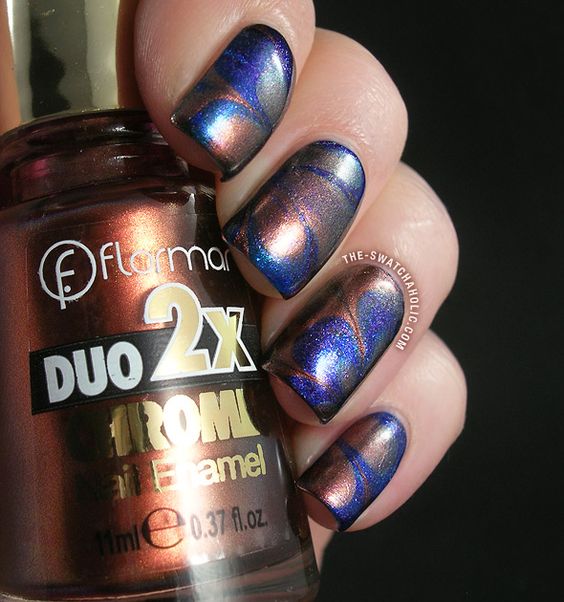
The combination of colors can be absolutely anything. But it is still better for beginners to use two contrasting shades, since they are the most versatile. If you want to make a more original design, then choose pearl varnishes or with a shimmer. They look amazingly beautiful. You can also use thermo-varnishes, the color of which changes when exposed to heat. Agree, it looks really great.
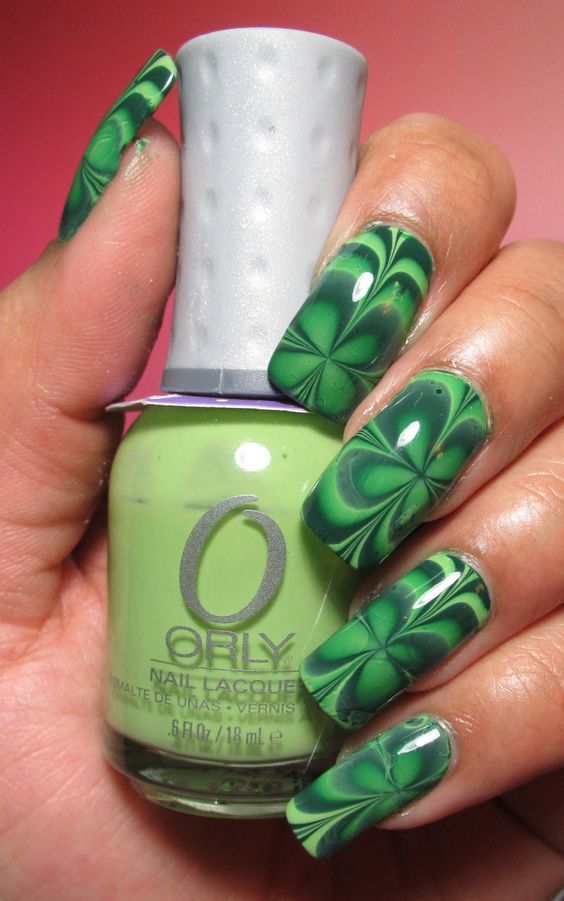
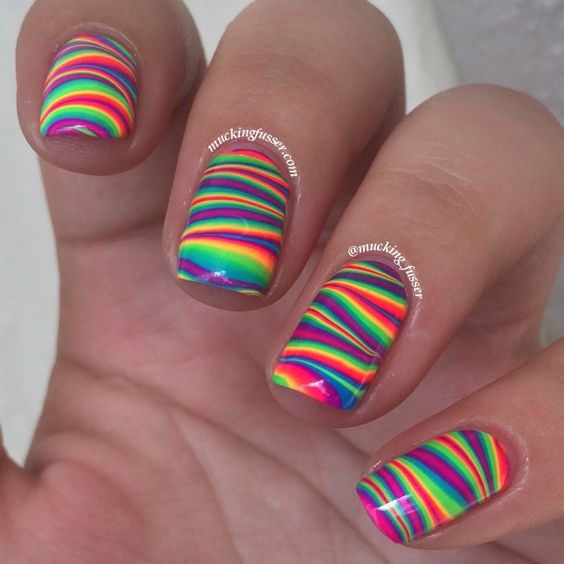
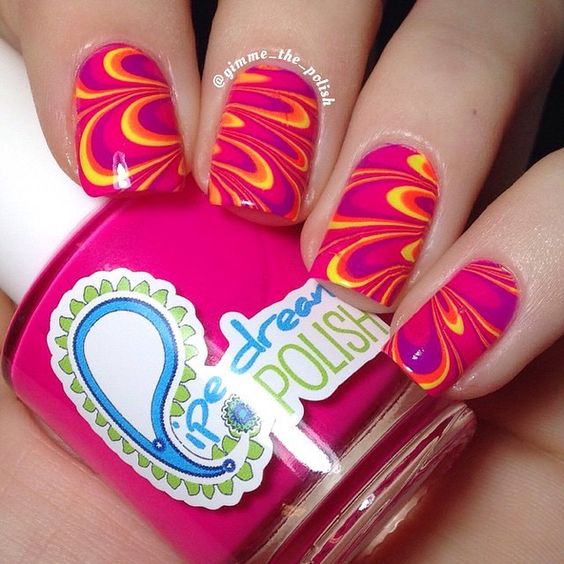
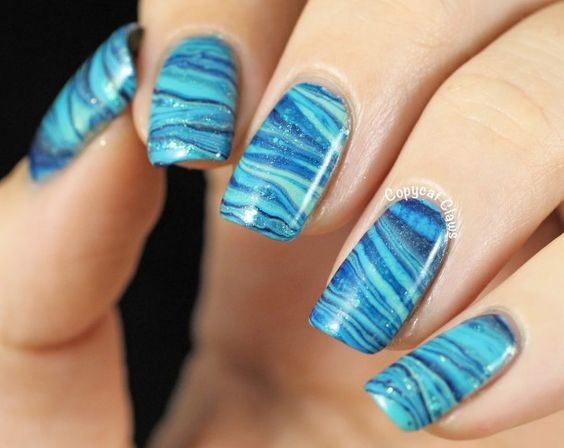
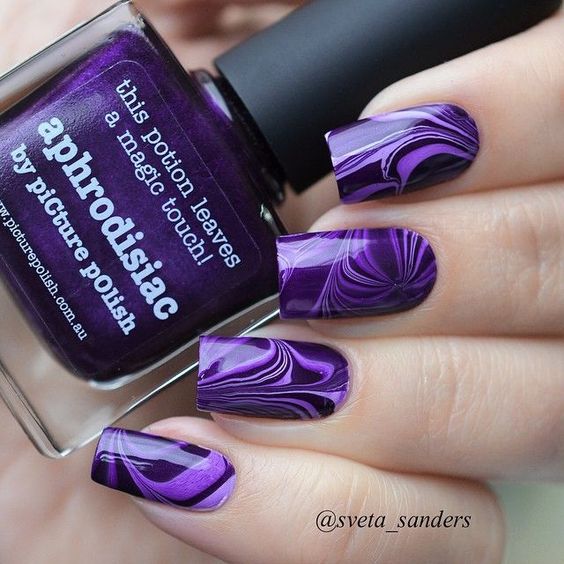
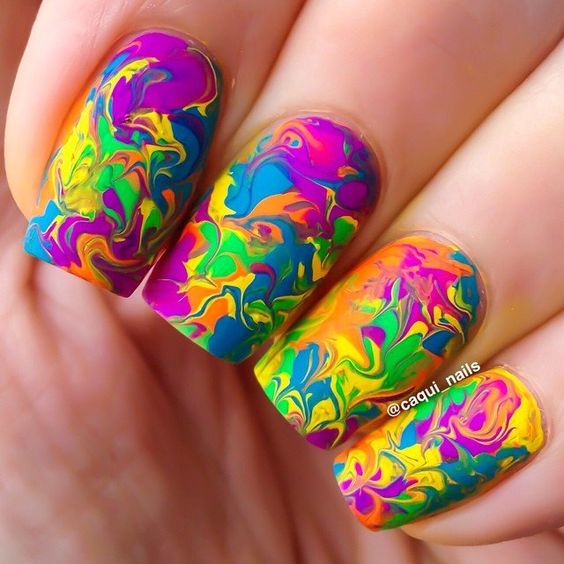
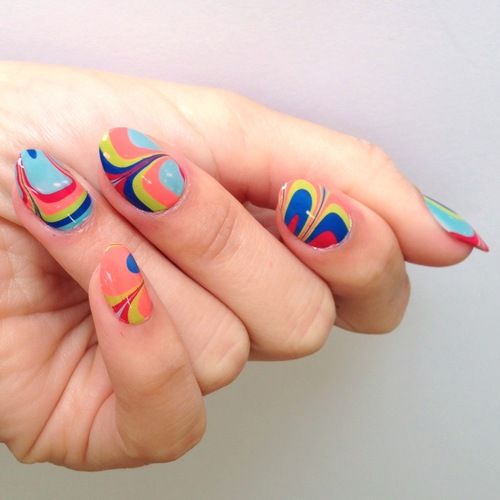
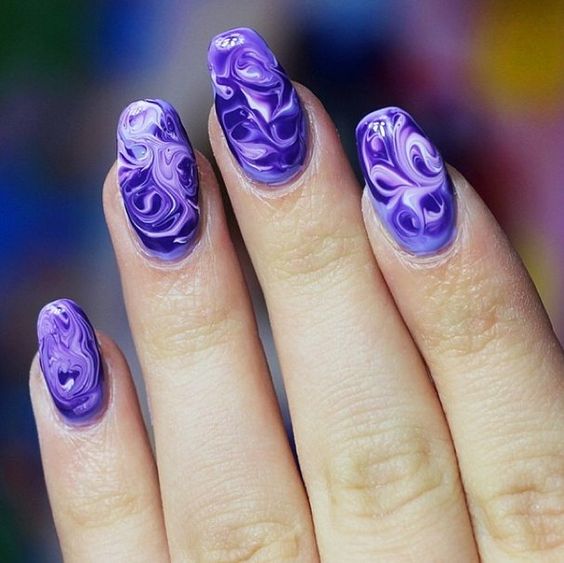
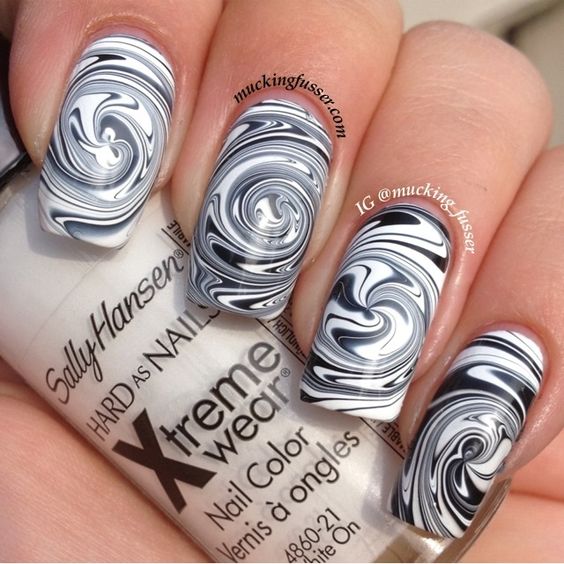
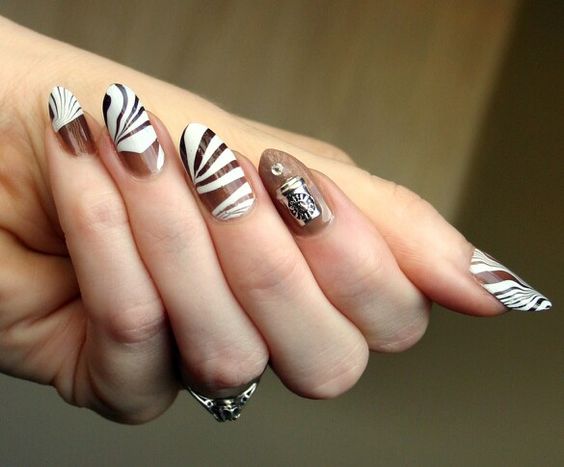
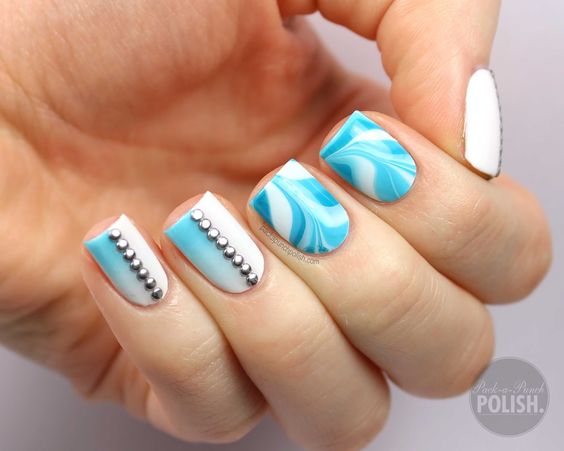
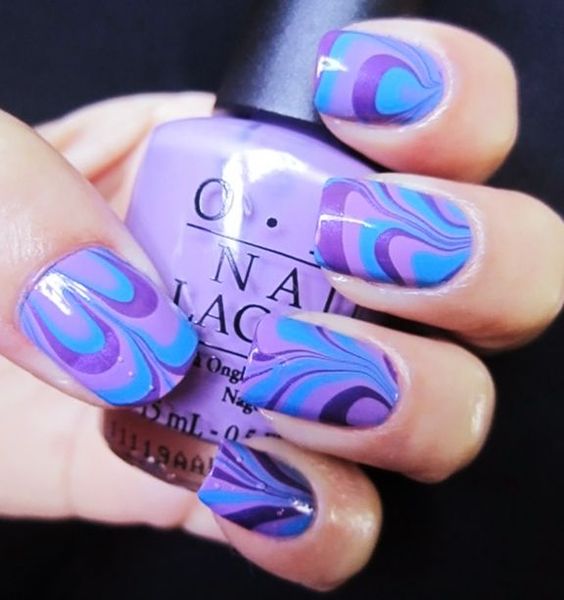
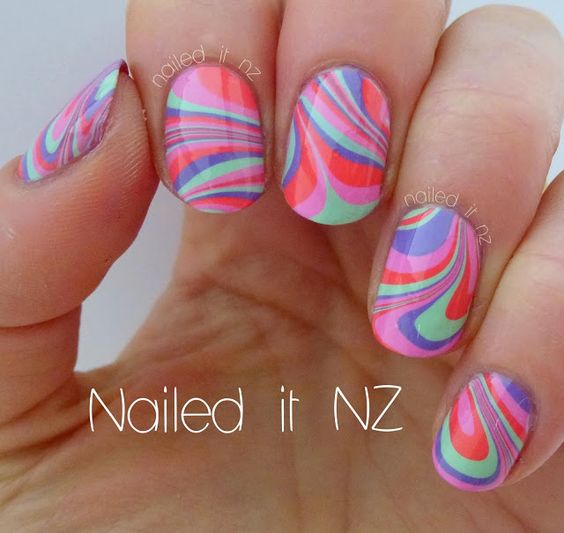
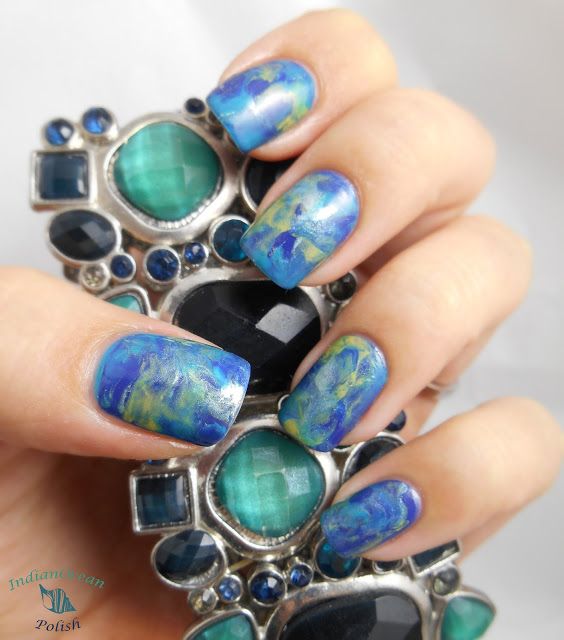
Keep in mind that creating the same pattern on at least two nails will be almost impossible. This is the meaning of water manicure. Therefore, do not be discouraged if the result is an interesting abstraction instead of the planned pattern.
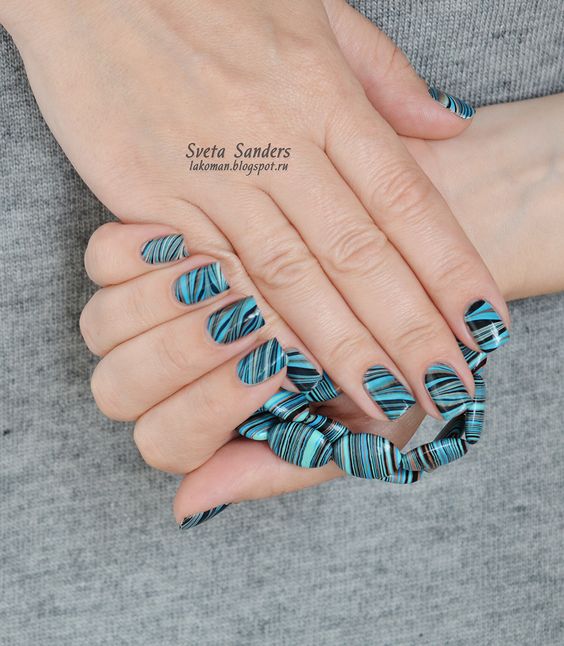
The process of creating a water design is really time consuming. But the result is worth it, because you get a unique pattern and color combination. Therefore, be sure to try to do it, even if nothing works out the first time.
Do you do water manicure or prefer other options?





























To answer
Want to join the discussion?Feel free to contribute!